2
1. Parts
Part Quantity
A – Tripod legs 3
B – Leg lock knob 3
C – Yoke mount 1
D – Hex-head tripod mounting bolt,with washer
and wing nut 3
E – Tripod leg brace 1
F – Accessory tray 1
G – Telescope optical tube 1
H – Yoke knobs 2
I – Micro-motion rod 1
J – Anchor screw 1
K – Screwdriver tool 1
L – Red dot nder scope 1
M – Mirror diagonal 1
N – 25mm Kellner eyepiece 1
O – 10mm Kellner eyepiece 1
P – Dust cover 1
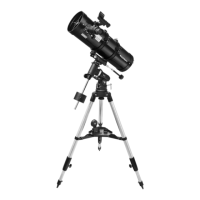
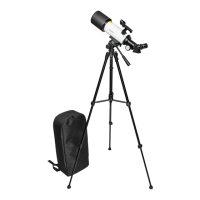
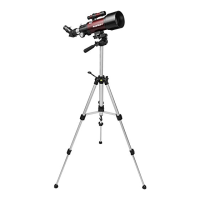
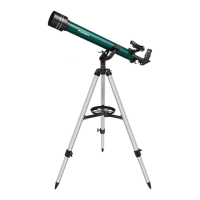
Congratulations on your purchase of an Orion telescope. Your new Observer II 60mm Altazimuth
Refractor is a terric starter instrument for exploring the exotic wonders of the night sky. Designed to be
lightweight and easy to use, it will provide many hours of enjoyment for the whole family.
If you have never owned a telescope before, we would like to welcome you to amateur astronomy. Take
some time to familiarize yourself with the night sky. Learn to recognize the patterns of stars in the major
constellations. With a little practice, a little patience, and a reasonably dark sky away from city lights, you’ll
nd your telescope to be a never-ending source of wonder, exploration, and relaxation.
These instructions will help you set up, properly use, and care for your telescope. Please read them over
thoroughly before getting started.
WARNING: Never look directly at the Sun through
your telescope—even for an instant—without a
professionally made solar lter that completely
covers the front of the instrument, or permanent eye
damage could result. Young children should use this
telescope only with adult supervision.
Table of Contents
1. Parts .......................................2
2. Assembly ....................................2
3. Preparing the Telescope for Operation .............4
4. Astronomical Observing ........................5
5. Telescope Care and Maintenance ................9
6. Worthwhile Optional Accessories .................9
7. Specications ................................9
2. Assembly
Refer to Figures 1 and 2 and the parts list at left for identica-
tion of specic parts during assembly.
1. Thread a leg lock knob (B) into each tripod leg (A) as
shown in Figure 3, and tighten. Do not over-tighten the
leg lock knobs or you may damage the collar they are
attached to.
2. Now attach the tripod leg brace (E) to the three aluminum
tripod legs (A) using the screws in the brace attachment
brackets (Figure 4). Remove the nut and the screw from
the bracket, then insert one of the brace struts into the
bracket, lining up the holes to allow the screw to be insert-
ed through the bracket and strut. Make sure the leg brace
is oriented so that the threaded hole in the center is facing
up. Then thread the nut on the exposed end of the screw
and tighten – nger tight should be good enough.
3. With the leg brace attached to all three tripod legs, attach
the tripod legs to the altazimuth yoke mount (C). Three
hex-head bolts (D) with washers and wing nuts are provid-
ed for this purpose. Note that the bolts should be inserted
from the side of the leg that has the hex-shaped hole, so
that the bolt head seats in the hex-shaped hole (Figure
5a). The washer, then the wing nut are placed on the
opposite side on the exposed end of the bolt (5b).
4. Now stand the tripod upright, spreading the legs apart so
the accessory tray can be installed.
5. Attach the accessory tray (F) to the tripod leg brace (E)
(Figure 6). Rotate the tray clockwise to thread the screw
on the underside of the tray into the threaded socket in the
center of the tripod leg brace.
The tripod and mount are now fully assembled (Figure 7).
Next you will attach the telescope optical tube to the altaz-
imuth yoke mount.
6. With the optical tube (G) oriented relative to the yoke
mount (C) as shown in Figure 8, line up the holes in the
attachment plates on the side of the optical tube with the
holes in the ends of the yoke mount (8a). Then secure
the optical tube to the mount by inserting a yoke knob (H)
through the hole on each side of the yoke and thread them
into the attachment plates on the optical tube (8b). They
 Loading...