7
Keep in mind that as you increase magnication, the bright-
ness of the object viewed will decrease; this is an inherent
principle of the laws of physics and cannot be avoided. If mag-
nication is doubled, an image appears four times dimmer.
If magnication is tripled, image brightness is reduced by a
factor of nine!
So start by using the 25mm eyepiece, then try switching to the
10mm eyepiece later if you want to boost the magnication.
Focusing the Telescope
To focus the telescope, turn the focus wheels (see Figure 11)
forward or back until you see your target object (e.g., stars,
the Moon, etc.) in the eyepiece. Then make ner adjustments
until the image is sharp. If you’re having trouble achieving ini-
tial focus, rack the focuser drawtube all the way in using the
focus wheels, then while looking into the eyepiece slowly turn
the focus wheels so that the drawtube extends outward. Keep
going until you see your target object come into focus. Note
that when you change eyepieces you may have to adjust the
focus a bit to get a sharp image with the newly inserted eye-
piece.
What to Expect
So what will you see with your telescope? You should be able
to see bands on Jupiter, the rings of Saturn, craters on the
Moon, the waxing and waning phases of Venus, and many
bright deep-sky objects. Do not expect to see color in nebu-
las and galaxies as you do in astrophotographs, though. Our
eyes are not sensitive enough to see color in faint deep-sky
objects. But as you become more experienced and your
observing skills get sharper, you will be able to ferret out more
and more subtle details and structure from dim objects.
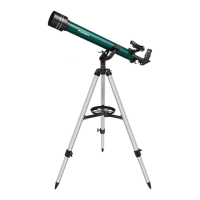
To use the Observer II 60mm refractor for daytime terres-
trial viewing, you may want to purchase an optional “correct
image” 1.25" diagonal, as it will render a normal, non mirror-
reversed view.
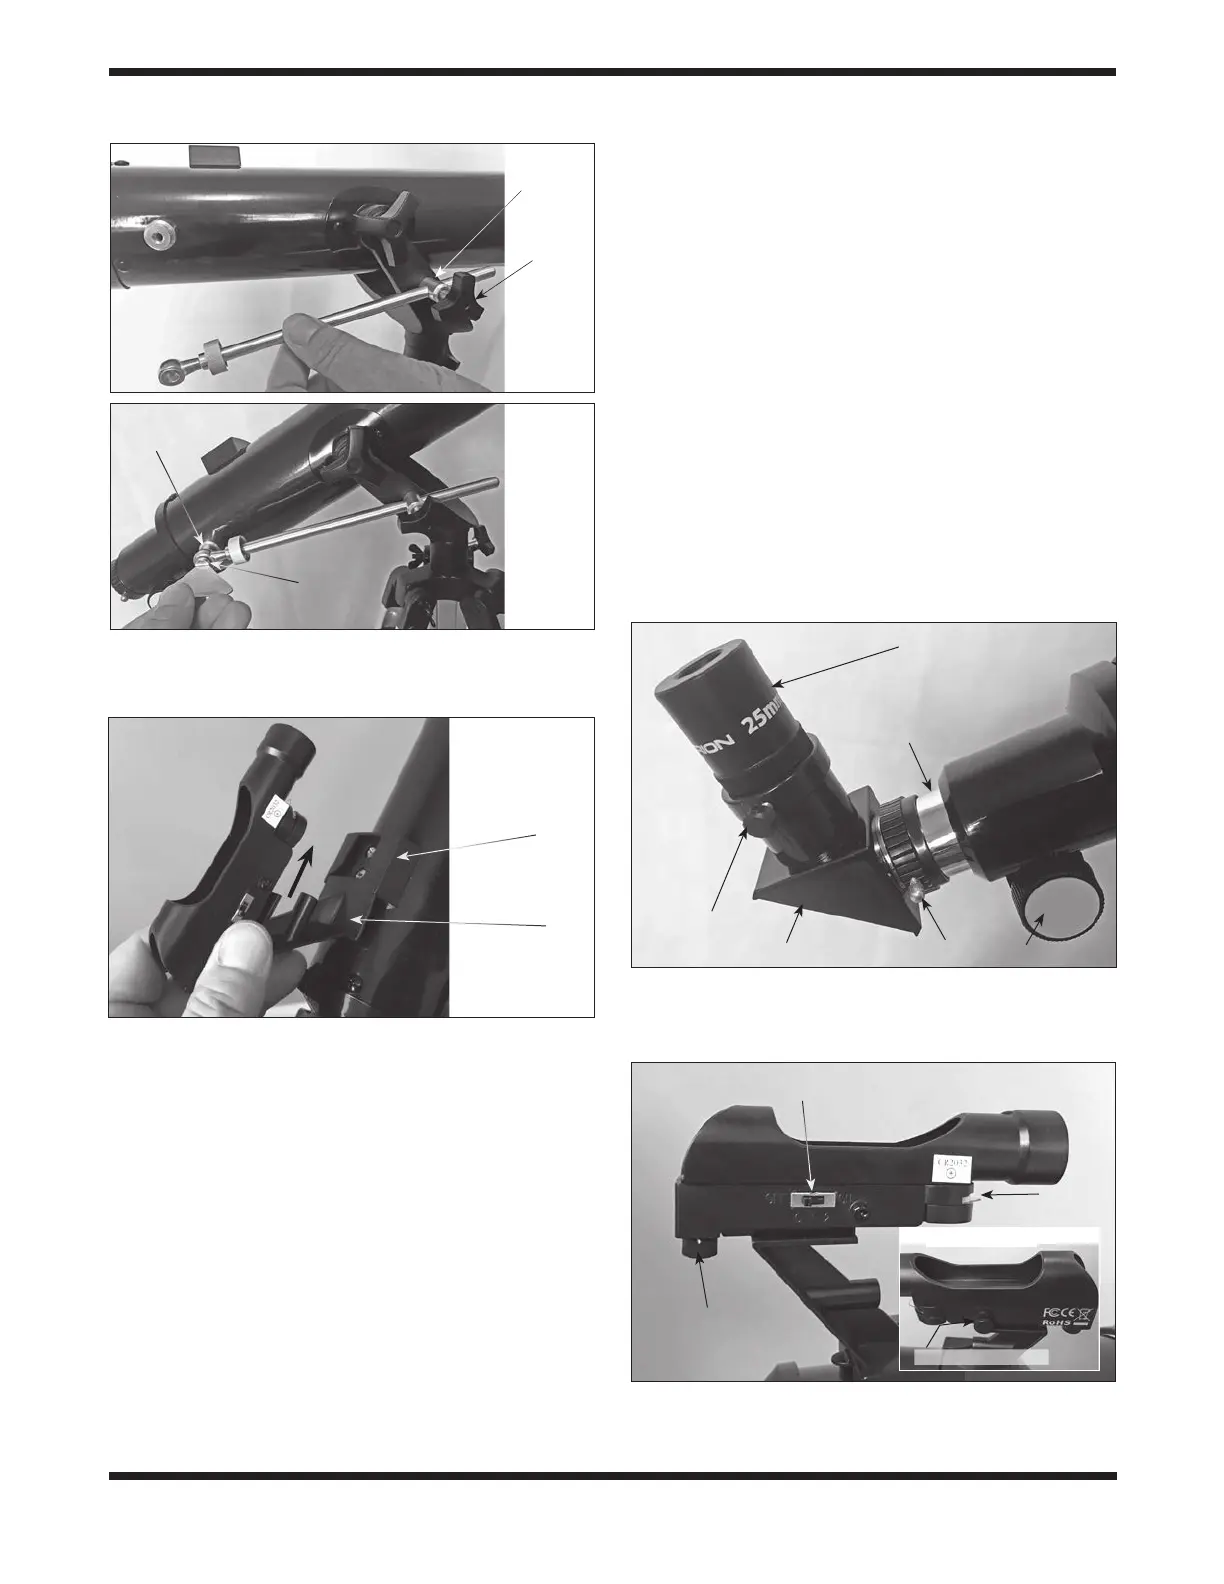
Figure 9. a) Insert the micro-motion rod through the hole in the
metal receptacle on the yoke mount. b) Attach the other end of the
rod to the anchor cylinder on the optical tube.
Altitude
lock
knob
Metal
receptacle
Anchor
cylinder
Screw
a
b
Figure 10. Insert the red dot nder scope’s bracket into the
base near the focuser as shown.
Bracket
foot
Finder Scope
Base
Figure 11. Secure the star diagonal in the focuser drawtube
with the thumbscrew on the drawtube collar, then install the
eyepiece in the diagonal.
Eyepiece
Thumbscrew
Thumbscrew
Focus wheel
Focuser
drawtube
Star diagonal
Figure 12. The red dot nder scope has vertical and (inset)
horizontal adjustment knobs for aligning it with the telescope.
Power switch
Plastic
tab
Vertical knob
Horizontal knob
Opposite side
 Loading...