3
sharp focus until the image starts to blur again, then reverse
the rotation of the knob and stop when sharp focus has been
achieved again.
Installing the EZ Finder II
Slide the base of the EZ Finder II bracket into the dovetail
holder that is pre-installed on the optical tube. The EZ Finder
II should be oriented so that the sight tube is facing the front
of the telescope (Figure 2). Tighten the thumbscrew on the
dovetail holder to secure the EZ Finder II in place.
The EZ Finder II works by projecting a tiny red dot (it is not
a laser beam) onto a lens mounted in the front of the unit
(Figure 3). When you look through the EZ Finder II, the red
dot will appear to float in space, helping you to pinpoint your
target object. The red dot is produced by a light-emitting diode
(LED) near the rear of the sight. A 3-volt lithium battery pro-
vides the power for the diode.
NOTE: If it is present, remove the thin plastic battery shield
tab (not shown) from the battery compartment prior to use
and discard it.
Turn the power knob (Figure 4) clockwise until you hear the
“click” indicating that power has been turned on. Look through
the back of the reflex sight with both eyes open to see the
red dot. Position your eye at a comfortable distance from the
back of the sight. In daylight you may need to cover the front
of the sight with your hand to be able to see the dot, which
is purposefully quite dim. The intensity of the dot is adjusted
by turning the power knob. For best results when stargazing,
use the dimmest possible setting that allows you to see the
dot without difficulty. Typically a dimmer setting is used under
dark skies and a brighter setting is needed under light-polluted
skies or in daylight.
Aligning the EZ Finder II
For the EZ Finder II to work properly, it has to be aligned with
the telescope. When the two are aligned, a celestial object that
is centered on the EZ Finder II’s red dot should also appear
in the center of the telescope’s eyepiece. Alignment of the
EZ Finder II is easiest during daylight, before observing at
night. Aim the telescope at a distant object such as a tele-
phone pole or roof chimney and center it in the telescope’s
eyepiece. The object should be at least 1/4 mile away. Now
turn on the EZ Finder II and look through it. Without moving
the main telescope, use the EZ Finder II’s azimuth (left/right)
and altitude (up/down) adjustment knobs (Figure 4) to position
the red dot on the object in the eyepiece. When the red dot is
centered on the distant object, check to make sure that the
object is still centered in the telescope eyepiece. If it isn’t, re-
center it and adjust the EZ Finder II’s alignment again. When
the object is centered in the eyepiece and on the EZ Finder’s
red dot, the EZ Finder II is properly aligned with the telescope.
Once aligned, EZ Finder II will usually hold its alignment even
after being removed and remounted. Otherwise, only minimal
realignment will be needed. At the end of your observing ses-
sion, be sure to turn off the power knob on the EZ Finder II.
Replacing the EZ Finder II Battery
Should the battery ever die, replacement 3-volt lithium batter-
ies are available from many retail outlets. Remove the old bat-
tery by inserting a small flat-head screwdriver into the slot on
the battery casing (Figure 4) and gently prying open the case.
Then carefully pull back on the retaining clip and remove the
old battery. Do not over bend the retaining clip. Then slide the
new battery under the battery lead with the positive (+) end
facing down and replace the battery casing.
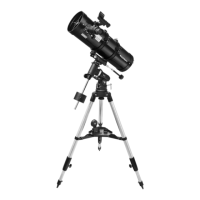
Telescope Basics
A telescope is an instrument that collects and focuses light.
The nature of the optical design determines how the light is
focused. Some telescopes, known as refractors, use lens-
es. Other telescopes, known as reflectors, use mirrors. The
StarBlast 114mm is a reflecting telescope with a primary and
secondary mirror to gather and focus light.
Focusing
Once you have found an object in the telescope, turn the
focusing knob until the image is sharp. To achieve a truly sharp
focus, never look through glass windows or across objects that
produce heat waves, such as asphalt parking lots.
Figure 3. The EZ Finder II superimposes a tiny red dot on
the sky, showing right where the telescope is aimed.
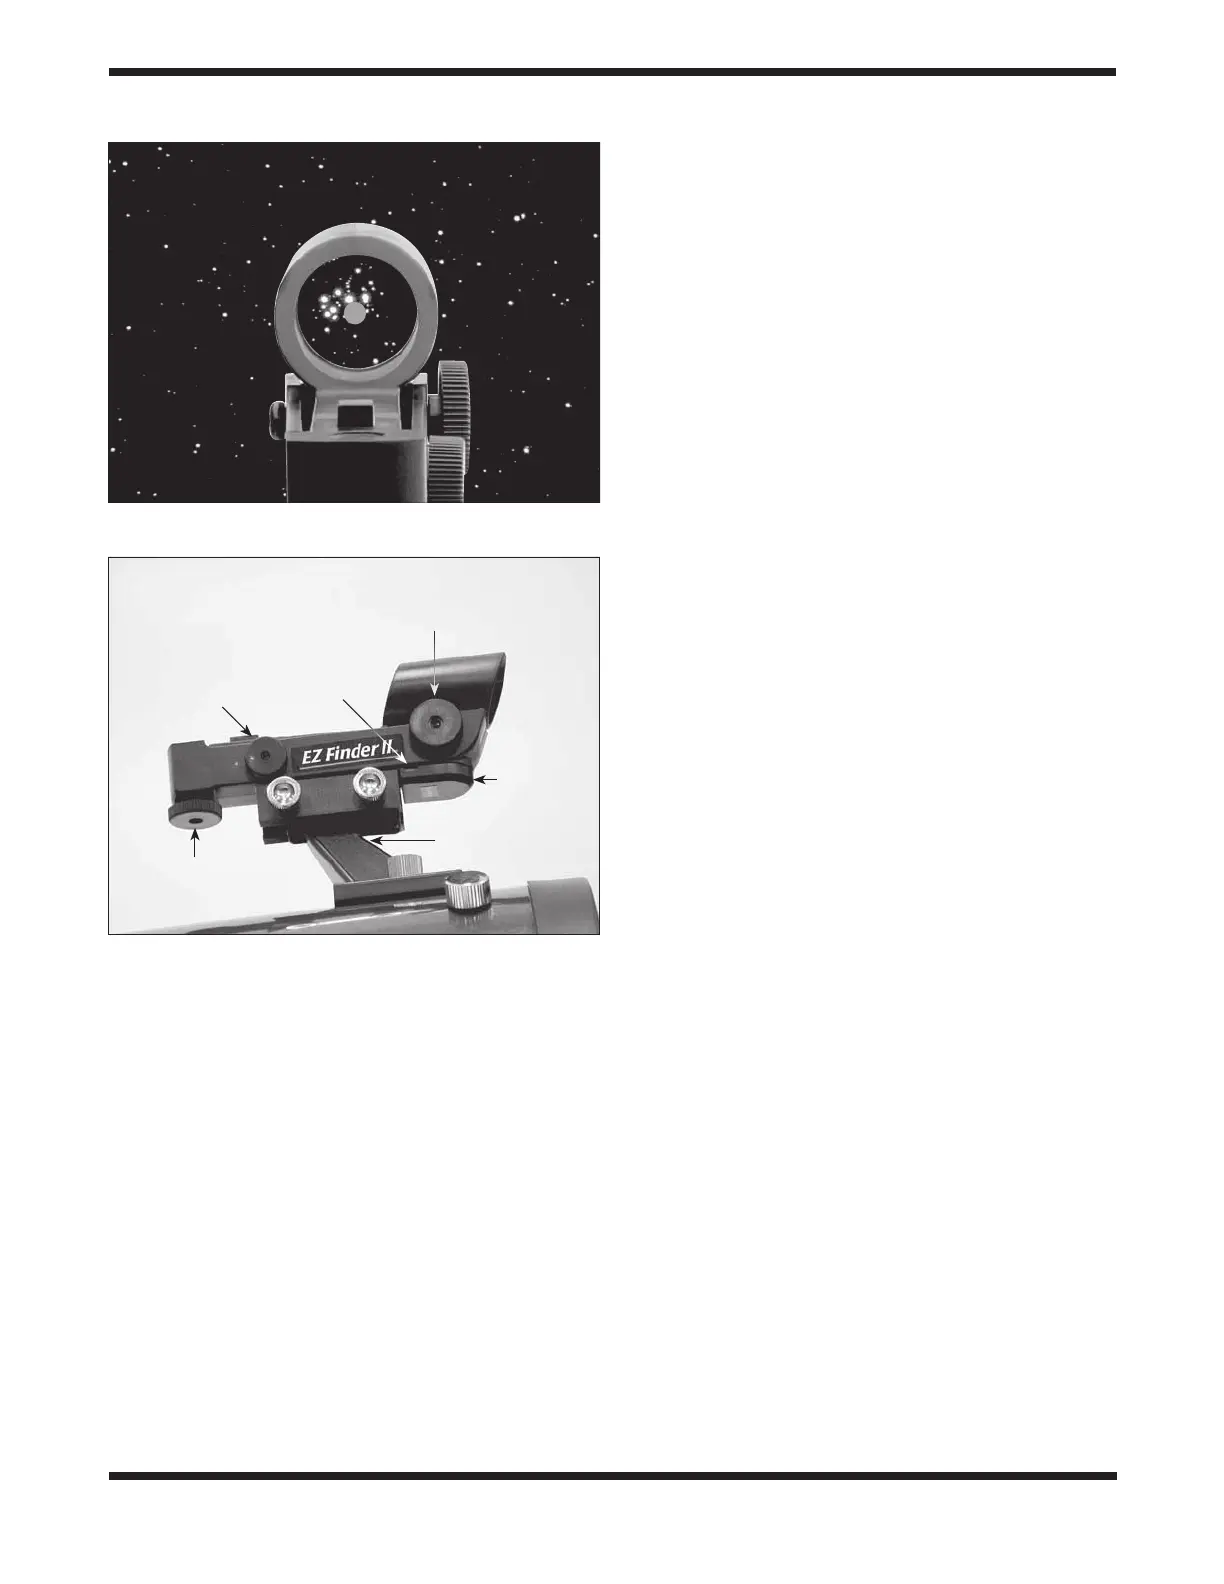
Figure 4. The EZ Finder II’s On/Off and adjustment knobs.
Power knob
Azimuth
adjustment
knob
Battery
casing
Mounting bracket
Altitude
adjustment
knob
Slot for
battery
removal
 Loading...