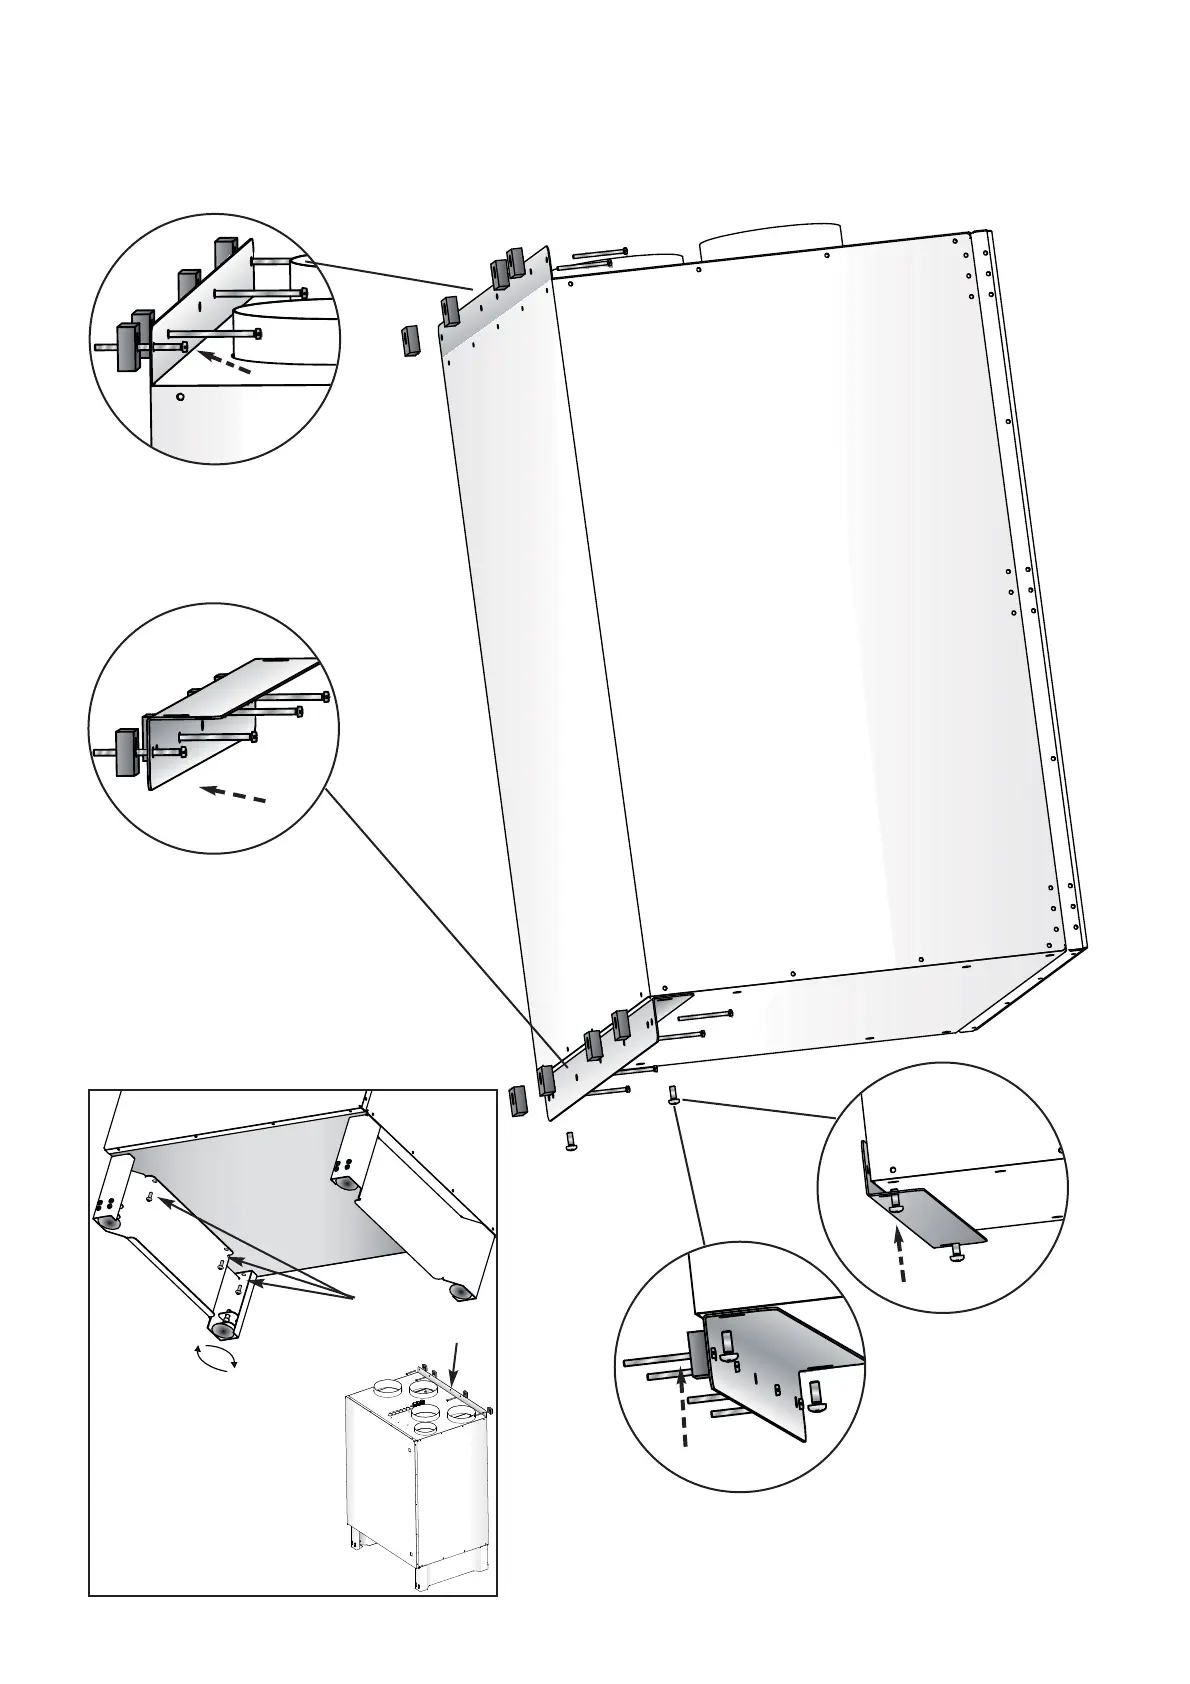
Mount the unit with concomitant rubber cushions and adequate screws for the foundation.
NB! The concomitant rubber cushions can be compressed to a thickness of maximum 10 mm.
The unit is not supplied with wall screws.
C
B
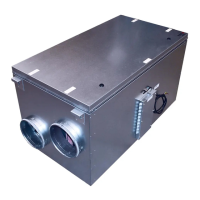
ASSEMBLY INSTRUCTION FOR HERU
®
130 T EC
1.
Unscrew the
wall bracket.
2.
Turn the wall bracket
180
o
and fasten on to
the wall with 4 rubber
cushions and adequate
screws.
3.
Place the unit on to the
wall bracket and fasten
with 4 rubber cushions
and adequate screws.
4.
Fasten the unit on to the wall
bracket with the two removed
screws.
3.
There is also a floor stand to
HERU 130 T EC as an asses-
sory. Start by remove the wall
bracket (1).
Then mount the floor stand
according to illustration (B).
Adjust the feets (C) so the
unit stands steady.
Fasten the unit on to the
wall (3).
76
 Loading...