DO NOT USE THIS CLIPPER UNTIL YOU HAVE READ THESE OPERATING INSTRUCTIONS
OPERATE ON VOLTAGE SPECIFIED ON CLIPPER
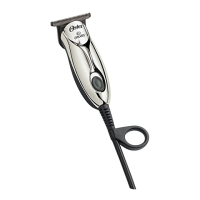
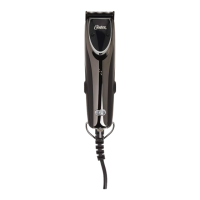
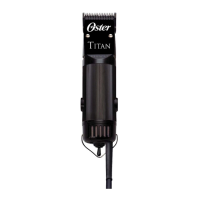
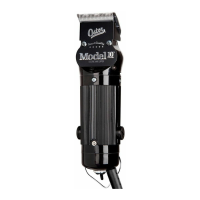
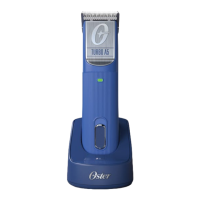
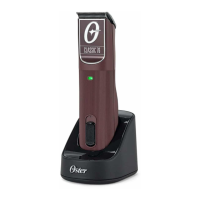
ABOUT THIS CLIPPER
CHARGING THE UNIT
Place clipper on charging stand or connect directly to the power supply cord.
This clipper has one control LED INDICATOR
Model Charging 15 minutes left Fully Charged System Error
76110 Green blinking Red solid Green solid Red blinking
78670 Blue blinking Red solid Blue solid Red blinking
When clipper battery is low, the LED will turn solid red until battery drains. At
this point, it is recommended to place the clipper on the charger or plug into the
power cord.
16. Do not discard exhausted battery
packs into fire.
17. This appliance is for cutting
purpose use only.
18. Avoid tangling or kinking the cord
while clipping. Should the cord
become tangled or kinked, stop
clipping and straighten the cord.
19. This appliance is not intended for
use by persons (including children)
with reduced physical, sensory
or mental capabilities, or lack of
experience and knowledge, unless
they have been given supervision
or instruction concerning use of the
appliance by a person responsible
for their safety. Children should be
supervised to ensure that they do
not play with the appliance.
20. Model 078670 is used for trimming
only.
SAVE THESE INSTRUCTIONS
3
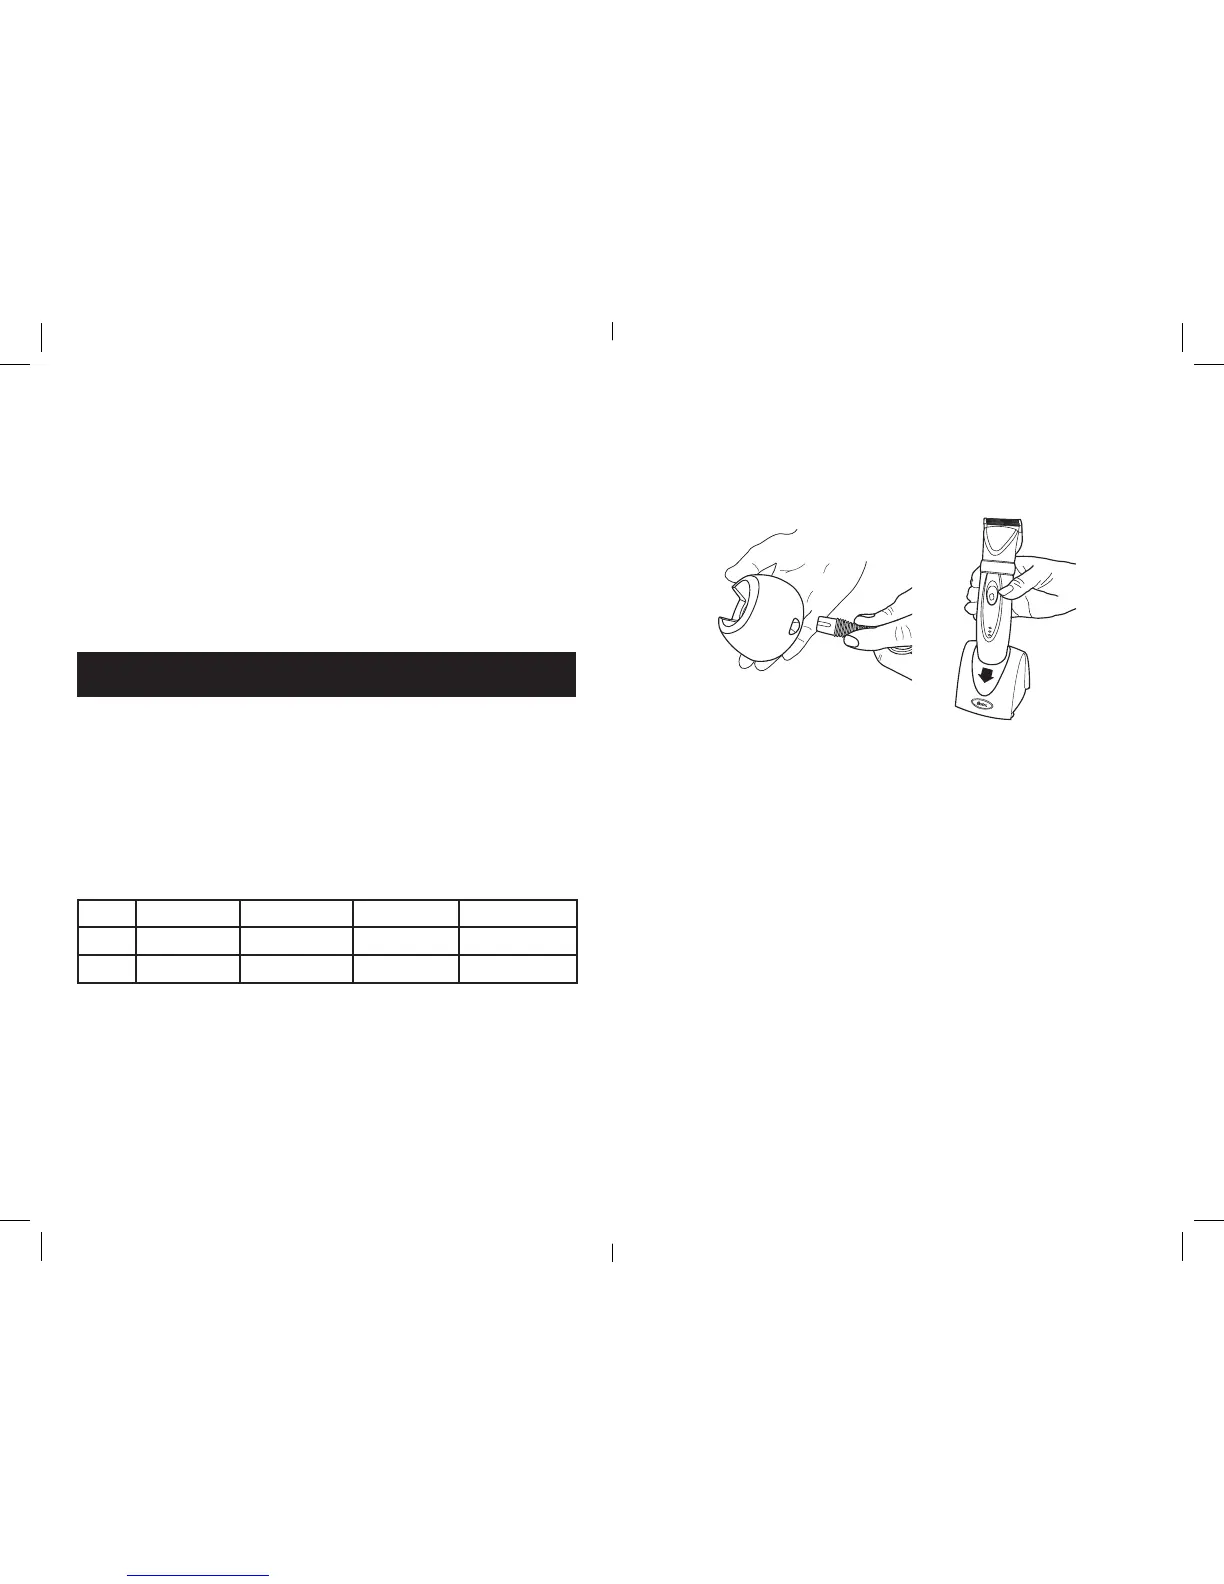
CHARGING WITH THE CHARGING STAND
• Plugthepowercordofthechargingstandintoanoutletwiththeratevoltage
for your unit.
• Plugtheotherendintothechargingstand.Notethatthecordwillonlytinto
the charging stand with the proper orientation.
• EnsurethattheswitchontheunitisintheOff(O) position.
• Inserttheclipperintothechargingstandsothatthetopofunitisfacingyou
and the contacts on the clipper are aligned with the contacts on the charging
stand. The top of the unit is the side with the switch and push button control.
• TheLEDwillbegintoturnoniftheclipperisinsertedproperlyintothe
charging stand and it’s making contact.
• IftheLEDlightwillnotturnon,thenre-inserttheclipperintothechargingstand
andpushdowngentlyontheclippertoengagethecontacts.IftheLEDdoesnot
turn on then there may be dirt or grease on the contacts of the charging stand
or clipper. Clean the contacts with an approved cleaning solution and re-insert
theclipperintothechargingstand.IftheLEDstillfailstoturnonthenfollowthe
return procedure under the warranty and service section.
• TheLEDswillstayonaslongastheunitisinthechargingstand.
CHARGING DIRECTLY WITH THE POWER CORD
• Plugthepowercordintoanoutletwiththeratedvoltageforyourunit.
• Plugtheotherendintotheclipper.Notethatthecordwillonlytintothe
clipper with the proper orientation.
• EnsurethattheswitchontheunitisintheOff(O) position.
• TheLEDwillbegintoturnonifthecordisinsertedproperlyintotheclipper.
• IftheLEDwillnotturnon,thenre-insertthecordintotheclipperandpush
ingentlyontheclippertoengagethecontacts.IftheLEDdoesnotonthen
there may be dirt or grease on the contacts of the clipper or cord. Clean the
contactswithanapprovedcleaningsolution.IftheLEDstillfailstoturnon
then follow the return procedure under the warranty and service section.
4