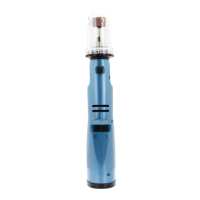
OPERATING INSTRUCTIONS
1. Turn it ON by moving switch to low (I) setting. The speed ofthe
Nail Grinder can be adjusted between low (I) and high (II) with
this switch. It is recommended to always start on the low setting.
Highspeed can be used on dogs already conditioned and
excepting of the Nail Grinder noise and feel. Large dogs may
require high speed because of their thicker, larger nail.
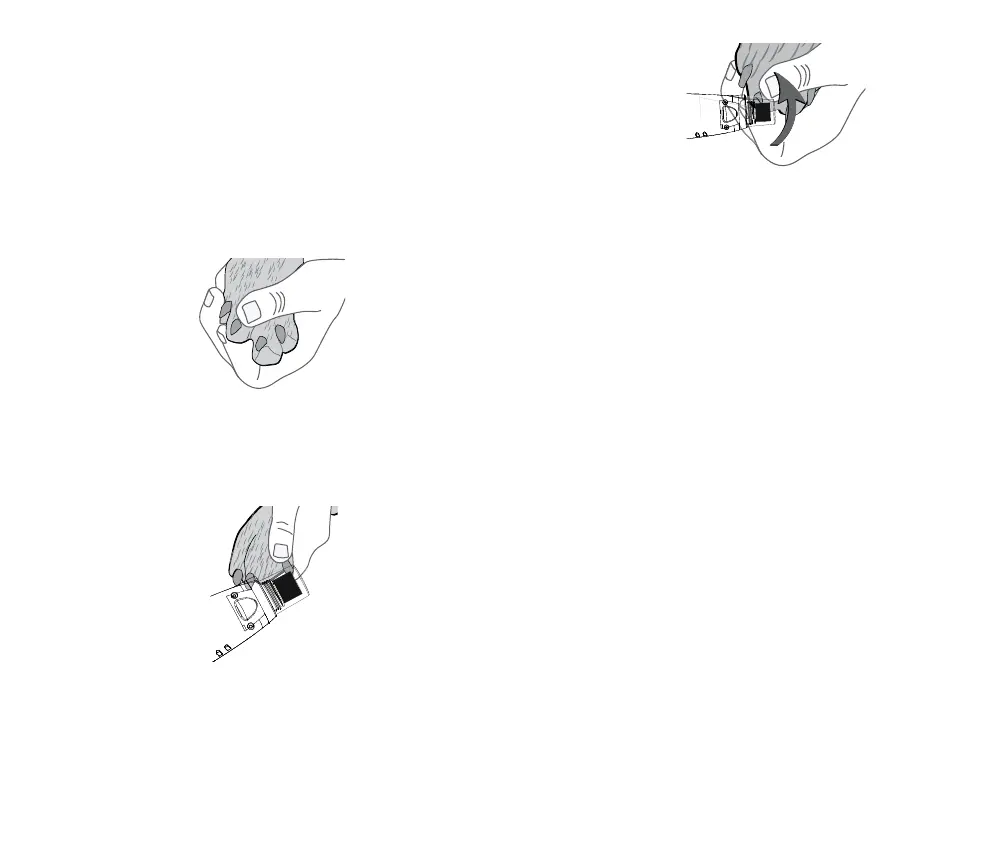
2. Always start in speed (I). Hold the unit near the pet for a few
seconds before filing to ensure your pet is comfortable. Onceyour
pet is calm, take your pet’s paw and gently squeeze the nail
between your thumb and pointer finger to push the nail forward.
3. Insert a nail into the matching size hole in the Removable Safety
Guard.
CAUTION: Always operate Nail Grinder with Removable Safety
Guard in place. Using the Nail Grinder without the Removable
Safety Guard can cause injury or damage to unprotected areas.
4. Hold the Nail Grinder firmly without applying excessive force.
Gently start grinding from the bottom. Continue up and over nails
in a steady upward motion to ensure smooth edge, no more than
2-4 seconds at a time, alternating between nails. We donot
recommend trimming a single nail all at one time. Continue
togrind over edges of nails to remove any roughness.
English-5
5. Stop grinding when you get close to the “Quick” (bloodline in nail).
You will see the Quick begin to appear when you look at the nail
head on.
6. Turn Nail Grinder o by sliding switch to the center (OFF) position.
MAINTENANCE
With the exception of Grinding Drum, Sanding Bands and Sanding Stone,
this Nail Grinder does not have user-serviceable parts. Any maintenance
not explained in this manual should be performed by an Authorized
Service Center.
Never clean Nail Grinder or replace Bands/Stone with motor ON.
To clean, remove Safety Guard and use compressed dry air to clean
debris from Drum/Stone/Band area. Plastic housing and Safety Guard
canbe easily wiped clean with a clean, damp (water) cloth.
NOTE: Certain cleaning agents and solvents can damage plastic parts.
Use only a water-moistened cloth when wiping plastic housing.
CAUTION: Cleaning and user maintenance shall not be made by children.
REPLACING SANDING BAND OR SANDING DRUM/SANDING STONE
For more information, refer to Before you Begin section of this manual–
Installing Drum / Changing Stone and Installing Sanding Band onto
Sanding Drum.
REPLACEMENT ACCESSORIES
The following Nail Grinder replacement accessories are available through
your Oster
TM
authorized dealer:
078129-123-000 Replacement grinding kit
English-6