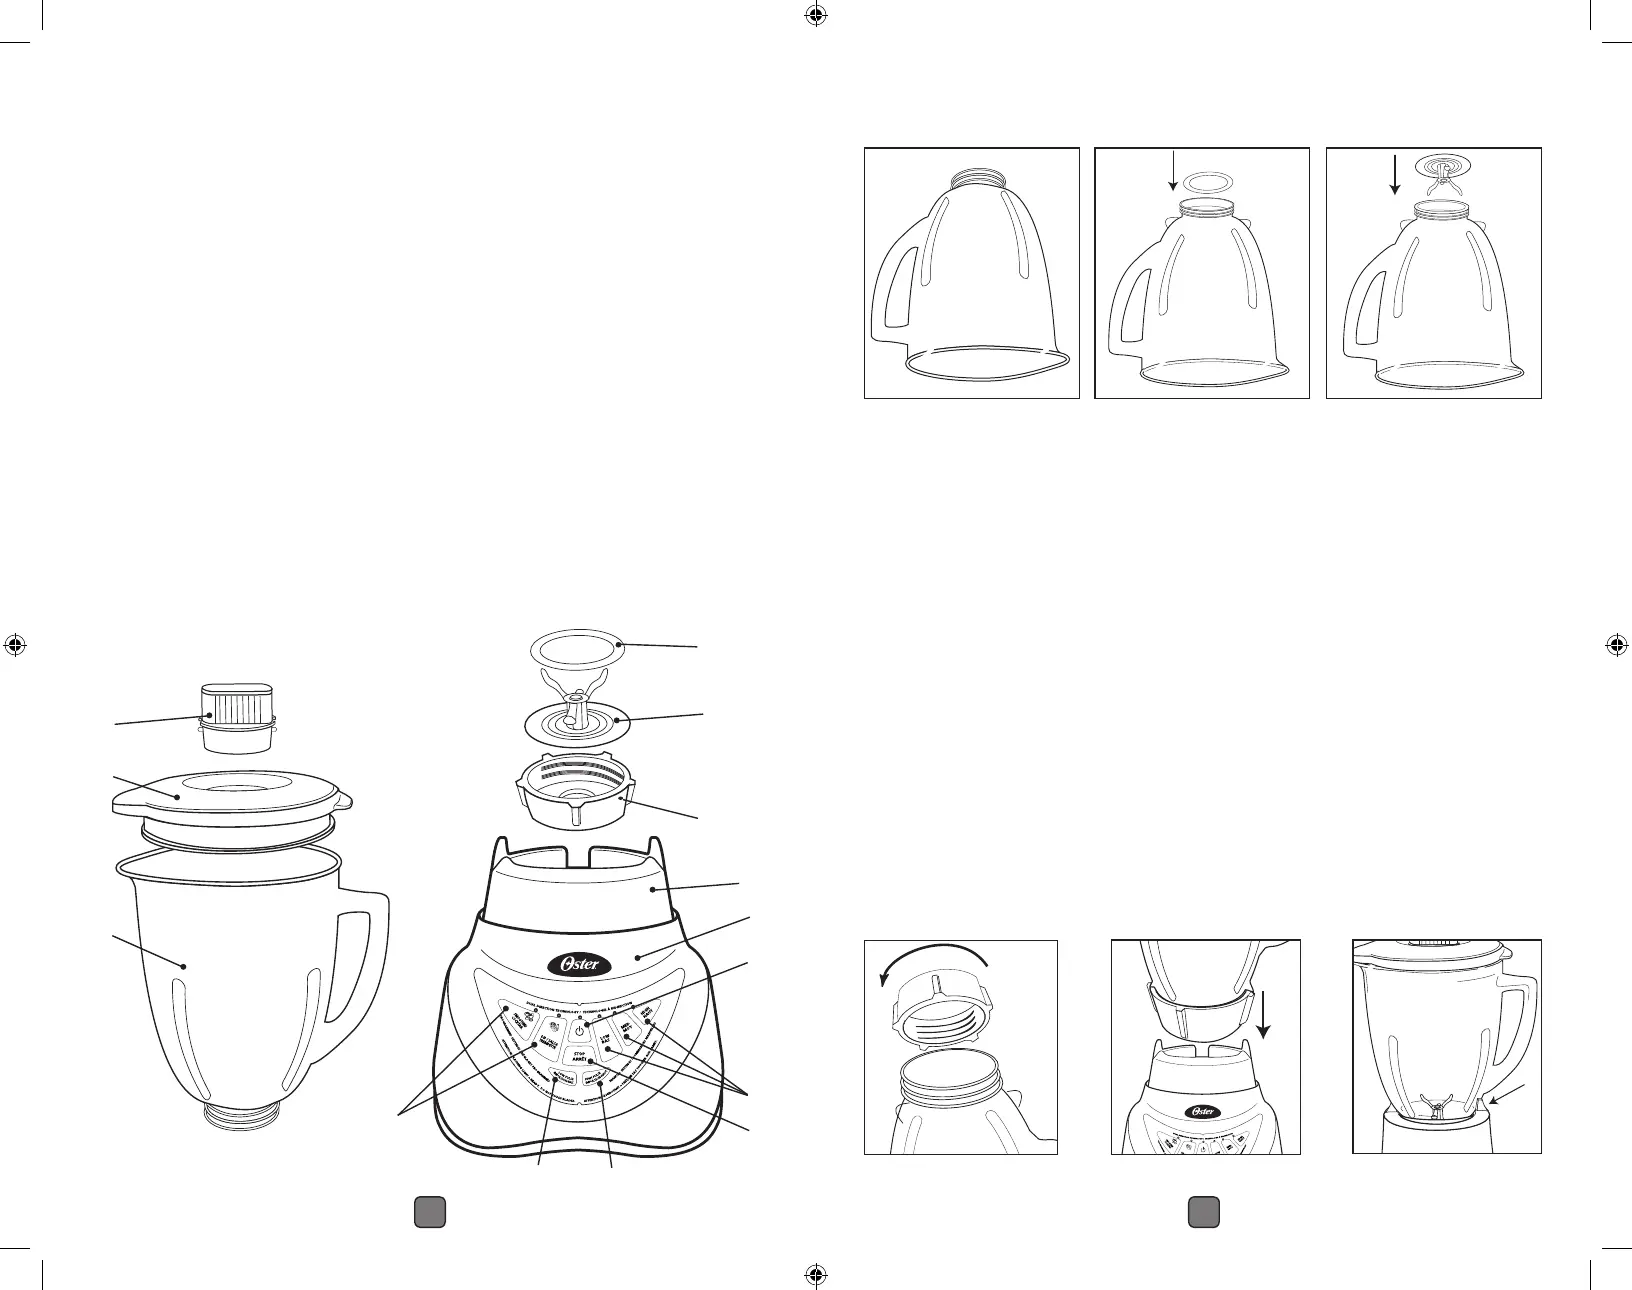
1. Clean Blender according to the instructions in the “Cleaning and Storing
Your Blender” section. (Page 7)
2. Turn Blender Jar upside down so the small opening is at the top. (Figure 1)
3. Place Sealing Ring over Blender Jar opening. (Figure 2)
4. Place Blade System into Blender Jar. (Figure 3)
5. Place the Threaded Bottom Cap on Blender Jar and turn it clockwise to
tighten. (Figure 4)
6. Place Blender Jar assembly onto Blender Base. (Figure 5)
7. Line up tabs on Blender Base. Make sure the tab on the jar (near the
handle) is in front of the tab on the Blender Base. (Figure 6) Blender Jar
should now be seated into position.
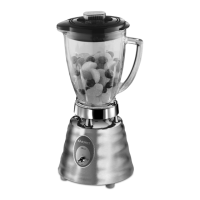
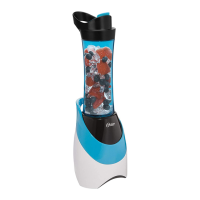
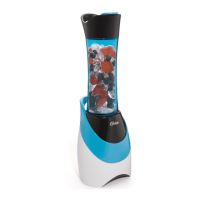
8. Place ingredients into Blender Jar.
NOTE: For best results, always add liquids first when blending, unless
a recipe says otherwise.
9. Place Blender Lid with Filler Cap on Blender Jar.
Using
Your Blender
Figure 1 Figure 2 Figure 3
Figure 5
Liquefy
OFF
Puree
Chop
Mix
Pulse
Low
Milkshake
Smoothie
Ice Crush
A
B
C
Welcome
Congratulations on your purchase of an Oster
®
Blender!
To learn more about Oster
®
products, please visit us at
www.oster.ca.
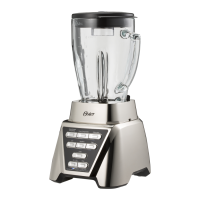
A. Filler Cap for adding ingredients while blending
B. Splash proof Blender Lid
C. Your Oster
®
Blender includes a 6-cup (1.4 L) Glass Jar
D. Sealing Ring for tight seal
E. Crush Pro 6
TM
Blade with Dual Direction Blade Technology
F. Threaded Bottom Cap
G. Blender Base
H. Powerful motor with an All-Metal Drive
®
system for lasting durability
I. Pre-Programmed Settings: Smoothie / Cocktail and Dip / Salsa
J. On/Off button
K. Stop button
L. Manual Settings: Low, Medium, High
M. Low Pulse button
N. High Pulse Button
D
E
F
H
L
J
I
G
M N
K
E3 E4