Do you have a question about the Ozark Trail 30006 and is the answer not in the manual?
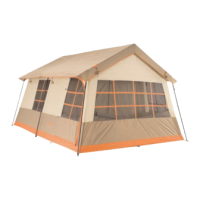
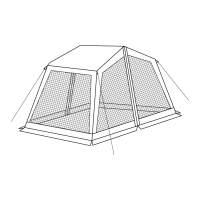
Unfold and spread out the tent frame, being careful of pinch points.
Lift on ARM JOINT and ROOF POLE to partially raise the tent.
Extend TELESCOPING LEG POLES until the silver LOCKING BUTTONS "click".
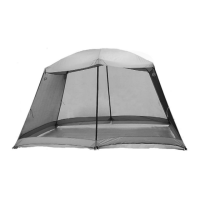
Drape RAINFLY over tent and secure to leg poles with fasteners.
Locate WEBBING LOOPS at corners and slide STAKE through.
Locate GUYLINES and secure with stakes, extending at 45° angle.
Attach Welcome Mat by inserting plastic toggles through fabric loops below the doorway.
Insert electrical cord through access panel in the lower left corner of tent.
Attach Organizer by inserting plastic hooks through fabric loops at the back of the tent.
Reverse setup steps: retract poles, collapse roof, fold poles, roll out air, bag tent.
Remove guylines/stakes, store in dry area, ensure tent is dry and clean.
Condensation is normal; minimize by removing wet items and providing ventilation.
Do not store wet, brush off dirt, remove stakes by stake itself, avoid UV damage.
Covers defects in materials/workmanship for six months from purchase.
Does not cover normal wear, abuse, or weather damage like wind, rain, UV exposure.
Call 1-888-774-5840 for parts or questions; do not return to retail store.
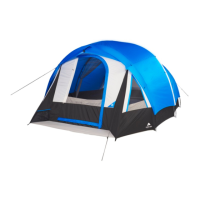
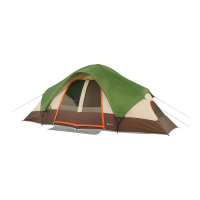
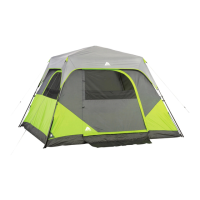
| Center Height | 72 inches |
|---|---|
| Material | Polyester |
| Number of Doors | 1 |
| Pole Material | Fiberglass |
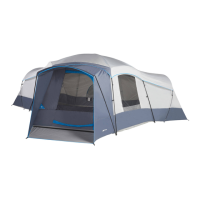
| Capacity | 6 Person |
| Dimensions | 10 ft x 9 ft |