Sewing here
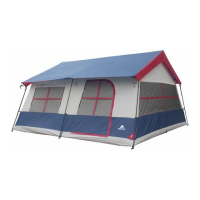
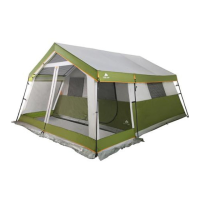
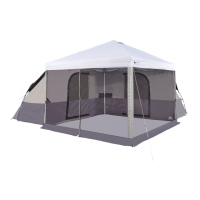
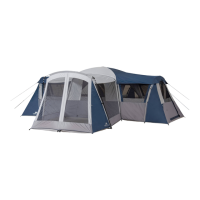
Select a smooth level site and spread out your tent floor side down.
Extend all of the poles and sort into groups by type. Assemble the
roof frame as shown below, matching the color coded poles to the
hub connectors of the same color. You may need to twist the pole
to get the metal spring to engage and lock the pole into place.
1. Red roof poles
2. Blue gable poles
3. Green roof poles on front door
4. Yellow gable pole on front door
5. Short Eave Pole on front door with no color code
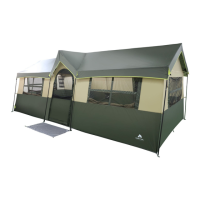
Attach plastic hooks on the fabric roof to the frame.
Unfold and position the Fly on the tent as shown below. Fasten the
Velcro on the fly to the frame roof.
Attach the leg poles with white color coding to the white color coded
connector on the roof frame. Make sure to insert the pins along the
perimeter of the tent into the bottom of the leg poles.
Attach the “S” hooks on the fly and the plastic hooks on the tent body
to the D-ring on each leg pole.
To assemble the closet, insert the curved closet pole into the sleeve
and insert the pins, located near the floor of the tent, into the bottom
of the closet pole.
Secure the tent by driving stakes into the ground at a 45 degree angle
through the webbing loops attached to the rings at the tent base.
To secure the guy lines, find the guy line plastic slider and pull the
portion of the line opposite of the knot. When pulling this portion,
it will form a loop and work like a slip knot. Continue pulling this
portion until you can conveniently extend the guy line to the ground
and stake down. Repeat with remaining guy lines.
Attach the two dividers by attaching the plastic toggles to the fabric
loops sewn into the walls of the inner tent. Both dividers can be
moved to the sidewall of the tent (directly in front of either side
window) and the one with silver coating can be used as a projector
screen.
Attach the Ipad pocket, Triangle mesh pocket and Locker mesh pocket
with plastic hooks and fabric loops.
Attach the LED light string with the plastic hooks to the O-rings sewn
inside the tent, and put the Power Box into the pockets.
Position the mud mat at the front door with stakes.
Fasten the Velcro at both ends of the daisy chain to the fabric loop
sewn in the tent.
Carefully remove stakes by pulling out the hook ends, clear the
excess soil from stakes and store them in their bag.
Take Down all the accessories.
G
Tip: The Caribiners on the daisy chain can be only used on
the tent for hanging lightweight items.