EN
466
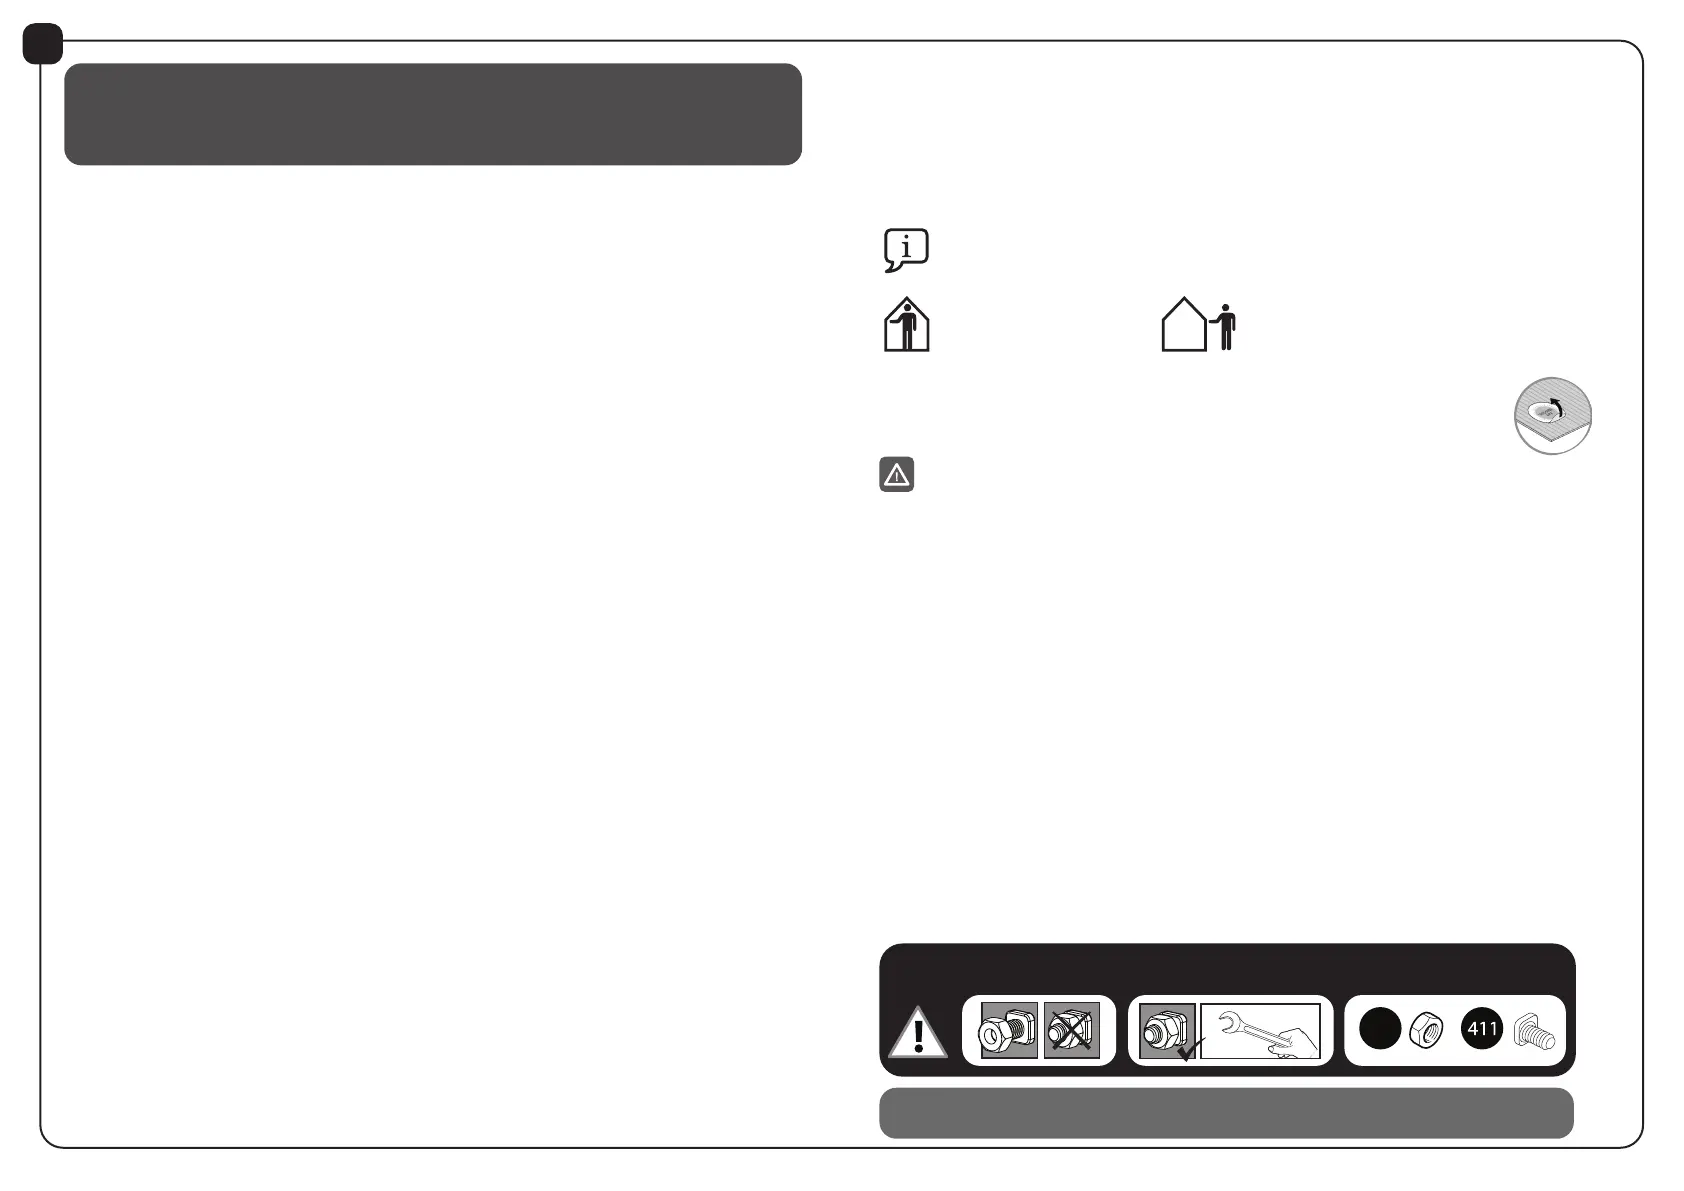
Do not tighten screws and nuts (411 & 466) until completion of assembly process.
These 2 icons indicate if screws’ tightening is required or not.
IMPORTANT
Please read these instructions carefully before you start to assemble this product .
Please carry out the steps in the order set out in these instructions.
Keep these instructions in a safe place for future reference.
Safety Advice
• For safety purposes we strongly recommend the product to be assembled by at least 3 people.
• Some parts may have sharp edges. Please be careful when handling components.
Always wear gloves, eye protection, and long sleeves when assembling or performing any
maintenance on your product.
• Do not attempt to assemble the product in windy or wet conditions.
• Do not attempt to assemble the product if you are tired, have taken drugs,
medications or alcohol, or if you are prone to dizzy spells.
• Dispose of all plastic bags safely – keep them away from children’s reach.
• Keep children away from the assembly area.
• When using a stepladder or power tools, make sure that you are following
the manufacturer’s safety advice.
• Do not climb or stand on the roof.
• Do not hang or lay on the proles.
• Heavy articles should not be leaned against the poles.
• Keep roof and gutters clear of snow, dirt & leaves.
• Heavy snow load on the roof can make it unsafe to stand below or nearby.
• Do not lean against or push the product during construction.
• Hot items such as recently used grills, blowtorches etc. must not be stored inside the product.
• Note: This product must be anchored on to a leveled surface and solid foundation to ensure its
stability. Make sure that screws and anchors are compatible with foundation type. Make sure that
there are no obstructions between the assembly area and the nal position.
Cleaning Instructions
• In order to clean the product, use a mild detergent solution and rinse with cold clean water.
• Do not use acetone, abrasive cleaners, or other special detergents to clean the panels.
• Clean the product once assembly is complete.
Before Starting Assembly
• Choose your site carefully before beginning assembly.
• The ground surface must be perfectly at and leveled and have a solid base such as concrete,
asphalt, deck etc.
• Complete site preparation before unpacking parts and beginning assembly.
• Sort the parts and check against the content parts list.
• Parts should be laid out close at hand. Keep all small parts (screws etc.) in a bowl so they do not
get lost.
• Please consult your local authorities if any permits are required prior to constructing the product.
Note: Anchoring this product to the ground is essential to its stability and rigidity.
It is required to complete this stage in order for your warranty to be valid.
Attention
Step 24: Before tightening the screws, make sure the panels are inserted inside the proles.
Step 25: Please apply silicone (caulk) sealant at the connection between both
Aluminum proles (diagram b), in order to prevent water from seeping in.
Step 26: Remove plastic lm from the panel.
Step 29 : Leave one screw (411) at each end of the central prole for use in step 41 (see Figure a).
Step 29: Screw (411) should be placed between the proles 7965 as shown in the marked round
gure (!)
Step 35: When assembling the doors, pay attention to the direction of the panels,
proles and holes.
Step 42: Install the sealing strip on the outer side as shown in the diagram a.
Use mild soap for easier assembly, cut sealing leftovers.
Step 43: Install the sealing strip on the inner side as shown in the diagrams.
Use mild soap for easier assembly, cut sealing leftovers.
Step 44: Anchor the shed on to a solid surface such as concrete, asphalt or wood deck;
use suitable screws and plugs. (Screws and plugs are not included).
* Tighten all screws when completing assembly.
During Assembly
When encountering the information icon, please refer to the relevant assembly
step for additional comments and assistance.
This icon indicates that
the installer should be
outside the product.
This icon indicates
that the installer should
be inside the product.
602508B_20.11_MV-1
• All panels with the stamped words “THIS SIDE OUT” must be facing out to create
full UV protection. Remove plastic sticker as panels are locked in place.
 Loading...