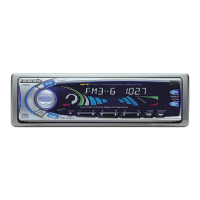
Display Change
1 Select a band and frequency. (previous
page)
2 Press and hold [1] to [6] for more than
2 seconds to memorize.
Note:
≥ Existing saved stations are overwritten with new stations after this procedure above.
1 Select a band. (previous page)
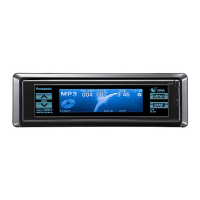
2 Press the Spectrum Analyzer display to
show (preset).
3 Press /[#] or ["].
(Press [1] to [6] on the remote control unit.)
P.SET
TUNE
Note:
≥ Frequency setting can be performed even after se-
lecting a preset number.
≥ To suspend preset write, press /[DISP]
(display).
DISPLAY
Manually save a station in the preset memory.
1 Select a band and frequency. (previous page)
2 Press and hold or for more
than 2 seconds until the preset number blinks.
3 Press /[#] or ["] to select a
preset number (1j6).
4 Press and hold (preset) for more than
2 seconds to memorize.
≥ The display blinks once, and a receiving sta-
tion is saved in the memory.
P.SET
P.SETTUNE
Automatically save stations with good reception in
the preset memory.
1 Select a band. (previous page)
2 Press and hold [APM] for more than 2 sec-
onds.
≥ The 6 stations with good reception will be auto-
matically saved in the memory under preset num-
ber 1 to 6.
≥ Once set, the preset stations are sequentially
scanned for 5 seconds each. (scanning)
Manual Preset Memory Auto Preset Memory (APM)
Preset number
P.SET
Preset Station Setting
Preset Station Calling
≥ Up to 6 stations each can be saved in the FM1, FM2, FM3 and AM preset station memories.

 Loading...
