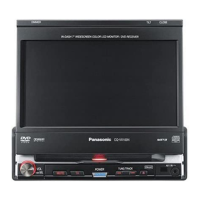
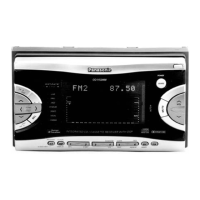
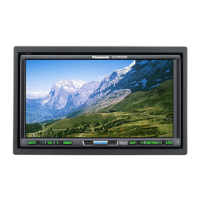
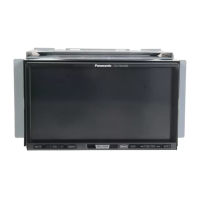
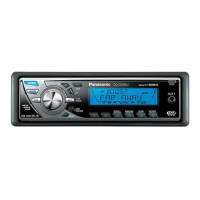
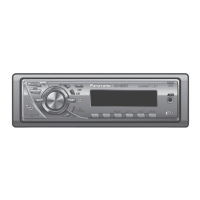
Do you have a question about the Panasonic CQ-VX777EW and is the answer not in the manual?
Keep volume low for driving safety and awareness of road conditions.
Avoid electrical short circuits by keeping the unit away from water or moisture.
Designed for 12-volt negative ground battery systems.
Do not disassemble; consult authorized service centers for repairs.
Turn ACC switch to ON; press mode buttons to switch the set on.
Use the ^ and v buttons to adjust volume from 0 to 40.
Press ATT to instantly decrease volume to about 1/10 of the present level.
Adjust the sound balance between left/right speakers and front/rear speakers.
Adjust tone quantity by pressing the SELECT button.
Select GEQ mode, frequency, and adjust level using buttons.
Select HEQ mode and adjust bass/treble using arrow buttons.
Save and recall desired GEQ settings using preset buttons.
Change to tuner mode by pressing the TUNER button.
Select between FM1, FM2, FM3, and AM bands.
Manually adjust frequency up or down using the TUNE buttons.
Store tuned stations into preset buttons 1 to 6.
Tune to a stored station by pressing its preset button.
Automatically stores up to 6 stations from a band into presets.
Open panel, insert cassette with exposed side on left to start playback.
Insert CD to automatically power on and start playback.
Press CH.C to switch to CD/MD changer mode; changer indicator lights.
Control volume, sound field, panel, dimmer, DRC II, and spectrum display.
Adjust tone, HEQ, GEQ, and recall presets via remote.
Control CD mode, tracks, search, random play, scan, and repeat via remote.
Control changer mode, discs, tracks, search, scan, repeat, and MD titles.
Control tape mode, sides, FF/REW, Dolby B, Metal, repeat, skip, TPS via remote.
Control tuner mode, bands, tuning, and presets using the remote.
Important safety and installation notes before starting.
Notes and cautions regarding wiring and connecting components.
Warnings about preventing damage, short-circuits, and proper insulation.
Service should only be performed by qualified technicians.
Use correct fuse rating; contact service if replacement fails.
Lists common error codes and their meanings for tape, CD, and changer.
| Brand | Panasonic |
|---|---|
| Model | CQ-VX777EW |
| Channels | 4 |
| CD Player | Yes |
| MP3 Playback | Yes |
| WMA Playback | Yes |
| USB Port | Yes |
| Display Type | LCD |
| AUX Input | Yes |
| Remote Control | Yes |
