34
Ŷ
Other Items to be Prepared (Locally Purchased)
Product name Remarks
Rigid PVC pipe VP20 (outer diameter ø1 1/32" (ø26); also sockets, elbows and other parts as necessary
Adhesive PVC adhesive
Insulation
For refrigerant piping insulation: foamed polyethylene with a thickness of 5/16" (8 mm) or more.
For drain piping insulation: foamed polyethylene with a thickness of 13/32" (10 mm) or more.
Indoor/outdoor connecting cable UL listed or CSA approved 4 conductor wires minimum AWG16
Hanging bolt related parts Hanging bolts (M10) (4) and nuts (12), (when hanging the indoor unit)
A
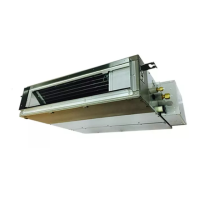
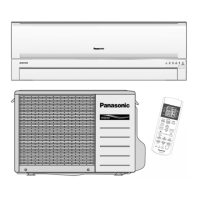
Indoor unit
B
Outdoor
unit
IMPORTANT
Begin the installation job from
the “Indoor Unit” installation.
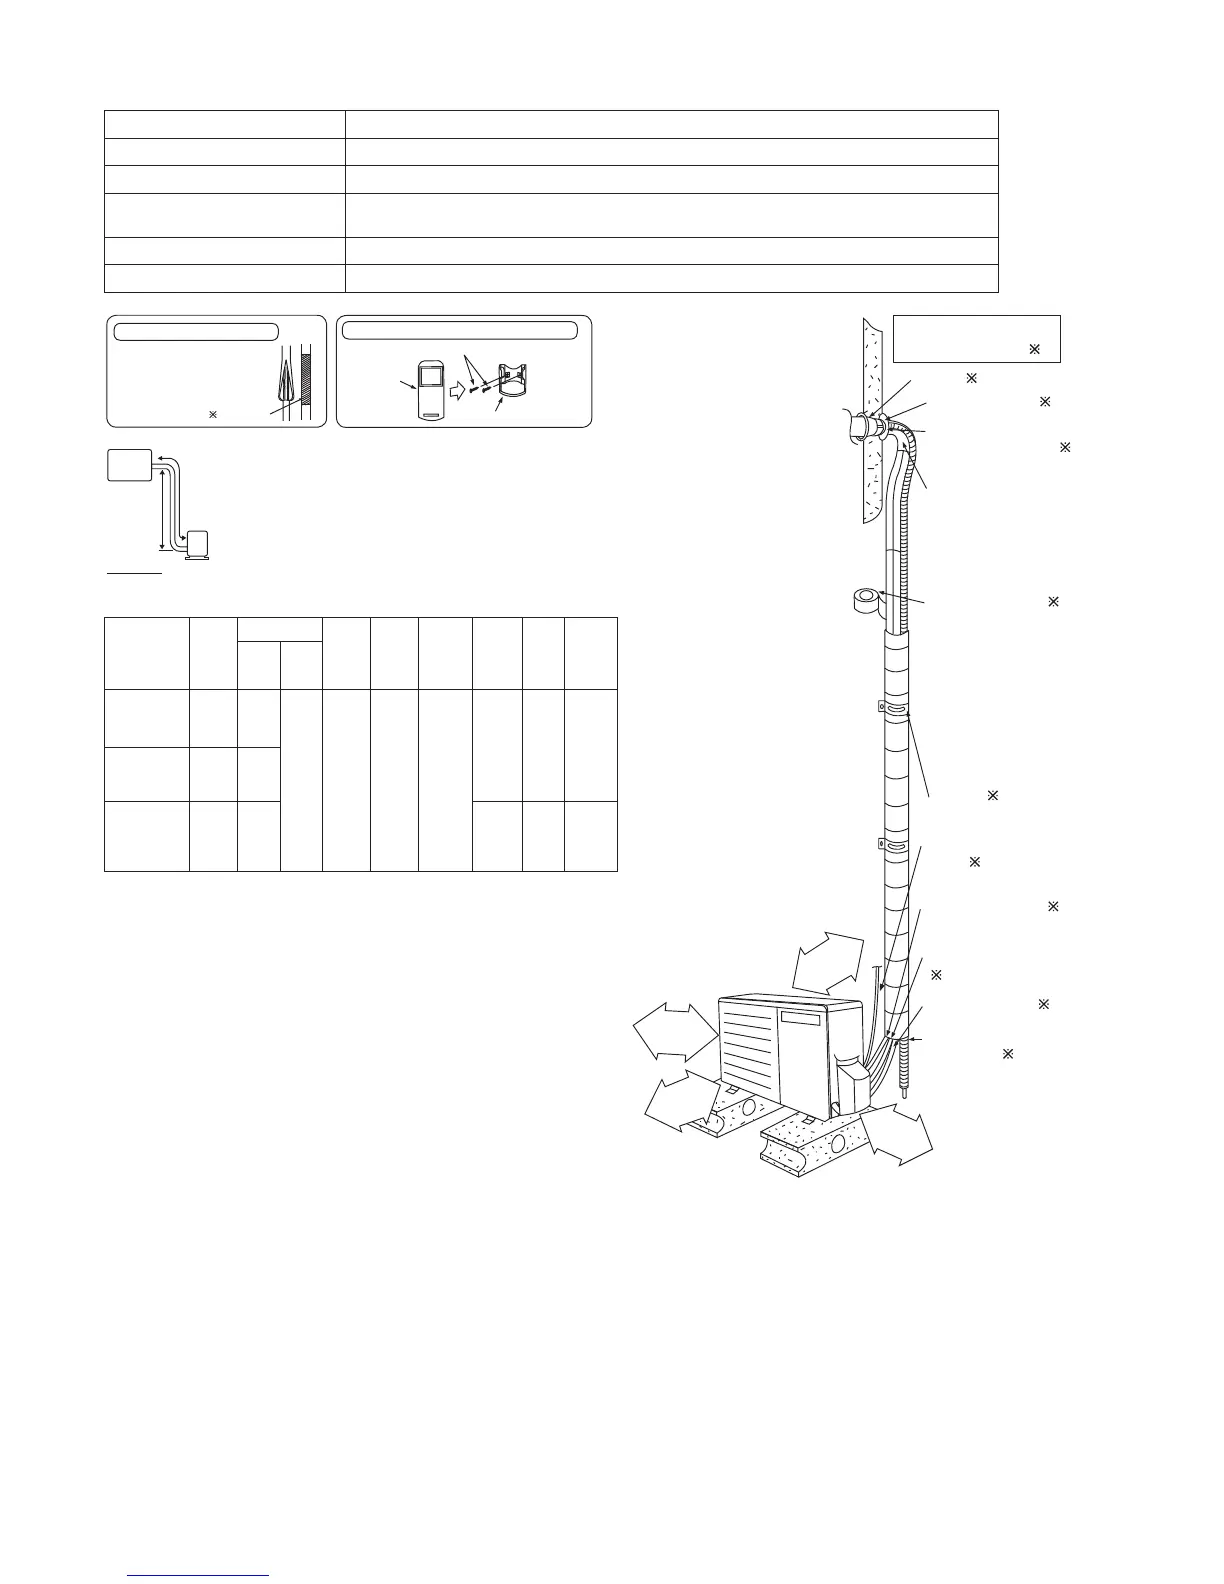
Insulation of piping connections
• Carry out insulation after
checking for gas leaks and
secure with vinyl tape.
Vinyl tape
Remote control holder fi xing screws
4
Remote control holder
3
Remote
control
1
Attaching the remote control holder to the wall
Model
Capa-
city
(Btu/h)
Piping size
Std.
Length
Max
Eleva-
tion
Min.
Piping
Length
Max.
Piping
Length
Addi-
tional
Refri-
gerant
Piping
Length
for add.
gas
Gas Liquid
E9SD3UAW 9000
3/8"
(9.52
mm)
1/4"
(6.35
mm)
24.6 ft
(7.5 m)
49.2 ft
(15 m)
9.8 ft
(3 m)
65.6 ft
(20 m)
0.2
oz/ft
(20
g/m)
24.6 ft
(7.5 m)
E12SD3UAW 11500
1/2"
(12.7
mm)
E18SD3UAW 17200
1/2"
(12.7
mm)
100.0 ft
(30.5 m)
0.3
oz/ft
(25
g/m)
32.8 ft
(10 m)
Example: For E9SD3UA
W
If the unit is installed at 32.8 ft (10 m) distance, the
quantity of additional refrigerant should be 1.64 oz
(50 g) …. (32.8 - 24.6) ft x 0.2 oz/ft = 1.64 oz.
((10 - 7.5) m x 20 g/m = 50 g).
3
15
/16"
(100 mm)
or more
Sleeve (
)
Bushing-Sleeve (
)
Putty
(Gum Type Sealer) (
)
Bend the pipe as
closely on the wall
as possible, but
be careful that it
doesn’t break.
Vinyl tape (Wide) (
)
• Apply after carrying
out a dr
ainage test.
•
To carr
y out the
drainage test,
remove the air
fi lters and pour
water into the heat
exchanger.
Saddle (
)
Connection cable (
)
Additional
drain hose (
)
Power supply
cable (
)
3
15
/16"
(100 mm)
or more
1/4" (6.35 mm)
Liquid side piping
(
)
Gas side piping (
)
39
3
/8"
(1000 mm)
or more
11
13
/16"
(300 mm)
or more
Installation parts you
should purchase (
)
It is advisable
to avoid more than 2 blockage
directions. For better ventilation & multiple-outdoor
installation, please consult authorized dealer/specialist.
Or
x This illustration is for explanation purposes only.
The indoor unit will actuall
y
face a different way.
 Loading...