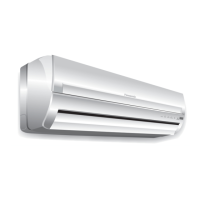
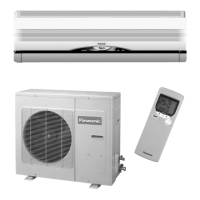
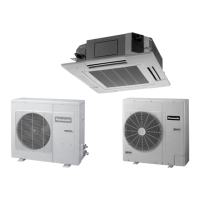
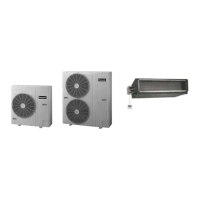
1.1. New refrigerant Series [R407C]
pipe installation
1.1.1. Procedure
•
• •
•
The new refrigerant (R407C) has a different composition to
the previously-used refrigerant (R22), so some contents
and method of pipe installation and charging work are
different from before. Care should be taken when carrying
out this work.
1.1.2. Installation and precautions
1.1.2.1. Before installation
1. Determine the installation division.
2. Check the refrigerant to be used.
•
• •
•
Check that the refrigerant is R407C.
•
• •
•
Check that the gauge pressure is at a maximum of 3.3
MPa.
3. Make a drawing of the Installation.
1.1.2.2. Installation
1. Install the sleeve and the insert.
2. Install the indoor unit.
3. Install the refrigerant piping.
•
• •
•
Pipe materials (Phosphours Deoxidization Seamless
Pipe)
•
• •
•
Refrigerant pipes which were previously used to carry
R22 must not be re-used. If replacing the indoor and
outdoor units, be sure to replace all refrigerant pipes
also.
•
• •
•
Check the pipe thickness.
(1/4, 3/8, 1/2 : t = 0.8mm 5/8, 3/4 : t = 1.0mm)
•
• •
•
Clean the inside of the pipes.
•
• •
•
When storing pipes, seal both ends of the pipes and
store them indoors to prevent water, dust and other
foreign particles from getting inside.
•
• •
•
Take care not to let any foreign particles (oxide scales,
water or dirt) get inside the refrigerant lines (same as for
R22).
■
Refrigerant pipe storing
Location Installation period Storing method
Outdoors 1 month or more Pinching
Less than 1 month Pinching or taping
Indoors Any
•
• •
•
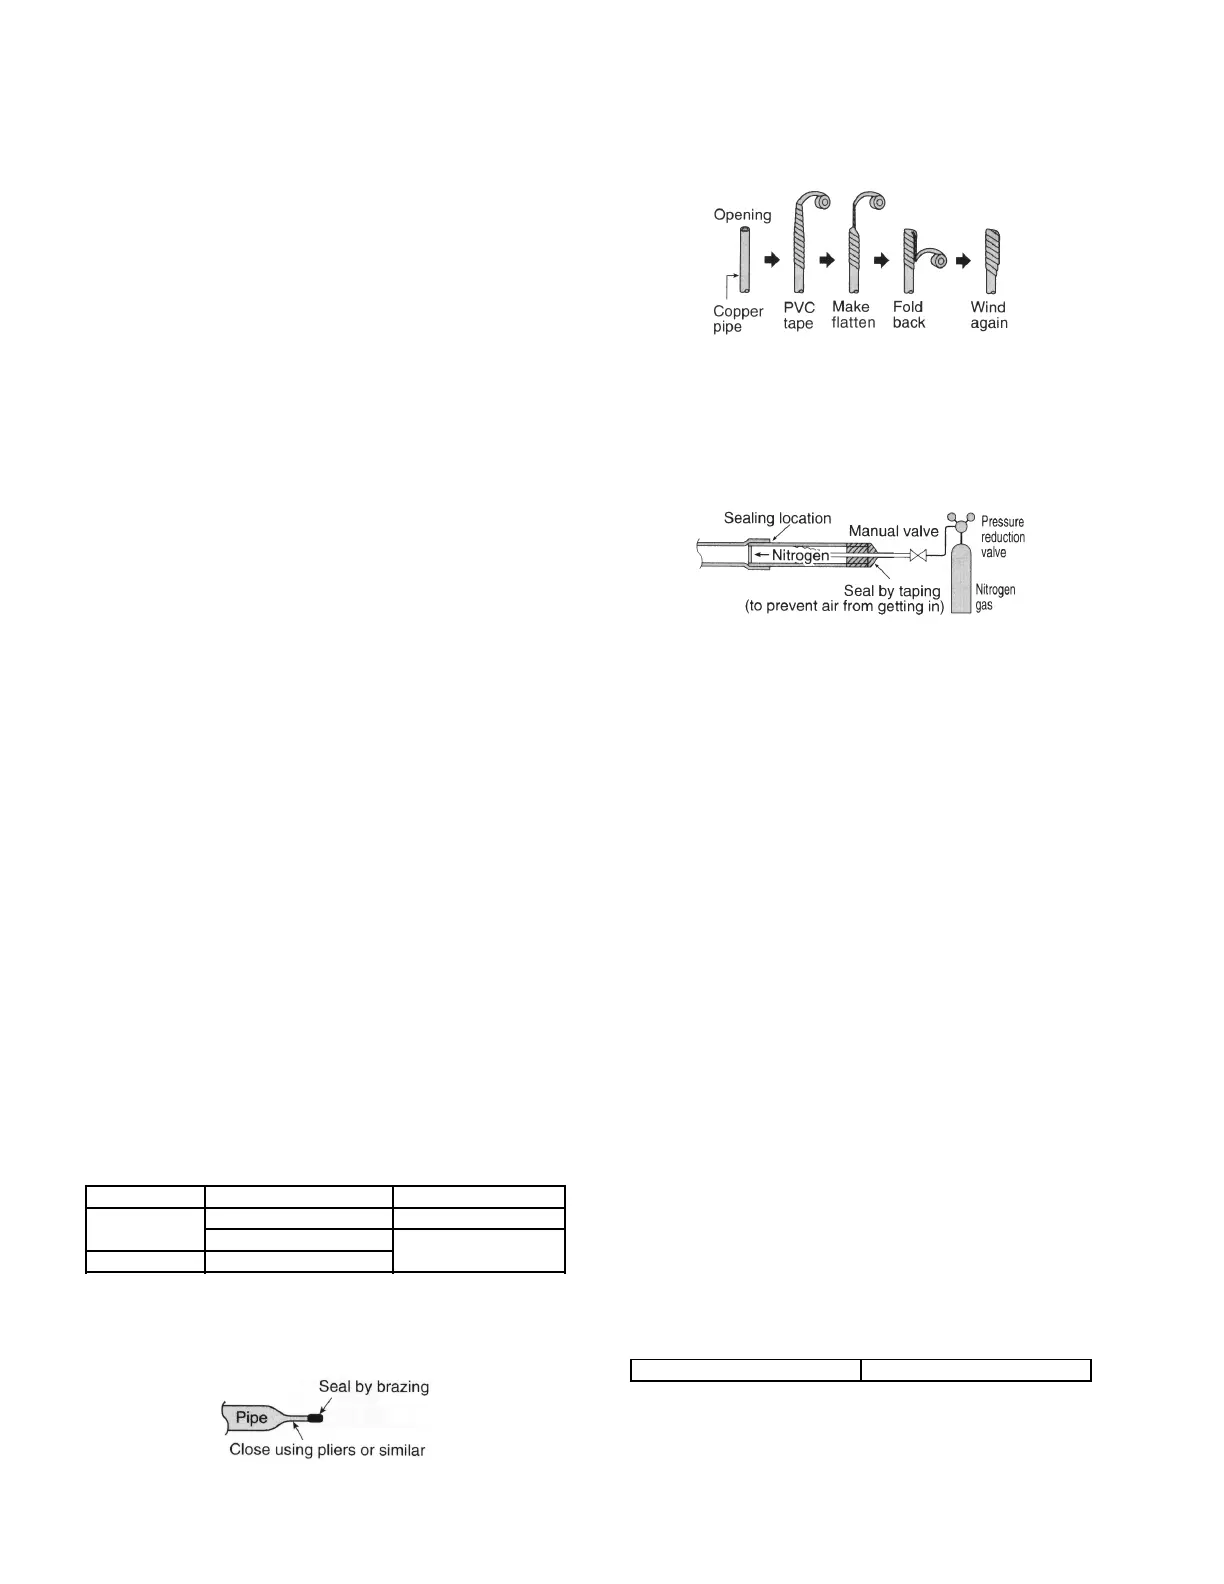
Pinching method
Close off the ends of the pipes with pliers or similar tool
and seal the opening by brazing.
•
• •
•
Taping method
Wind PVC tape around the ends of the pipes to seal the
openings.
•
• •
•
Do not work for refrigerant piping on outdoor on rainy
days.
•
• •
•
Seal by brazing.
•
• •
•
Be sure to use only a non-oxidizing brazing material.
(Use nitrogen. Anti-oxidants cannot be used.)
•
• •
•
When brazing pipes together, or when brazing copper
pipes and copper joints, use a brazing material (Bcup-3)
which does not require flux.
•
• •
•
Flare processing and ester oil.
•
• •
•
Sealing can be improved by applying ester oil or mineral
oil (the minimum amount necessary) to flares and flange
connections.
•
• •
•
Due to the high hygroscopic tendency for ester oil, do
not mix or use any other impurities. (This can cause
deterioration of the compressor oil and problems with
the compressor.)
•
• •
•
After preparing the refrigerant pipes, close both ends of
the pipes by brazing if not immediately connecting them.
•
• •
•
A torque wrench must be used.
4. Install the drain pipe.
5. Install the ducts.
6. Insulate against heat.
7. Carry out the electrical work.
•
• •
•
Connecting cables and power cables.
8. Make all necessary settings.
9. Prepare the outdoor unit foundation.
10. Install the outdoor unit.
11. Air-tightness test.
For the final check, there should be no pressure drop when
3.3 MPa is applied for 24 hours.
12. Vacuum drying.
Vacuum draw time 60 min. or more
* Vacuum pump capacity 60 l/min. or higher
•
• •
•
Drawing the vacuum will remove any moisture.
1 FEATURES (Pages: 4 ~ 8)
2
 Loading...