3
EN
Quick Guide
Indicators
A
Clock setting
Inserting the batteries
B
Basic operation
1
Pull out the back cover of
remote control.
2
Insert AAA or R03 batteries.
3
Close the cover.
1
Press
CLOCK
, then press
to set the time
.
•
Press
CLOCK
for approximately 5 seconds to show the time
as 12-hour (am/pm) or 24-hour.
2
Press to confi rm.
POWER
1
Press to start/stop the
operation.
•
When the unit is ON, disappears
from the remote control display.
DRY
AUTO HEAT
COOL
2
Press to select the
desired mode.
Up
Down
3
Press TEMP UP, TEMP DOWN to
select the desired temperature.
Selection range:
16.0 °C ~ 30.0 °C / 60 °F ~ 86 °F.
•
Press for approximately 10 seconds to show the temperature as
°C or °F.
C
To connect to a network
•
Press to turn the Wireless LAN feature ON or OFF.
•
For Wireless LAN Module operation setup, please refer to Setup
Instructions Web Manual.
•
If the Wireless LAN LED blinks continuously and you do not want
to use the app, press the Wireless LAN button to turn it off .
1
2
3
B
A
C
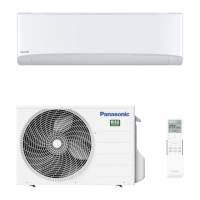
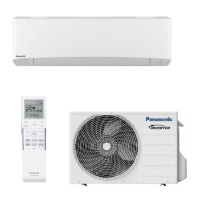
System Overview / Quick Guide
 Loading...