Do you have a question about the Panasonic DMC-ZS8 and is the answer not in the manual?
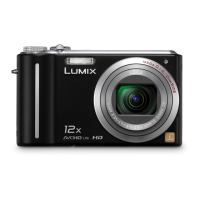
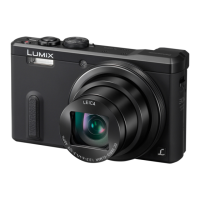
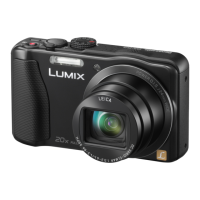
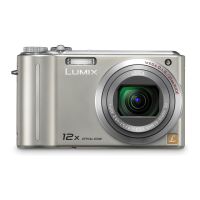
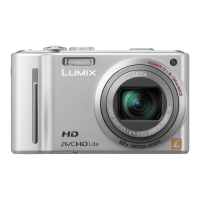
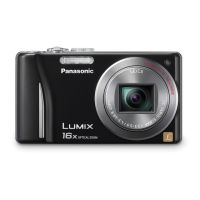
The Panasonic DMC-ZS8 Digital Camera is a digital camera designed for capturing high-quality still images, particularly useful in telemedicine applications. It is a user-friendly device with features that simplify image acquisition and management.
The primary function of the Panasonic DMC-ZS8 is to capture digital still images. It is equipped with an autofocus system to ensure clear and sharp pictures. The camera supports various shooting modes, including an automatic (AUTO) mode for ease of use, which automatically adjusts settings for optimal image quality. It also features a macro function for close-up photography, allowing users to capture detailed views of subjects, which is crucial for medical documentation. The camera can be connected to a computer or a telemedicine cart to transfer images for case documentation and review.
While specific technical specifications like sensor resolution, optical zoom, and battery life are not explicitly detailed in the provided manual, the camera is described as capable of capturing "high quality images." The manual highlights its ability to automatically switch to macro mode when an object is closer than 22 inches, indicating a minimum focusing distance for detailed close-ups. The flash function is adjustable, allowing users to manually turn it off if it causes overexposure or "washed out" images, suggesting a built-in flash unit with some level of control. The camera uses a USB cable for connectivity, facilitating image transfer to external devices.
The manual does not explicitly detail maintenance features such as cleaning instructions, battery replacement, or software updates. However, the emphasis on deleting images from the camera after transfer to a telemedicine case suggests good practice for managing storage and potentially preventing unauthorized access to sensitive data. The camera's robust design for telemedicine use implies a certain level of durability, but specific care instructions are not provided. The "Handy Guide" format suggests that the camera is designed for straightforward operation and minimal user-level maintenance beyond basic image management.
| Brand | Panasonic |
|---|---|
| Model | DMC-ZS8 |
| Category | Digital Camera |
| Language | English |