10-ENGLISH
■
Case 2
z
PT-RQ13K / PT-RZ12K / PT-RS11K
z
PT-DZ21K2 / PT-DS20K2 / PT-DW17K2 / PT-DZ16K2
z
PT-DZ13K / PT-DS12K / PT-DW11K / PT-DZ10K
1)
Press the <MENU> button.
2)
Use the ▲ and ▼ buttons to
select [PROJECTOR SETUP],
and press the <ENTER>
button.
z
The [PROJECTOR SETUP] screen
appears.
MAIN MENU
PICTURE
POSITION
ADVANCED MENU
DISPLAY LANGUAGE
DISPLAY OPTION
3D SETTINGS
PROJECTOR SETUP
TEST PATTERN
SIGNAL LIST
SECURITY
NETWORK
MENU SELECT
SUB MENU
P IN P
ENTER
3)
Use the ▲ and ▼ buttons to
select [LENS CALIBRATION].
4)
Use the
and
buttons to
select [NORMAL], and press
the <ENTER> button.
z
The conrmation screen appears.
2/3
INITIAL STARTUP
DATE AND TIME
STARTUP INPUT SELECT
TIME ZONE
OFF
RS-232C
REMOTE2 MODE
FUNCTION BUTTON
LENS CALIBRATION
LENS MEMORY
NORMAL
STATUS
AC VOLTAGE MONITOR
OFF
SAVE ALL USER DATA
PROJECTOR SETUP
LAST USED
DEFAULT
LAST MEMORY
EXECUTE
CHANGEMENU SELECT
ENTER
5)
Use the
and
buttons to
select [OK], and press the
<ENTER> button.
z
Lens calibration starts.
z
The projection lens moves to the
home position after adjustment range
calibration is complete.
EXECUTE
CHANGE
ENTER
LENS CALIBRATION
OK
Proceed LENS CALIBRATION,
and return to HOME POSITION.
CANCEL
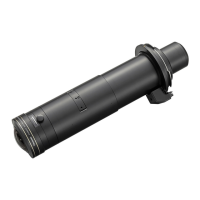
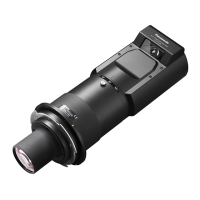
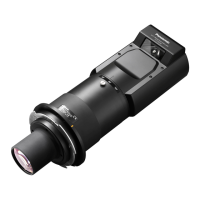
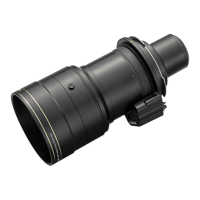
Attaching the Lens / Detaching the Lens (continued)
 Loading...