7
English
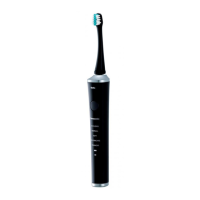
Parts identification
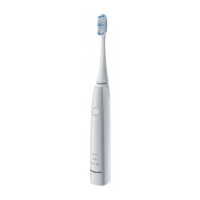
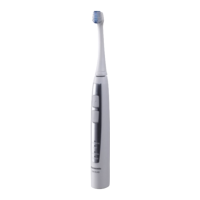
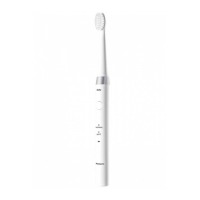
A Main unit
1 Toothbrush shaft
2 Waterproof rubber seal
3 Power switch
4 Mode indicator
5 Charge status lamp ( )
6 Battery capacity lamp
( )
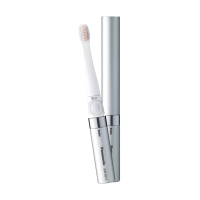
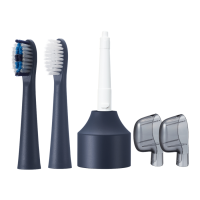
B Stain care brush
7 Extra fine side bristles
8 High‑density bristles
9 Tongue cleaner
Identification ring
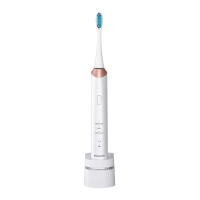
C Charger (RE8-52)
(The shape of the power
plug differs depending on
the area.)
Cord
Power plug
Charger base
Charging section
Main unit guide
Brush head storage
Accessory
D Carrying case
Characteristics of brush bristles (8)
The bristles in the center (high‑density bristles) are arranged in a
diamond shape, which is designed for stain care.
Storing and charging the toothbrush
•If the toothbrush stops operating when first using it (immediately
after purchasing it, or after not using it for 3 months or more) or
during use, charge the main unit.
•Adequate ambient temperature for charging is 5 °C – 35 °C.
The battery may not charge properly or not at all under extreme
low or high temperatures.
•You can keep the main unit attached on the charger when not in
use to maintain the full battery capacity. It will not overcharge the
main unit.
•The main unit may become warm during use and charging.
However, this is normal.
1
1
Place the charger on a
horizontal and stable place
such as sink or shelf.
2
2
Align the main unit so it is
facing forward, and set it
straight into the charging
section.
3
3
Insert the power plug into the
household outlet.
•The charge status lamp glows and
the charging will start.
•Charging cannot start when the main
unit is tilted or the bottom of the main
unit is not in contact with the charging
section.