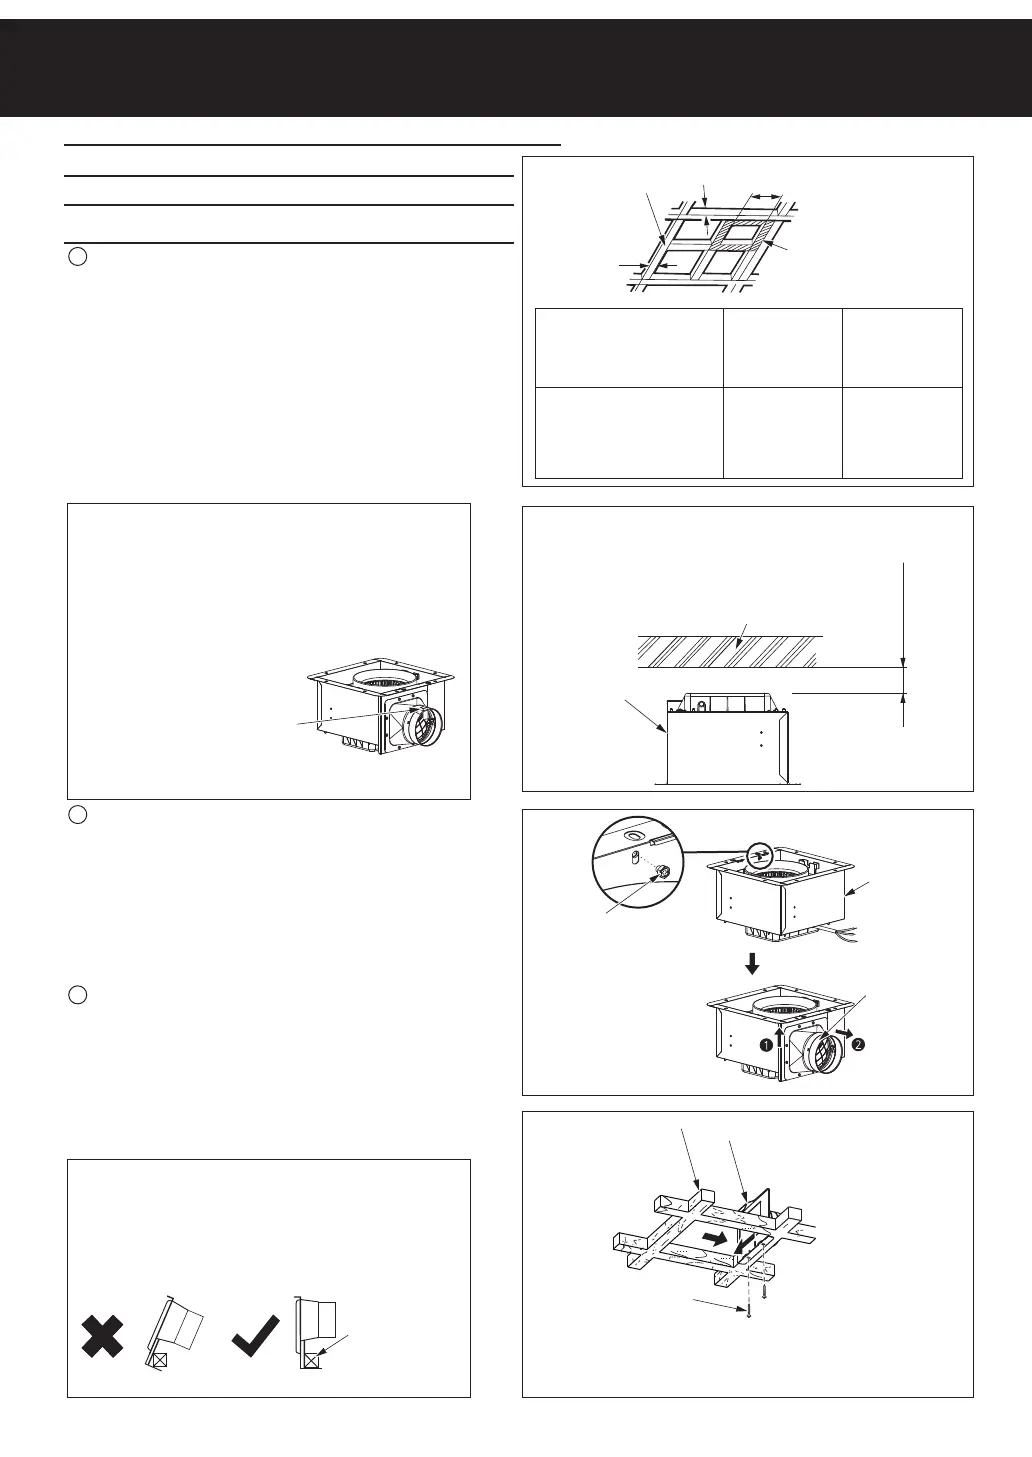
Remove the screw bag from adaptor
assembly before installation as shown below.
Adaptor assembly should not fix at an angle.
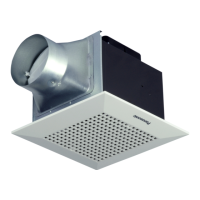
FV-17CU9
FV-17CH9
177±2 240±2
FV-24CU9
FV-24CD9
FV-24CH9
FV-24CG9
A Size (Square)
Unit : mm
Screw bag
Wooden frame
1 Construct the wooden frame and attach it
horizontally to the wooden joist. (Fig.1)
3 Fix the adaptor assembly on wooden frame with 2
self-tapping screws of Φ4.2x20. (Fig.4)
2
Remove one hexagon screw that is fixed adaptor assembly
and fan body, then remove the adaptor assembly. (Fig.3)
(
1)
IMPORTANT /
QUAN TRỌNG /
Tháo bọc ốc vít ra khỏi cụm đầu nối ra trước khi
lắp đặt như hình minh họa bên dưới.
Bọc ốc vít
Tháo một ốc vít lục giác được dùng để cố định cụm đầu nối
với thân quạt, sau đó tháo cụm đầu nối. (Hình 3)
(
3)
Cố định cụm đầu nối vào khung gỗ bằng 2 ốc vít tự khía
ren Φ4.2x20. (Hình 4)
Không nên cố định cụm đầu nối theo một góc.
Khung gỗ
Đơn vị : mm
: .
Cỡ A (Vuông)
A (
)
Wooden frame
Adaptor assembly
Self-tapping screw
Φ4.2x20 (2 PCS)
Ốc vít tự khía ren 4.2x20 (2 CHIẾC)Φ
4.2x20 (2 )Φ
Khung gỗ
Cụm đầu nối
在木龙骨上水平搭建木框(图1)。
The distance between the top of fan body and
ceiling should not be less than 20 mm. (Fig.2)
Khoảng cách giữa đỉnh thân quạt và trần phải từ
20 mm trở lên. (Hình 2)
20 . (
2)
注意应保持机体顶部和天花板的距离不小于20mm(图2)。
IMPORTANT /
QUAN TRỌNG /
重要
在安装之前要撕下接头组合上的螺丝包。
取下固定接头组合和机体的一颗螺丝,
按图示方法拆下接头组合(图3)。
按图示将接头组合紧靠木框固定,
并用自攻螺丝φ4.2x20(2颗)固定(图4)。
重要
固定接头组合时要注意不能和木框之间有角度
Fig.1 /
Hình 1 /
1
图1
Fig.2 /
Hình 2 /
2
图2
Fig.3 /
Hình 3 /
3
图3
Fig.4 /
Hình 4 /
4
图4
30 mm
25~30 mm
□A
Wooden joist
Wooden
frame
Dầm gỗ
Khung gỗ
木龙骨
木框
单位:mm
A尺寸(正方形)
木框
接头组合
自攻螺丝(2颗)
木框
螺丝包
1. Fan body installation Method 1 install with wooden joist.
1.
1
1. Lắp thân quạt bằng Cách 1 - lắp vào dầm gỗ.
1.机体的安装 方法一 使用木龙骨安装
Remove the
hexagon screw
Tháo ốc vít lục giác
去掉螺丝
Fan body
Thân quạt
机体
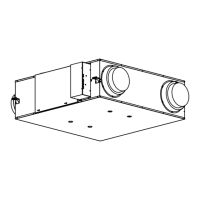
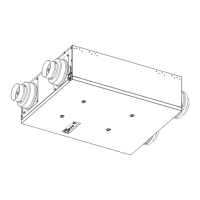
Adaptor
assembly
Cụm đầu nối
接头组合
Ceiling
At least 20 mm
Trần
Tối thiểu 20 mm
20 .
不小于20mm
Fan body
Thân quạt
机体
天花板
HOW TO INSTALL
CÁCH LẮP ĐẶT
安装方法
Φ4.2x20 2
(
4)
Làm khung gỗ và gắn theo chiều ngang vào dầm gỗ. (Hình 1)
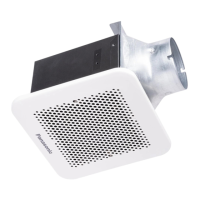
Model No.
Số Model
型号
8
 Loading...