Do you have a question about the Panasonic FV-23BWN2H and is the answer not in the manual?
Appliance not intended for persons with reduced capabilities; children supervision.
Explains symbols for death/serious injury, injury/damage, prohibition, compulsion, and caution.
Product must be grounded; use suitable all-pole switch with 3mm separation.
Avoid flammable materials, gas backflow from other appliances, and location below power outlets.
Use 60227 IEC 53 cord (3x1.5 mm²); ensure power cord is installed firmly.
Must be installed by professionals; do not reconstruct; secure tightly; two persons recommended.
Keep switches away from bath/shower users; disconnect power before maintenance.
Install on strong window frames (5x product weight); use dedicated parts.
Do not install on slanting windows, in steam bathrooms, near sprinklers, in high temperatures, or with organic solvents/oil mist.
Ensure horizontal installation within ±2°; install over 1.8m from floor; set ventilation holes.
Lists included accessories and notes on purchasing necessary external components like power cords.
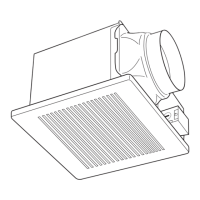
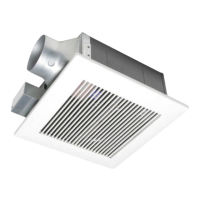
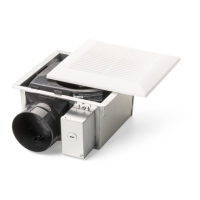
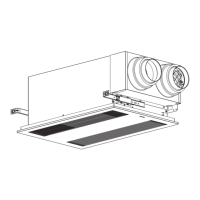
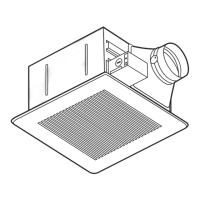
Lists and illustrates all parts of the unit with their dimensions.
Diagrams show installation into a window frame, requiring specific dimensions and clearance.
Fix window frame securely; add silicone for sealing; ensure drain is properly placed.
Secure main body with screws; connect power cord following wiring sketch and safety precautions.
Install all-pole and leakage switches; remove cord cover; connect power cord to terminal.
Route power cord correctly to avoid obstructing the filter installation.
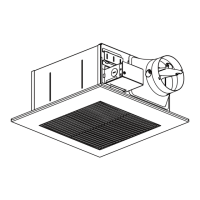
Prepare louver assembly outlet by cutting; pull out filter; clamp louver assembly to main body.
Drill holes for holder; mount securely away from shower spray; ensure correct orientation.
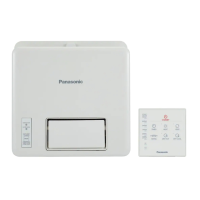
Safety warnings for remote use; instructions for battery replacement and care.
Verify fan operation, vibration, noise, air output, and button functions after installation.
Use independent power switches for multiple units to ensure correct remote pairing.
Product consumes power in standby; turn off main switch for long periods to save energy.
Explains the operation of each button on the remote control for various functions.
Adjust running time using timer buttons; system memorizes last setting; how to cancel memory.
Use SWING button to set AUTO or FIX air direction; direction is memorized for each mode.
Start heating in HI or LO mode; adjust time and air direction; auto stop function.
Explains hot startup function and how heater cycles based on room temperature.
Operate ventilation in HI or LO mode; adjust time; auto stop function.
Operate nanoe® X mode; air direction is AUTO only and not adjustable during operation.
Details on nanoe® X generation, features, and conditions for effective operation.
Select DRY HOT or DRY COOL mode; adjust time; auto stop; heater stop procedure.
Recommended installation for drying; tips for better effect, airflow, and placement.
Managing condensation and proper installation of clothesline poles for drying.
Operate functions using main body buttons when remote is lost; understanding indicator lights.
Avoid scalding, gas leaks, water spray on parts, and battery mishandling.
Disconnect power for long-term storage; handle batteries properly; avoid disassembly.
Wear gloves for cleaning; do not adjust baffle plate when electrified; reset procedure.
Clean louver/panel without harsh chemicals or abrasive materials.
Do not wash filter with water; clean with vacuum; clean regularly.
Reset the filter cleaning indicator by pressing the MODE button for 3 seconds.
Explains the filter's antibacterial ratio and how performance may change over time.
Presents test results for sterilization performance against microorganisms.
Table to help identify symptoms, causes, and troubleshooting steps for common faults.
Provides a detailed wiring diagram of the product's electrical connections.
Lists key technical specifications including model, power, volume, and weight.
Details conditions under which specifications like noise and air volume were measured.
| Sound Level | 0.3 Sones |
|---|---|
| ENERGY STAR Certified | Yes |
| Noise Level | 0.3 Sones |
| Mounting Type | Ceiling |
| Color | White |
| Airflow | 110 CFM |
| Duct Size | 4 inches |
| Voltage | 120 V |