Thank you for purchasing this Panasonic product.
Please read these instructions carefully before attempting to install, operate or service
the Panasonic product. Please carefully read “INSTALLATION INSTRUCTIONS” (P.2~5)
of this instructions before installation. Failure to comply with instructions could result
in personal injury or property damage. Please explain to users how to operate and
maintain the product after installation, and this booklet should be presented to users.
Please carefully read “USE AND MAINTENANCE INSTRUCTIONS” (P.16~17) of this
instructions before operation.
Please retain this booklet for future reference.
Model No.
INSTALLATION AND OPERATING
INSTRUCTIONS
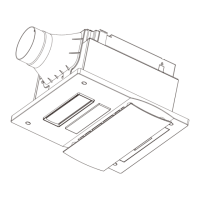
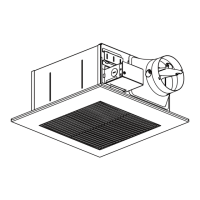
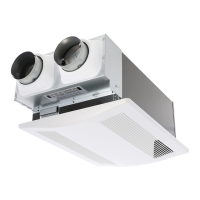
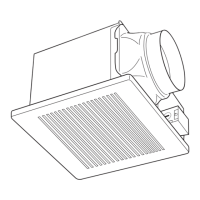
Energy Recovery Ventilator
FV-15ZY1
FV-50ZY1
FV-1KZY1
FV-25ZY1
FV-65ZY1
FV-1HZY1
FV-35ZY1
FV-80ZY1
FV-2KZY1
CONTENTS:
SAFETY INSTRUCTIONS
·····················
2
INSTALLATION INSTRUCTIONS
·············
2~5
INSTALLATION AND OPERATING REQUIREMENTS
·
5~6
PRODUCT FEATURES
·······················
6
SUPPLIED ACCESSORIES
····················
7
PART NAMES AND DIMENSIONS
···········
7~8
WORK BEFORE INSTALLATION
···············
9
HOW TO INSTALL
·····················
10~15
TEST RUN
···························
15~16
USE AND MAINTENANCE INSTRUCTIONS
···
16~17
MAINTENANCE
·······················
18~20
WIRING DIAGRAM
····················
21~22
TROUBLESHOOTING
······················
22
SPECIFICATIONS
··························
23
OPTIONAL ACCESSORIES
··················
24