The main unit and the supplied accessories are there and also check their external appearance and
functions to verify that they have not sustained any damage during distribution and transportation. If
you discover any trouble, contact your vendor before using the product.
Product numbers correct as of September 2015. These may be subject to change.
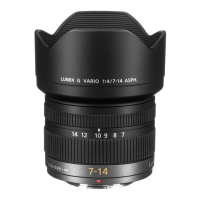
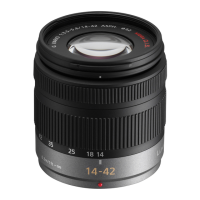
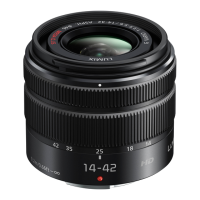
1. Lens Cap
2. Lens Rear Cap
3. Lens Hood
A: Black, B: Silver
4. Decoration ring
A: Black, B: Silver
(The lens cap, lens rear cap, and decoration ring are attached to the lens at the time of purchase.)
Names and Functions of Components
Lens surface
Decoration ring Remove this cover when using the lens hood.
Focus ring Rotate to focus when taking pictures with manual focus (MF).
Lens fitting mark
Contact points
Notes:
If you turn off the camera, the aperture will be set to a reduced value. When flash recording with a
close subject, the light of the flash will be blocked by the lens and part of the picture may be dark.
Check the distance from the subject when recording.
Attaching/Detaching the Lens
Refer also to the camera’s owner’s manual for attaching and detaching the lens.
Check that the camera is turned off.
Remove the lens rear cap from the lens.
Attaching the Lens (See illustration ) Align the lens fitting marks A on the camera body and the lens
and then rotate the lens in the direction of the arrow until it clicks.
Do not press the lens release button B when you attach a lens.
Do not try to attach the lens when holding it at an angle to the camera body as the lens mount
may get scratched.
Check that the lens is attached correctly.
Detaching the Lens (See illustration ) While pressing on the lens release button B, rotate the lens
toward the arrow until it stops and then remove.
When rotating the lens, hold C, the portion near the base of the lens.
Attach the lens rear cap so that the lens contact point does not get scratched.
Attach the body cap to the camera so no dirt or dust will get inside the main unit.
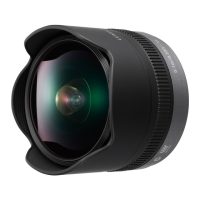
Temporarily Storing the Lens Hood (See illustration)
Rotate the lens hood G in the direction of the arrow and then remove.
Align the mark F ( ) on the lens hood with the mark on the tip of the lens.
Rotate the lens hood in the direction of the arrow until it clicks into place.
Notes: When taking pictures with the flash with the lens hood attached, the lower portion of the
screen may turn dark (vignetting effect) and the control of the flash may be disabled because the
photo flash may be obscured by the lens hood. We recommend detaching the lens hood. When using
the AF assist lamp in the dark, detach the lens hood.
Cautions for Use

 Loading...