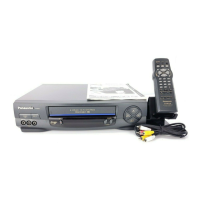
5.1. CABINET SECTION
5.1.1. Disassembly Flowchart
Perform all disassembly procedures in the order described in
the "Disassembly Flowchart" shown below. When
reassembling, use the reverse procedure.
CAUTION:
Disconnect AC plug before disassembly.
Fig. D1
5.1.2. Top Cover
5.1.2.1. Disassembly Procedure
1. Remove 2 Screws (A) and 3 Screws (B).
2. Lift up on the rear portion of the Top Cover and remove.
Fig. D2
5.1.2.2. Reassembly Notes
Install the Top Cover front portion at a downward angle so that
the tab on the Front Panel Ass'y fits into the hole in the Top
Cover.
Then, lower the rear portion into place and tighten 2 Screws (A)
and 3 Screws (B).
5.1.3. Bottom Panel
5.1.3.1. Disassembly Procedure
1. Remove 2 Screws with Washers (A), (B), and Screw (C).
2. While pushing 2 Locking Tabs (A) to release, slide the
Bottom Panel and remove.
5 DISASSEMBLY/ASSEMBLY PROCEDURES
19
PV-9661 / PV-9662
 Loading...