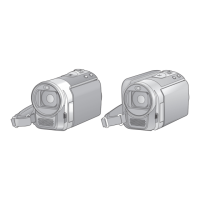
Do you have a question about the Panasonic TM 300 and is the answer not in the manual?
Press the iA button and check the viewfinder for confirmation of initial setup steps.
Navigate through the SETUP menu, including VIERA Link, TV ASPECT, and INITIAL SET options.
Select 'INITIAL SET' to return all menu settings to their default configurations.
Configure various recording settings like Scene Mode, Time Lapse, Digital Cinema, Fade, Colour Night View, and Intelligent Contrast.
Adjust microphone settings, including Focus Mic, Mic Level, Bass Setting, and Picture Adjust for optimal audio recording.
Press the iA button again to re-activate the iA function after completing setup adjustments.
Format the camera's built-in memory card by navigating through SETUP, FORMAT, and confirming with OK.
Connect the camera to a PC via USB cable and select 'PC' on the camera's touch screen for data transfer.
Avoid disconnecting the USB cable when the HDD ACCESS lamp or memory access icon is visible on the touch screen.
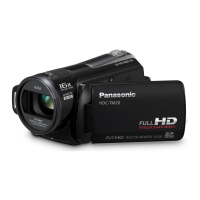
| Recording Format | AVCHD |
|---|---|
| Image Sensor | 3MOS |
| Optical Zoom | 12x |
| Built-in Memory | 32 GB |
| Sensor Type | MOS |
| Sensor Size | 1/4.1 inch |
| HDMI Output | Yes |
| USB Interface | Yes |
| Memory Card Slot | SD/SDHC |
| Microphone | Stereo |
| Video Resolution | 1920 x 1080 |
| Storage Media | SD/SDHC/SDXC card |