25
© Copyright 2008 Panoramic Corporation
11. The milliammeter should show 10.0 mA
± .09 mA. If it does not:
A. Power the machine off.
B. Slightly adjust (1/4") the slide on R2
toward the rear of the machine to increase
the mA and repeat the test until the
milliammeter shows 10.0 mA ± .09 mA.
OR
C. Slightly adjust (1/4") the slide on R2
toward the front of the machine to
decrease the mA and repeat the test until
the milliammeter shows 10.0 mA ±
.09 mA.
12. Using the function switch on the control panel,
select PANORAMIC L or PANORAMIC R.
13. Using the kVp setting knob on the control
panel, set the kVp meter to 80 kVp on the
PANORAMIC scale.
14. Using the lever on the front of the collimator,
select PANORAMIC.
CAUTION: X-rays will be emitted when the
exposure switch is depressed.
15. Depress the exposure switch.
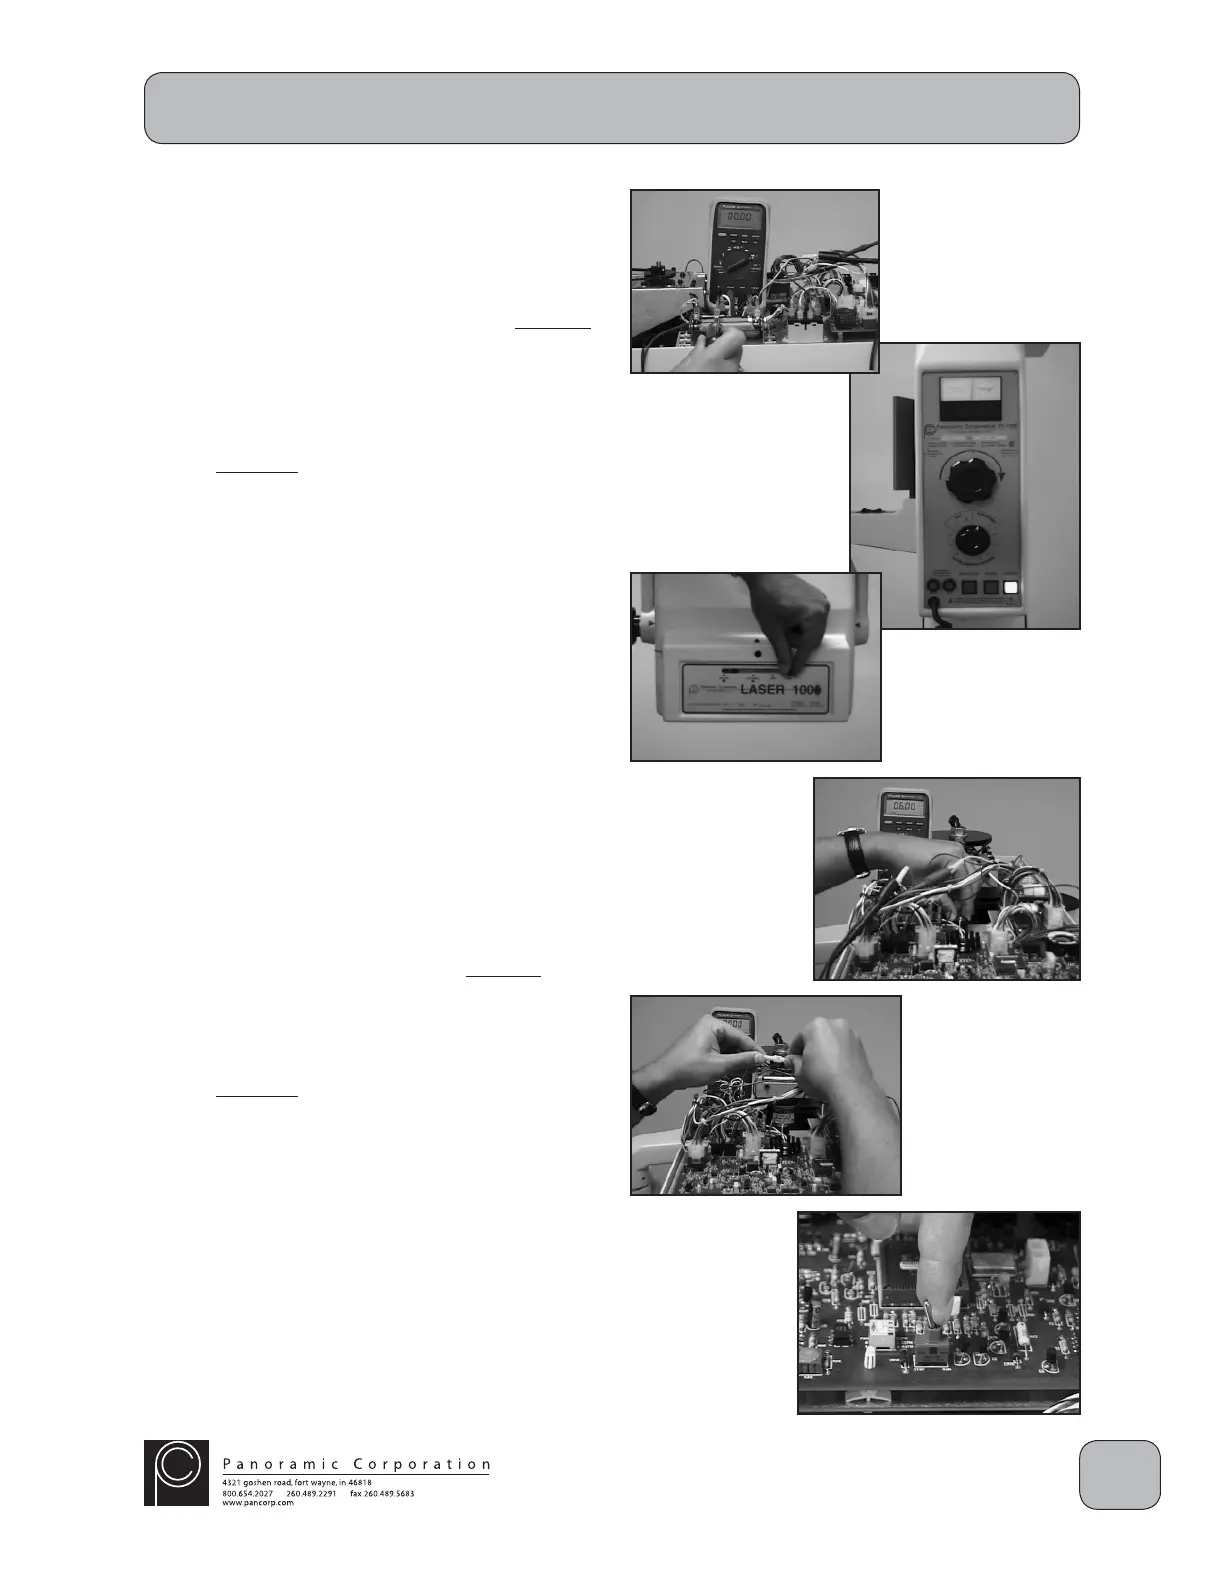
16. The milliammeter should show 6.0 mA
± .05 mA. If it does not:
A. Adjust P1 clockwise (CW) to increase
the mA and repeat the test until the
milliammeter shows 6.0 mA ± .05 mA.
OR
B. Adjust P1 counterclockwise (CCW) to
decrease the mA and repeat the test until
the milliammeter shows 6.0 mA ± .05 mA.
Note: Contact Panoramic Corporation if the mA
cannot be set to 6.0 mA ± .05 mA.
17. Disconnect the milliammeter.
18. Reconnect the yellow wire, 1-pin molex
connectors.
19. Toggle the RUN/STOP switch on the printed
circuit board in the overhead chassis to RUN.
PC-1000/Laser 1000 Installation
 Loading...