10
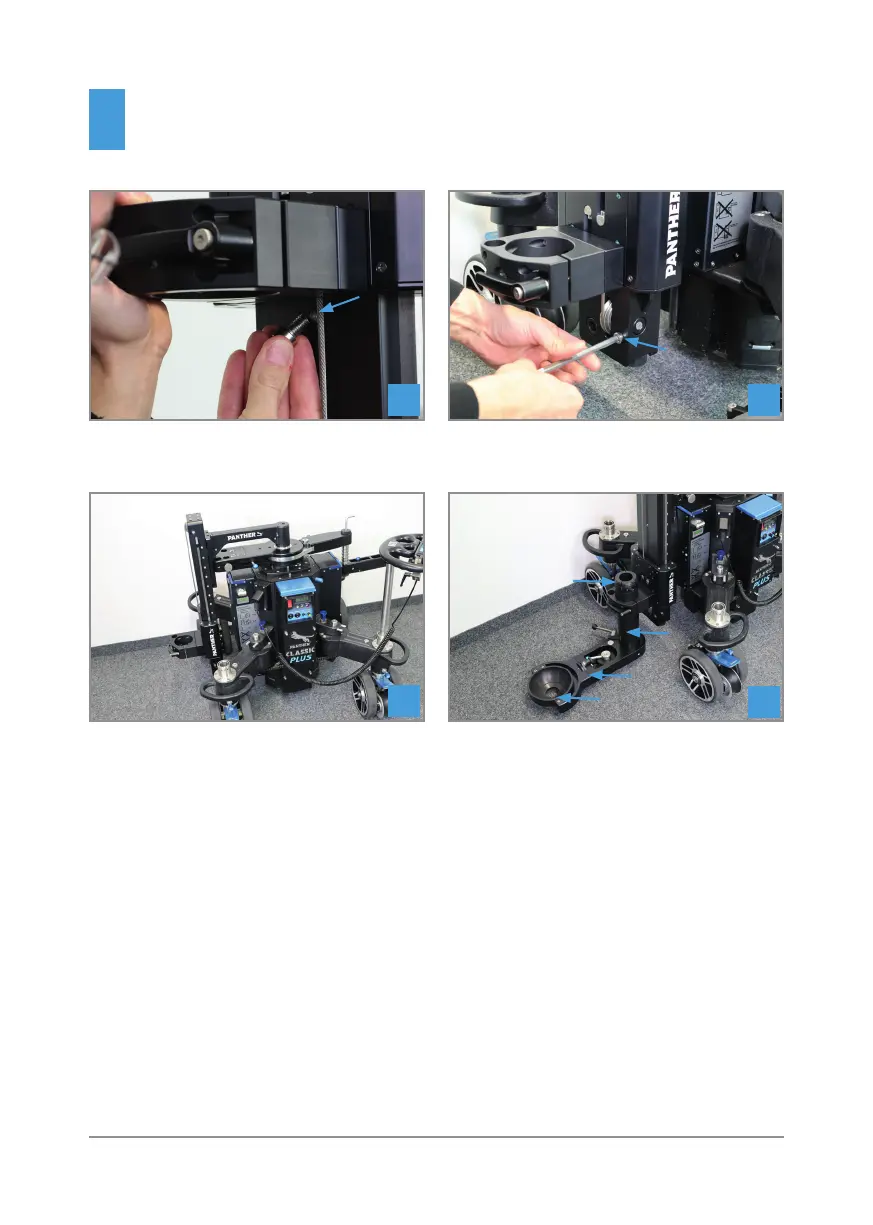
After loosend screw, lower nose mount
carefully by hand until rope is streched.
Place the locking screw into the park position.
17
18
The Range Extender has now been
successfully installed.
Further components such as the tube
connector (1), the 32cm tube (2), the camera
mount (3) previously attached to the dolly
and, for example, a 150mm bowl can now be
mounted (4).
19
20
Installation
New Classic Plus & X-Type
1
2
3
4