6
PSFS 250 A1
GB
CY
Fitting abrasive belts
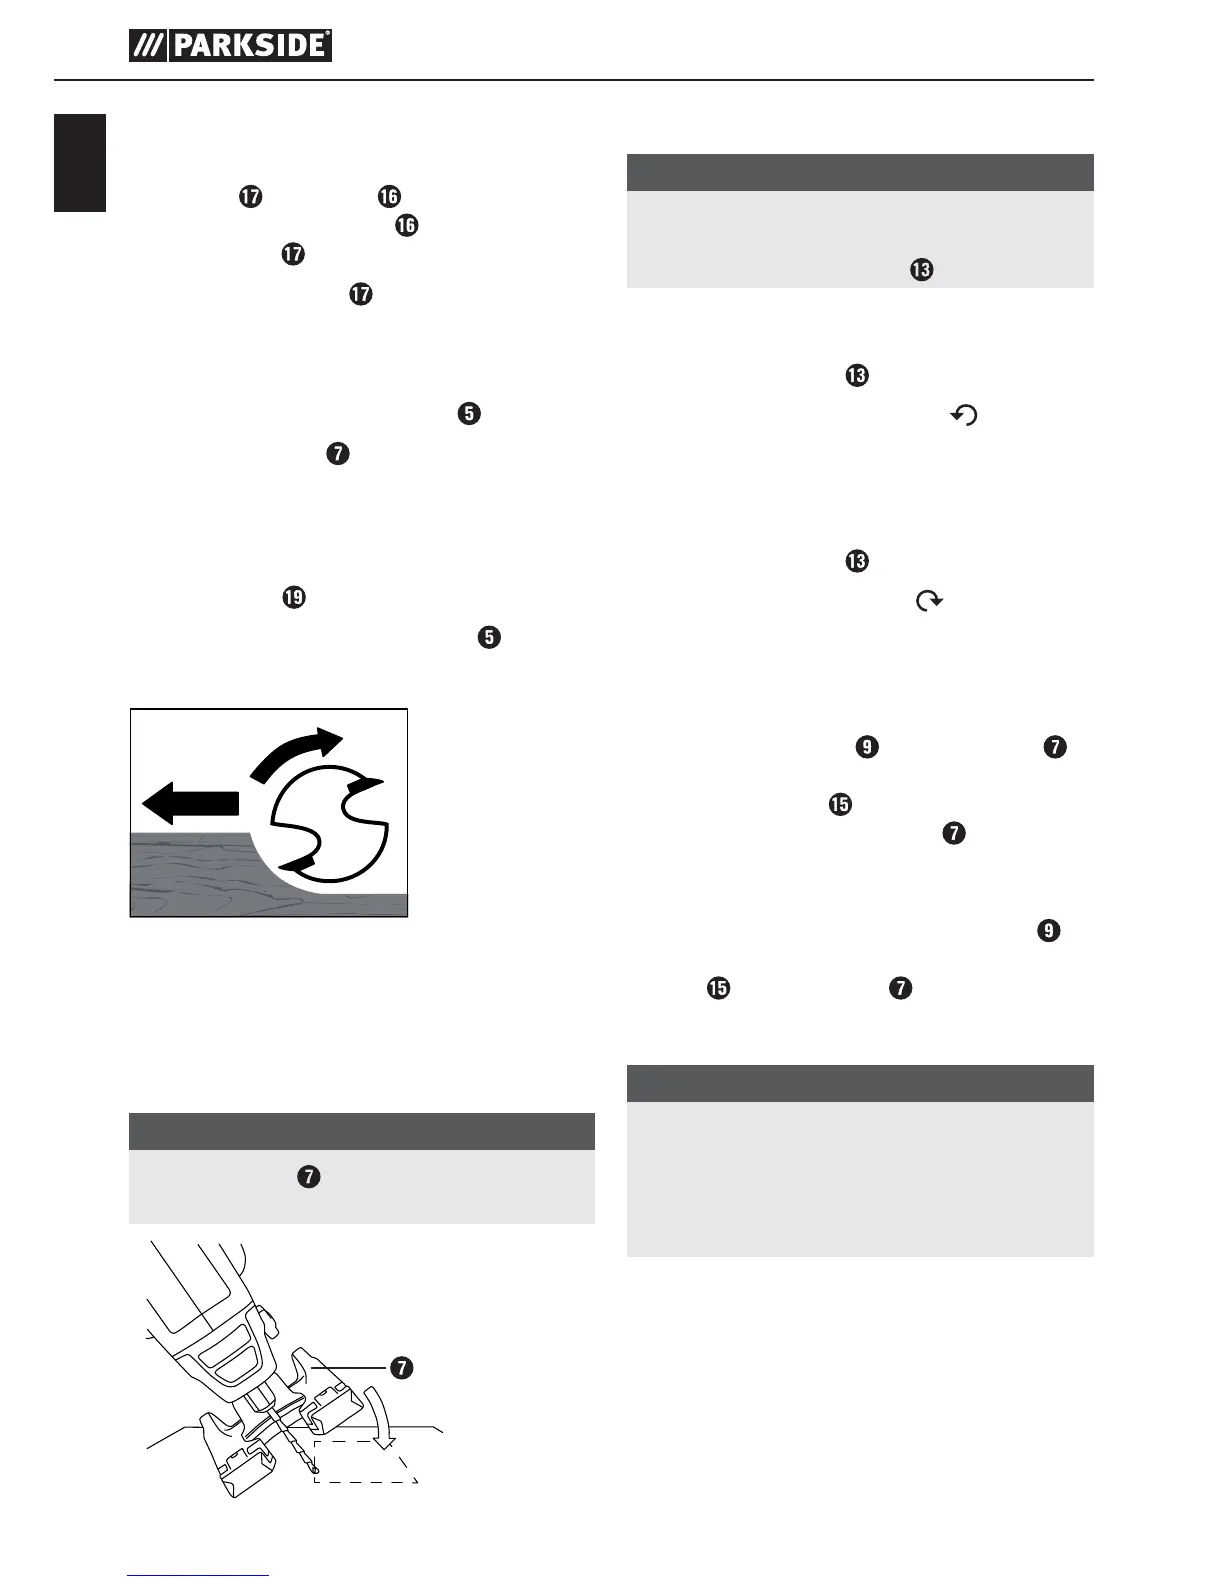
♦ Push the abrasive belt onto the abrasive belt
mandrel
from above . Tighten the bolt on
the abrasive belt mandrel in order to fix the
abrasive belt .
♦ Fit the abrasive belts
as described in the
section "Replacing tools".
Adjusting the working depth
♦ Loosen the wing adjusting screw .
♦ Push the footplate
down to the required
working depth (around 3.2 mm more than the
material thickness for complete cutting). The
maximum recommended cut depth forward is
13 mm *(applies only to multipurpose milling
cutters (HSS) ).
♦ Retighten the wing adjusting screw
.
Milling direction on edges
Carrying out plunge cuts
♦ Introduce the bit into the workpiece at an angle
of 45°.
♦ Slowly change the angle of the bit to 90°
before starting the cut.
NOTE
► The baseplate
must be flush with the material
surface.
Swivelling the handle
NOTE
► Do not rotate the handle while working.
Remove the plug from the mains socket and
ensure that the swivel lock
is engaged.
Swivelling to the horizontal position:
♦ Press the swivel lock
and hold it down.
♦ Rotate the handle anticlockwise
from the
vertical to the horizontal position until the swivel
lock engages.
Swivelling to the vertical position:
♦ Press the swivel lock
and hold it down.
♦ Rotate the handle clockwise
from the hori-
zontal to the vertical position until the swivel
lock engages.
Using the parallel guide
♦ Undo the wing screw on the baseplate ,
and push the guide rod on the circular/parallel
cutting attachment through the two recesses
on the bottom of the baseplate so that the
parallel guide is facing downwards.
♦ Align the tool at the required distance from the
workpiece edge. Tighten the wing screws
in
order to fix the circular/parallel cutting attach-
ment to the baseplate .
Sawing circles
NOTE
► Depending on the required results, the guide
hole is placed either on the inside or the out-
side of the circle circumference. Inside for
a hole – outside for a disc. The radius can
be fixed approximately between 5 to 16 cm.
♦ Draw a circle on the workpiece.
♦ Mark the centre of the circle and drill a hole in
it (plunge cut).
♦ Drill a guide hole on the outside of the circle
(plunge cut) (guide hole diameter 3 mm).

 Loading...