11 GB
Wear a dust mask!
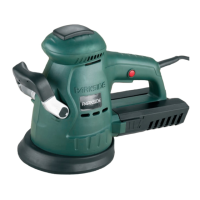
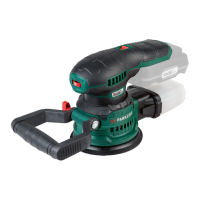
Vacuuming dust with the dust
collection box
Attach the dust collection box:
j Slide the dust collection box 4 onto the
adapter
5
on the rear of the appliance.
Remove the dust collection box:
j Press the release button
3
and pull the dust
collection box
4
off the appliance.
Note: Always empty the dust collection box
4
in due time and shake any remaining dust out; this
will ensure optimal vacuum performance.
Attaching the dust removal device to an
external vacuum:
When using a vacuum cleaner to remove the dust,
slide the suction hose of an appropriate vacuum
cleaner (e.g. industrial vacuum cleaner) into the
adapter
5
– see Fig. D.
Note: If necessary, use the reducer
12
and insert
it into the adapter
5
.
Removing:
j Pull the hose from the adapter
5
, or from the
reducer
12
, as the case might be.
Q
Instructions, tips and tricks
j Always hold the appliance firmly with two
hands while working (see also Fig. D, E).
j Move the oscillating sander parallel, in flat
circles or alternating between lengthwise and
side-to-side motions.
j Do not press down with the oscillating sander.
The sanding pads become clogged, which
reduces the sanding performance.
j Clean the sanding pad
9
occasionally with
the vacuum cleaner.
j The removal performance and therefore the
result of your work are determined by the correct
selection of the speed and sanding pad
9
grit.
j Never sand different materials with the same
sanding pad
9
(e.g. wood then metal).
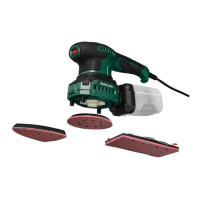
The following table offers some values, which are
for information only and may simplify the selection
of a sanding pad
9
.
Wood Sanding Pad / Grit
Sanding of wood 40 - 240
Pre-sanding, e.g.
of rough, unplaned
beams and boards
40, 60
Surface sanding 80, 100, 120
Fine sanding of hard
woods
180, 240
Paints / Lacquers Sanding Pad / Grit
Sanding of paint /
lacquer coats
or base coats
such as filler and
smoothing com-
pound
40 - 320
Sanding off paint 40, 60
Sanding off primer
coats
80, 100, 120
Final sanding of base
coats before painting
180, 240, 320
Q
Maintenance and Cleaning
WARNING!
Before performing any work on
the appliance, disconnect the power plug.
j Clean the appliance regularly, preferably
always immediately after use.
j Do not use any sharp objects for cleaning the
appliance. Never permit fluids to permeate
inside the appliance.
j Use a cloth to clean the casing. Never use pet-
rol, solvents or cleansers that damage plastics.
Operation / Maintenance and cleaning