8 9
FOr tHe installer
FOr tHe installer
Before installing the fan, carefully read these instructions and the warranty conditions.
PAX passad multi is designed for fixed installation and must be installed by a
qualified electrician.
Fold out pages “III” and “IV” to the left and right respectively so that you can see all the
illustrations when reading the user and installation guide.
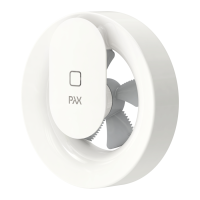
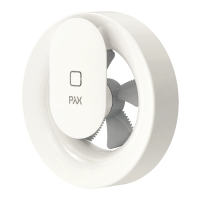
Thank you for choosing a PaX fan – The original!
The PAX passad multi exhaust fan is designed primarily to boost the air flow in houses (see page
6*) with natural draught ventilation. It is suitable for installation in wet rooms (WC/bath/shower/
laundry) and can be installed in ducts with and without natural ventilation (see page 6**).
The fan fits ducts with a diameter of Ø or
100 – Ø 140 mm. For larger ducts (up to 160 mm
diameter) the PAX cover plate (accessory) must be used. To ensure that the PAX passad multi
does not affect other ventilation systems and is not affected by them, the fan must always be
installed in its own duct. Make sure that the duct is clear of obstructions. Avoid insect mesh,
filters and other objects that may obstruct the flow of air. To prevent condensation in natural
draught ducts (in winter), the ducts must be insulated where they pass through unheated areas
such a cold attics.
To avoid backdraughts when the fan is installed in ducts that have no natural draught** (eg through
an external wall), the PAX passad multi is set at the factory to operate continuously at a low speed,
so creating a constant basic flow of ventilation. If the fan is only required to operate with an on/off
function, the basic ventilation flow can be disabled when the fan is installed. For that situation, the fan
can be fitted with the PAX passad backdraught shutter (accessory), provided that another ventilation
system ensures the basic ventilation of the building. (Note that the backdraught fan accessory can
not be combined with the fan function “basic ventilation setting”). NOTE: A backdraught shutter is
harmful if the fan is installed in a ventilation duct with natural ventilation.
The fan is designed for use in a temperature range of 5 to 35 °C. If the fan is installed in a cold
area or if it has been stored in a cold place before installation, it may run slowly when started for
the first time. The fan will work normally when it reaches its working temperature.
insTallaTion
Push the two locking buttons towards the centre (A1) and lift the motor unit out of the frame
(see Figure A). Then remove the motor unit (A2).
Unscrew screw E1 and remove the housing from the frame (see Figure E).
The terminal block (E2) is behind the frame.
The fan may be installed in any position.
The seal supplied (see Figure G) is in three parts: gasket, cuff and cable gland. Separate these
from each other.
Install the gasket (see Figure H). Note that the gasket also serves as a bushing for the screws.
For a concealed electrical connection, install the cable gland in one of the three knockout
openings (H1).
The cable gland must be used for surface electrical connection as well. For this, a breakaway
section in the housing must be removed (see Figure J).
The cuff is designed to provide a seal to the duct (see Figure K).
Secure the frame to the structure with the four screws (see Figure F). The inner holes (F1) have
the same hole pattern as the PAX 200 series fans. This makes it easier to change to a PAX passad
fan. The outer holes (F2) are used if the size of the duct limits the space available for firm fixing. (If
there is not enough space for screw fixing, we recommend installing a PAX closing plate or a PAX
assembly frame (genuine PAX accessories); see page II).
Do not forget the screw (F3) under the terminal block. It is used to adjust the fan with respect
to the structure so that the impeller is centred in the frame.
Connect in accordance with the wiring diagram. See under Connection below.
Make sure that the housing snaps into place properly when it is fitted to the frame (Figure L).
Tighten the screw (E1). Refit the motor unit to the frame.
Refit the fan unit to the wall frame. The fan will then start automatically and run for at least 10 seconds.
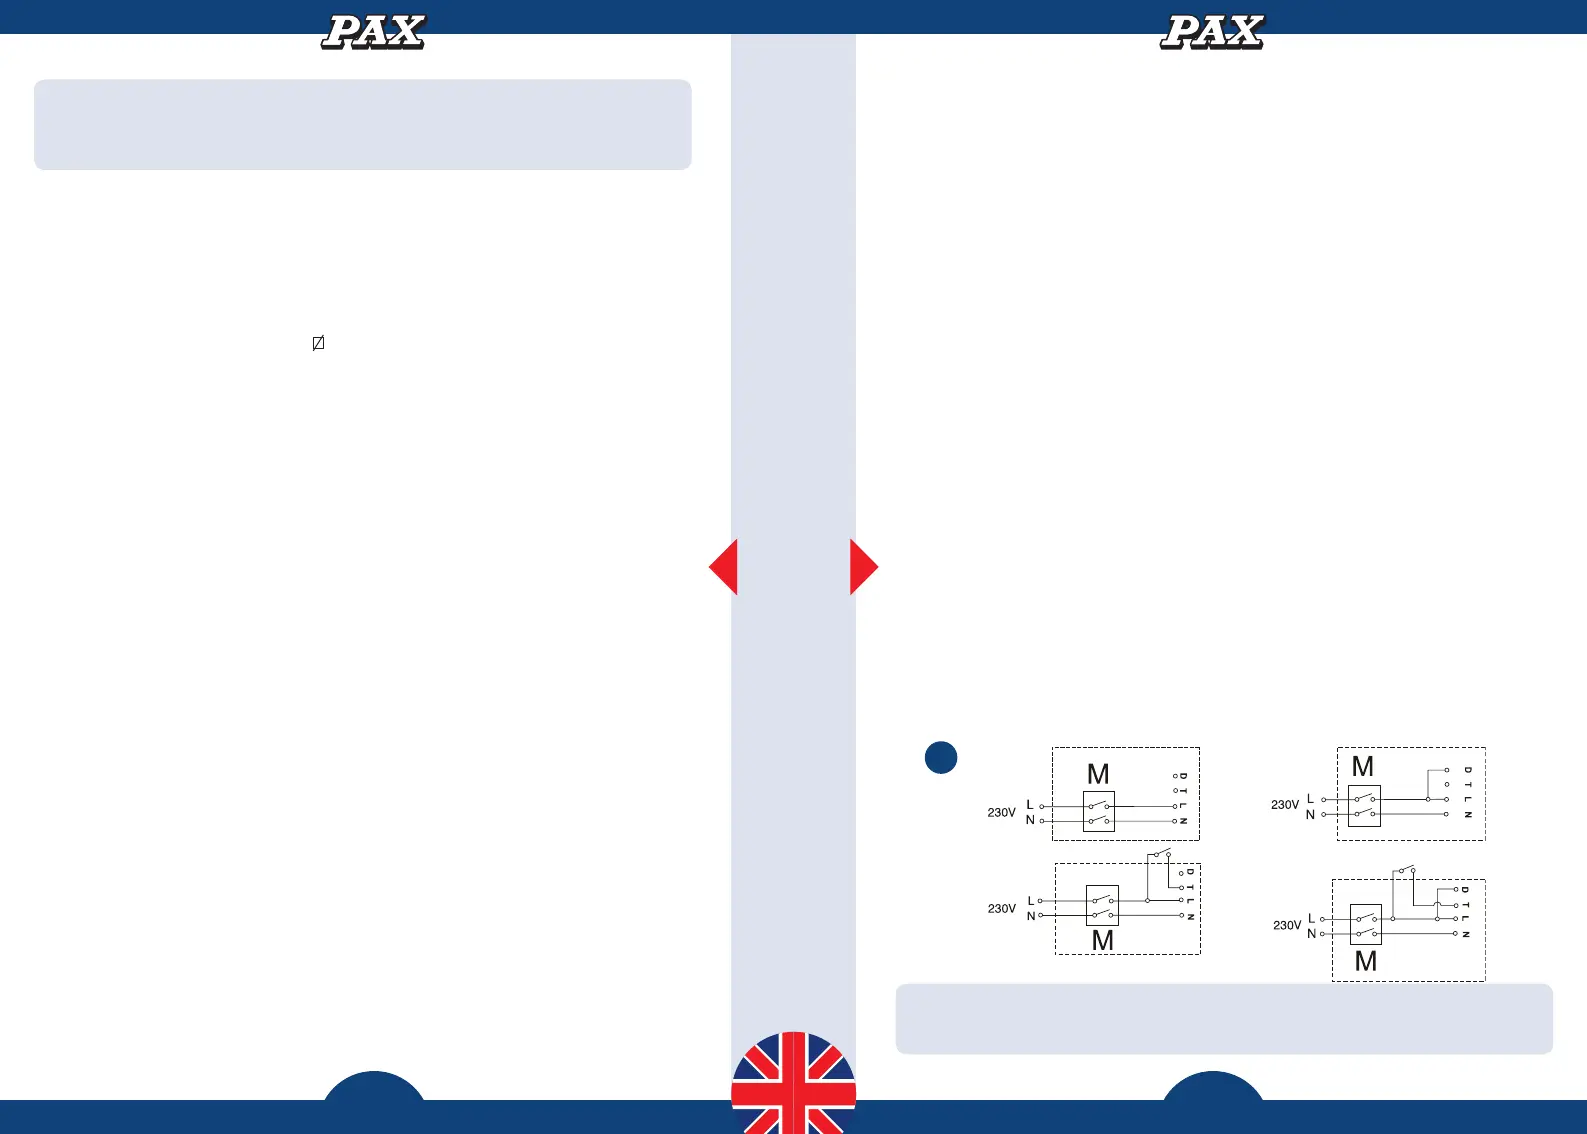
connecTion
According to the standard for domestic products, EN60 335-1, it must be possible to isolate
such products from the electric power supply. The PAX passad multi is therefore fitted with a
PAX multi-pole switch M (see also page III, Figure A3). Always isolate the product from the
electric power supply before doing any electrical work on it.
The fan is set at the factory with functions for basic ventilation, automatic forcing/starting at high
humidity and a presence sensor. It is also prepared for an airing function if the basic ventilation
function is disabled. (See page 6-7 of the Description of operation.) Prepared for forcing/starting
with a manual switch. Check with the user which of the functions below (apart from S1) the user
requires. See also pages 6-7.
• S1: continuous operation in basic ventilation mode, humidity sensor and presence sensor
(IR/light) with a 15-minute timer function. NOTE: a backdraught shutter cannot be
combined with the basic ventilation mode.
• S2: as for S1 without active basic ventilation, but with airing function.
• S3: as for S1 and with a forced 15-minute run-on time via a switch. NOTE: a backdraught
shutter cannot be combined with the basic ventilation mode.
• S4: as for S3 without active basic ventilation, but with airing function.
The fan is designed for 230V AC (± 10%) ~50Hz. It is double-insulated and must not be grounded
.
Hand this user and installation guide to the user
when the installation is complete.
S1
S3
S2
S4
S
 Loading...