Do you have a question about the Pentax ASAHI SPOTMATIC 23102 and is the answer not in the manual?
Details the classification system for product part numbers.
Procedures for installing and adjusting shutter curtains.
Ensuring shutter curtain edges are parallel to the format frame.
Steps for assembling and adjusting selector gear components.
Instructions for assembling the film transport mechanism.
Steps for assembling intermediate gear components.
Procedures for assembling and adjusting the selector gear mechanism.
Steps for assembling and adjusting the counter dial mechanism.
Instructions for assembling and adjusting the rapid wind lever seat.
Key considerations for mirror housing assembly and adjustment.
Procedure for installing the mirror housing onto the camera body.
Adjusting the bounce stopper mechanism for exposure timing.
Adjusting the speed of the shutter curtain travel.
Adjusting high-speed exposure timing from 1/60 to 1/1000 sec.
Adjusting slow-speed exposure timing from 1 to 1/30 sec.
Securing adjusted parts with lacquer to prevent loosening.
Identifying causes for inconsistent exposure timing.
Adjusting exposure timing across different points of the picture format.
Adjusting the time lag for the X contact synchronization.
Issues with battery contacts, debris, and switch connections.
Ammeter internal wiring faults or short-circuits.
Mirror flips up only one third due to weak spring or tight components.
Mirror fails to flip up completely due to filing or bent parts.
Shutter curtains do not travel at the instant of mirror flipping up.
Low battery voltage affecting correct exposure readings.
Faulty ammeter needle indication causing incorrect exposure.
| Brand | Pentax |
|---|---|
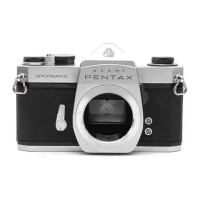
| Model | ASAHI SPOTMATIC 23102 |
| Category | Film Camera |
| Language | English |