GIK07-GIK08-GIK09
17.11.2009 ©Velleman nv
4
5. Use
Refer to the illustrations on page 2 of this manual.
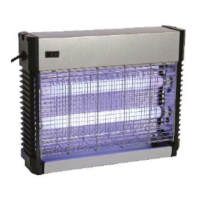
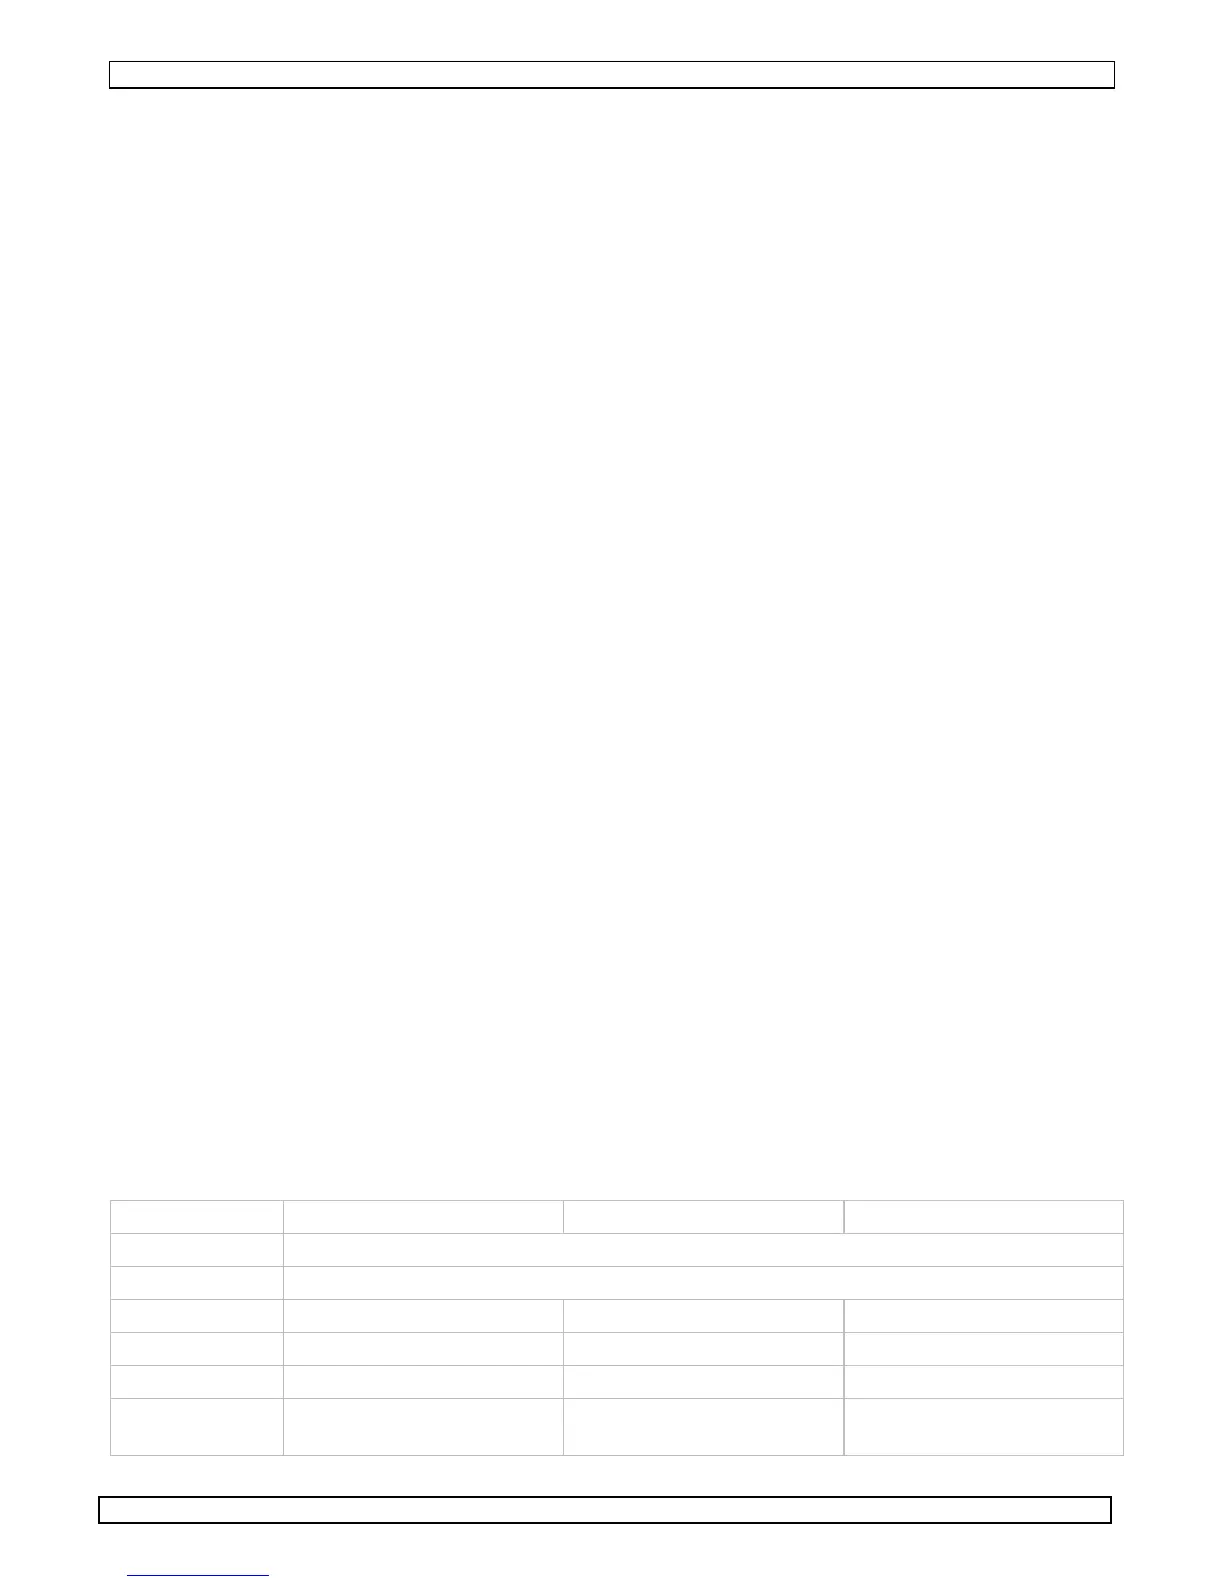
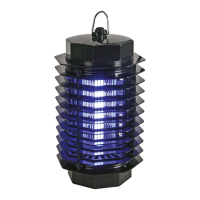
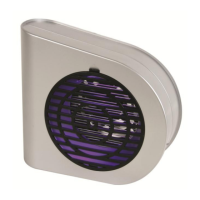
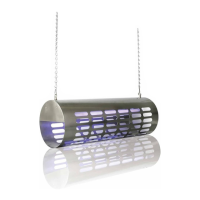
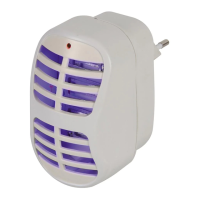
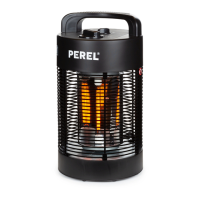
• Flying insects are attracted by the UV light [D] which is mounted behind a high voltage
electrical grid [B]. When touching the grid, the insects are electrocuted and fall into the
collector [C].
• Place or hang the insect killer in a dry location. Make sure the ON/OFF switch [A] is in the OFF
position and plug the power cord into a suitable mains outlet.
• Switch on the insect killer by moving the ON/OFF switch [A] into the ON position.
6. Cleaning and maintenance
IMPORTANT: Never touch the metal grid with your bare hands! If you need to clean the tray,
follow the safety instructions carefully.
a. Discharging the device before maintenance
• Unplug the device from the mains.
• Use a screwdriver with an insulated handle. Make sure you only hold the screwdriver by the
handle.
• Short-circuit the 2 wires of the inner metal grid by gently touching them simultaneously with the
metal shaft of the screwdriver. A spark may arise. Repeat this manipulation until no more
sparks arise.
b. Cleaning the device
• Make sure the power switch [A] is in the OFF-position and the power plug is disconnected from
the mains outlet before starting any maintenance activity.
• Discharge the device (see a.)
• Slide the insect collector draw [C] out of the device to dispose of dead insects.
• Clean the insect killer regularly with a dry, clean cloth. Do not submerge into any liquid.
• Make sure no dust accumulates on the UV lamps as this will greatly reduce their effectiveness.
• Only use a plastic brush to clean the high-voltage grid. Brush gently to avoid damage.
c. Replacing lamps and starters
• When the lamps are worn, they must be replaced with a similar type (see technical
specifications)
• Make sure the power switch [A] is in the OFF-position and the power plug is disconnected from
the mains outlet before starting any maintenance activity.
• Discharge the device (see a.)
• Remove the two screws on the back of the device (refer to the illustration on page 2, see
arrows).
• Gently pull the outer grid; it will rotate around the screws at the bottom.
• Remove a UV-lamp by gently turning it a quarter turn and pull it upwards out of the sockets.
• Place a new UV-lamp into the socket and turn it a quarter turn to secure it.
• To replace a starter, turn it a quarter turn and pull it out of the socket. Insert a new starter with
the same specifications into the socket and turn it a quarter turn to secure it.
• Close the outer grid and secure the two screws.
7. Technical specifications
GIK07 GIK08 GIK09
input voltage 230VAC / 50Hz
grid voltage 1800-3000V
effective area 30m² 80m² 100m²
dimensions 275 x 105 x 265mm 400 x 105 x 315mm 510 x 105 x 315mm
weight 1.6kg 2.5kg 3kg
lamp UV-A tube 2 x 6W
(GIK07LAMP)
UV-A tube 2 x 10W
(GIK08LAMP)
UV-A tube 2 x 15W
(GIK09LAMP)