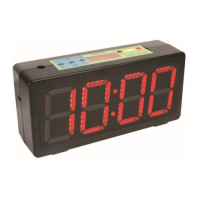
WC200
V. 01 – 28/05/2018 4 ©Velleman nv
1. Press GO/STOP and select STOP.
2. Press TIMER SET/INTERVAL SET and select TIMER SET.
3. Set the desired time with HOURS/MINUTES or MINUTES/SECONDS. Press the
button once to increase, hold the button pressed to decrease.
4. Press GO/STOP and select GO. The display will now count down and will beep at
00:00. Reset the original time by pressing 12HR/24HR/RESET.
In this mode, the timer will count down from a preset interval time, beep at 00:00,
automatically reset to the original interval time and count down again.
Setting the Interval Time
1. Press CLOCK/TIMER and select TIMER.
2. Press TIMER SET/INTERVAL SET and select INTERVAL SET.
3. Press GO/STOP and select STOP.
4. Set the desired interval time with HOURS/MINUTES or MINUTES/SECONDS. Press
the button once to increase, hold the button pressed to decrease.
5. Press 12HR/24HR/RESET to add a 15-second pause between two countdowns. The
INTERVAL LED will be flashing indicating the pause time has been activated. Press
12HR/24HR/RESET again to deactivate this function.
6. Press GO/STOP and select GO. The display will now count down. You will hear
three beeps prior the start of the next interval. Reset the original time by pressing
12HR/24HR/RESET.
In clock mode, the timer will display the time of day.
1. Press CLOCK/TIMER and select CLOCK.
2. Press TIMER SET/INTERVAL SET and select TIMER SET.
3. Press GO/STOP and select STOP.
4. Press 12HR/24HR/RESET to select the 12-hour or the 24-hour display mode.
5. Set the desired time with HOURS/MINUTES or MINUTES/SECONDS. Press the
button once to increase, hold the button pressed to decrease.
6. Press GO/STOP and select GO to confirm.
Selecting another mode will not deactivate a previously used mode. Therefore,
deactivate the previously used mode manually by setting all times to 00:00.
6. Cleaning and Maintenance
Occasionally clean with a damp cloth to keep it looking new. Do not use harsh
chemicals, cleaning solvents or strong detergents.