INSTALLATION MANUAL
DU E TO THE DESIRED WATER RESISTANT SEAL OF THE ENCLOSURE, DO NOT
REMOVE ANY KNOCKOUTS UNLESS THAT HOLE WILL HAVE A CONDUIT INSTALLED.
IF A KNOCKOUT IS ACCIDENTALLY REMOVED, STEPS MUST BE TAKEN TO RESEAL
THE OPENEING OR THE PERFECT POOL OZONE GENERATOR WILL BE DAMAGED.
MOUNTING INSTRUCTIONS
WARNING
!
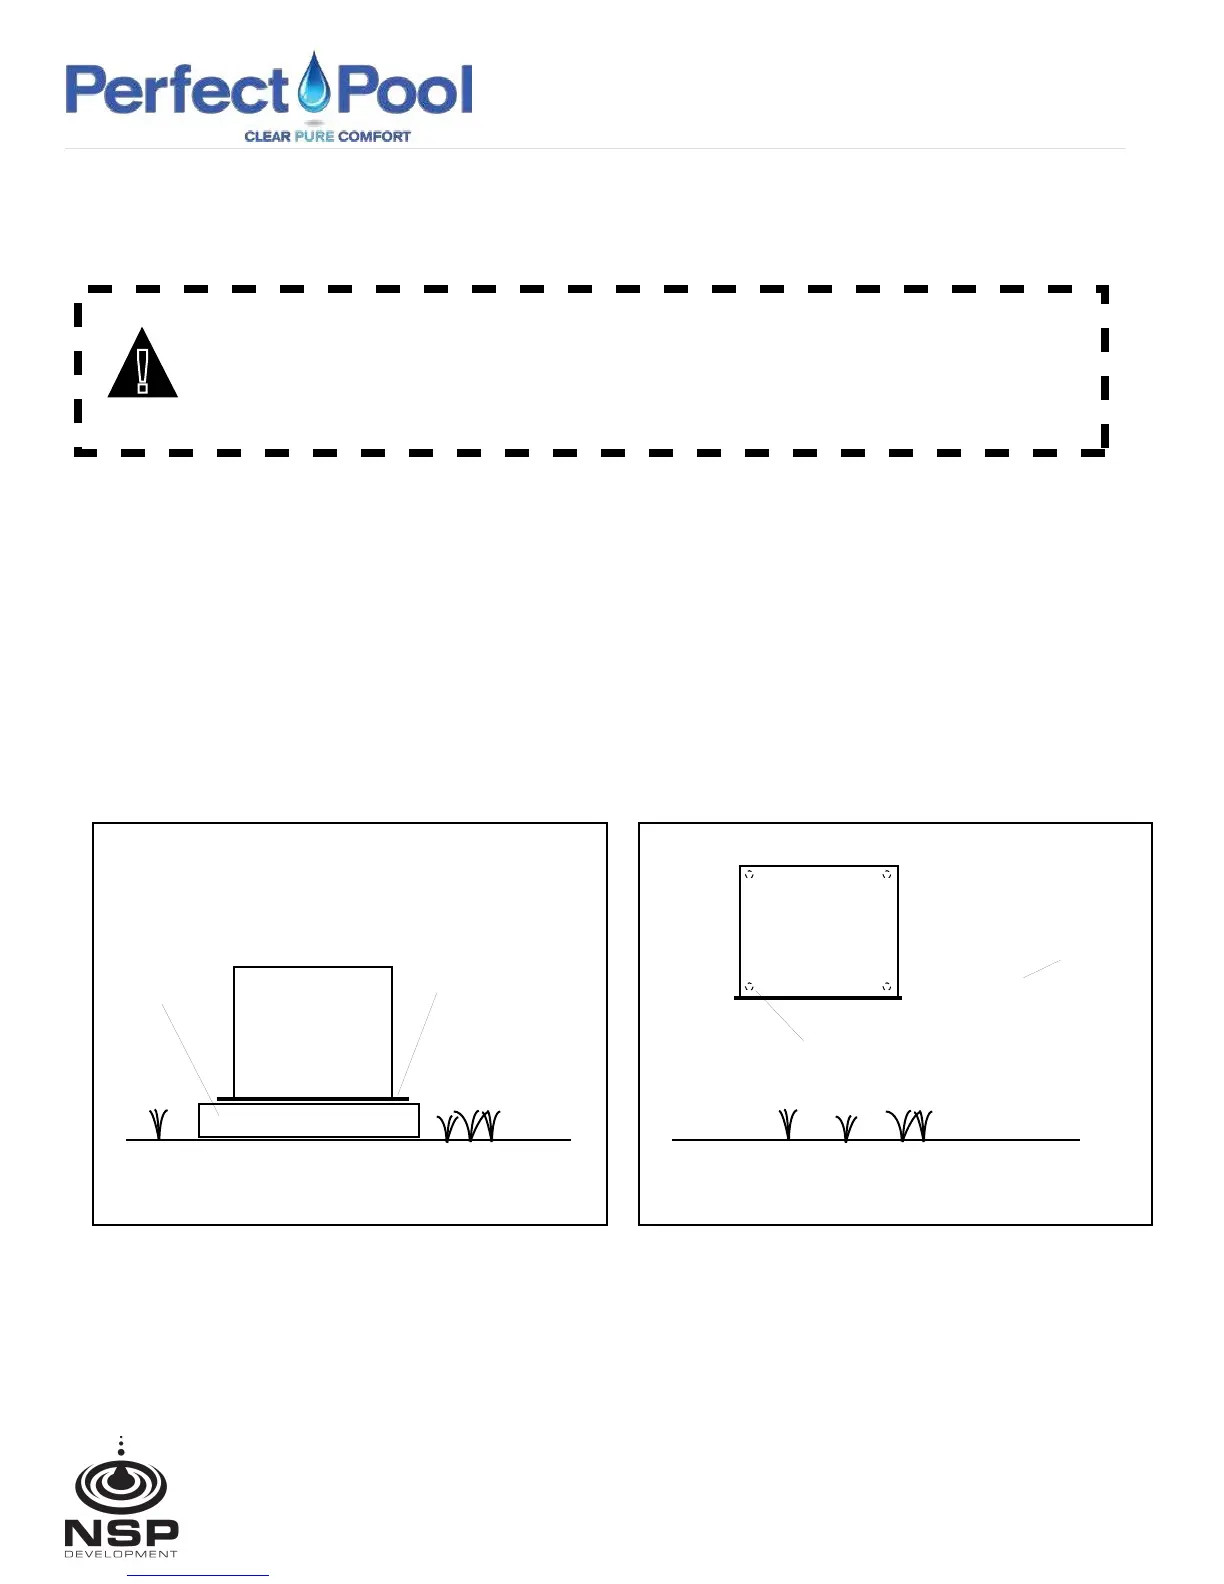
MOUNTING
PAD MOUNT
1. Place unit on a secure concrete pad. (see Fig.1)
2. Use the four (4) mounting holes to secure the unit to the pad or mounting surface.
WALL MOUNT
1. Select a mounting location so that the bottom surface of the unit will be raised above the ground
or placed on a secure concrete pad. (see Fig.2)
2. Remove cover and locate the four (4) mounting holes (Fig.2) to secure the unit to the pad or mounting surface.
3. After securing unit to the wall replace cover and secure with the cover screws.
Concrete
Pad
Perfect Pool
Ozone Gen.
Pad Mount Fig. 1
Mounting Holes (4)
two on each side
Wall
Perfect Pool
Ozone Gen.
Wall Moung Fig. 2
Mounting Holes (4)
(Remove Cover)
18 North Dollins Ave, Orlando, FL 32805 Tel/Fax: 855-996-6900
nspdevelopment.com