Do you have a question about the Perimeter View 01-CM-709M1 and is the answer not in the manual?
Instructions for turning the monitor on and off, including standby states.
Guide to switching between different video input sources like REAR, LEFT, RIGHT, and AV.
Explains how to access and navigate the main menu for system setup and picture adjustments.
Details how to use the UP and DOWN buttons for navigating menus and adjusting settings.
Function to change the AV input mode, selecting different video sources.
Instructions on how to increase or decrease the audio volume level using the remote or monitor controls.
How to use the AUTO PIC button to select different screen display sizes like WIDE, NORMAL, CINEMA, or FULL.
Procedure for muting and unmuting the audio output of the monitor.
Function to display the current operational mode and volume level on the screen.
Steps for installing the monitor using the bracket and screws, with cable management.
Instructions for using the monitor in an exposed manner, with optional bracket cover.
Steps for mounting the monitor using a stand and attaching a sun visor for optimal viewing.
Guidance on installing the monitor using a U-bracket and a sun visor.
| number of pixels | 480(W) x 3(RGB) x 234(H) |
|---|---|
| contrast ratio | NTSC / PAL |
| view angle | (L/R/U/D) |
| current | 450 mA (DC 12V, monitor set only) |
|---|---|
| power supply voltage | 12 V |
| input system frequency horizontal | 15.734 KHz / 15.625 KHz |
| audio signal | MONO signal 400 mVrms |
|---|---|
| input signal | Composite video signal |
| speaker | Included |
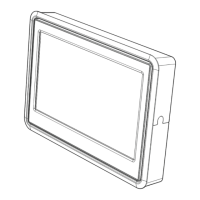
| dimensions | 201(W) x 121(H) x 30.7(D) mm |
|---|---|
| dimensions (inches) | 7.9(W) x 4.76(H) x 1.21(D) inch |
| weight | Not specified |