Do you have a question about the PETOUCH Premium Pet Door and is the answer not in the manual?
Read guide before installation and be aware of child safety risks near water.
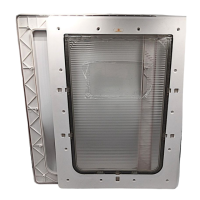
The inner frame component of the pet door system.
The outer frame component of the pet door system.
Template used for marking and cutting the door opening.
Fasteners and decorative caps included for securing the frames.
Cut the template along the black line for accurate use.
Measure pet's shoulder height and trace template onto the door.
Drill holes in the 4 inside corners using a 10mm (3/8") drill bit.
Carefully cut out the opening using a jigsaw or similar tool.
Fit frames, secure with screws and caps; fill hollow doors.
| Frame Material | ABS Plastic |
|---|---|
| Type | Pet Door |
| Sizes | Small, Medium, Large |
| Suitable for | Dogs and Cats |
| Locking Type | 4-way locking system |
| Color | White |
| Door Type | Flap Door |
| Installation Type | Door, Wall |
| Locking Mechanism | Manual Sliding Bolt |
| Weather Resistance | Yes |
| Magnetic Closure | Yes |
| Suitable Pet Weight | Up to 25 kg (55 lbs) |