10
INSTALLING/CHARGING BATTERIES
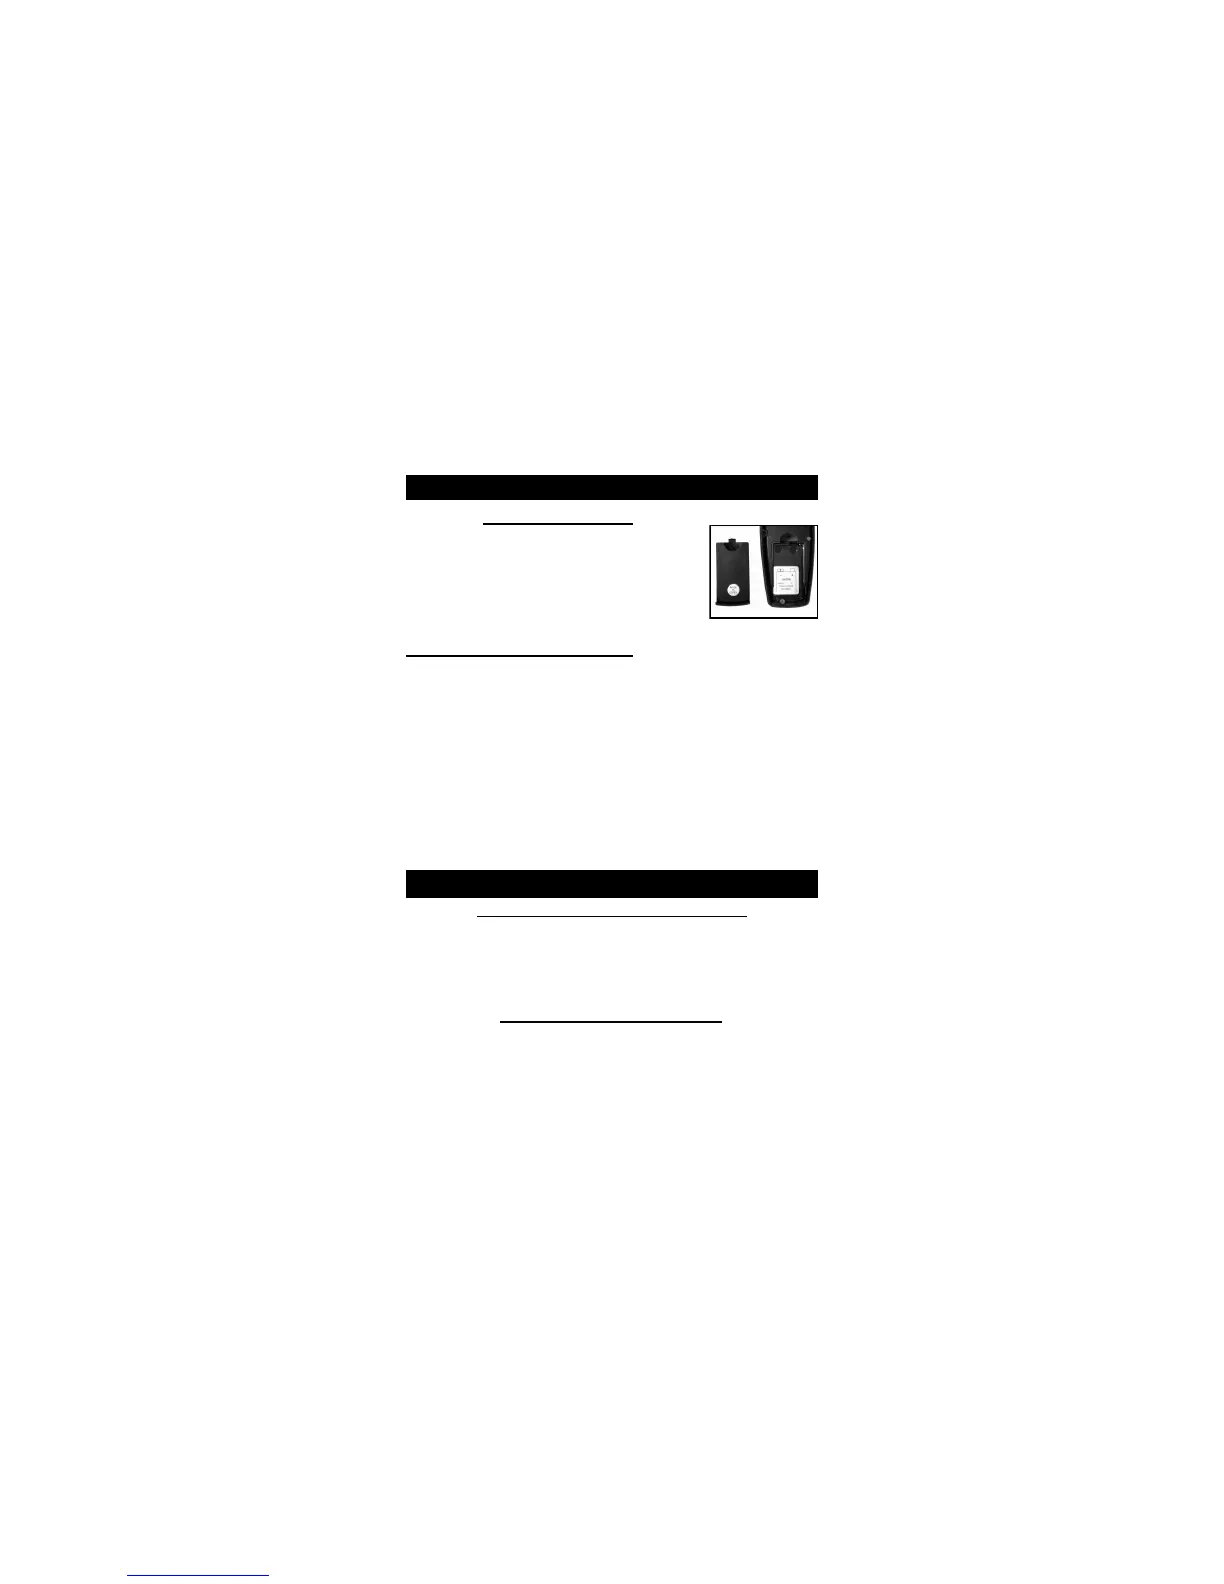
Transmitter Battery
1. Open Battery Cap on back of
Transmitter.
2. Install new 9V battery with ‘-’ terminal
on left and ‘+’ terminal on right.
3. Slide the Battery Compartment cover
back into place until it clicks.
Battery Charging Procedure
1. Make sure the unit is off.
2. Plug the charger into a standard electrical outlet and
connect charger into collar unit. The SmartLED
should light solid red while charging.*
3. Charging is complete when the SmartLED turns
green (may take up to 5 hours).
4. As soon as charging is complete, disconnect the
battery charging cable from the receptacle, securely
replace the rubber receptacle cover, and test unit.
WARNING: DO NOT CHARGE WHILE UNIT IS WET!
SmartLED
When the Collar Unit is Charging:
The SmartLED lights red while the battery is
charging, and green when charging is complete.
The SmartLED has a long red blink once every other
second when there is a charging error.*
When the Collar Unit is ON:
Green LED: 51-100%. Charge.
Red LED: 21% - 50% Charge.
Quick Flashing Red LED every second: Low Battery.