31
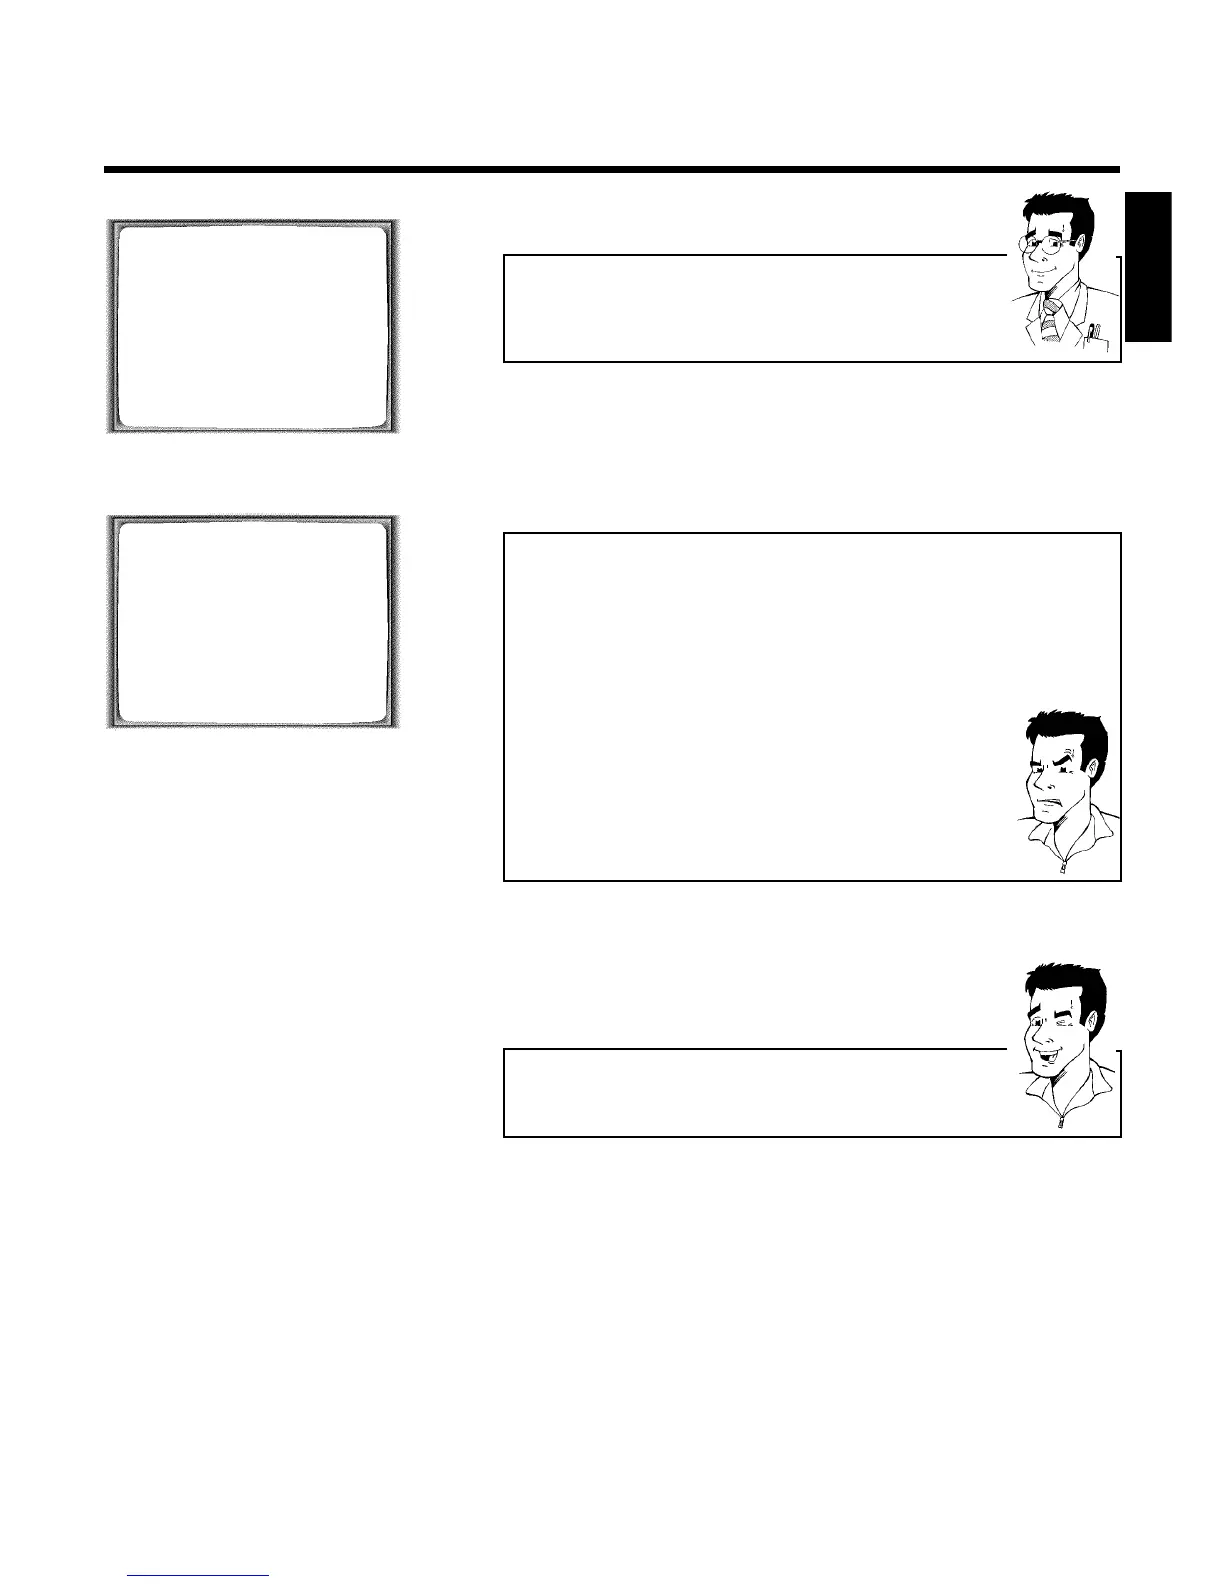
VIDEO PLUS+
PLUSCODE NUMBER REP.
53124---- èONCE p
________________________________
REP.pSELECT STOREpOK
TIMER LISTpTIMER
Selecting onetime/daily/weekly recordings
Using SELECT , select from the following options:
'ONCE': Recording once
'MO-FR': Repeated daily recordings (Monday to Friday)
'WEEK.': Repeated weekly recordings (every week on the same day)
4 Confirm with OK .
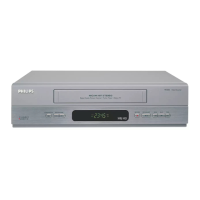
TIMER
VPS
DATE REP. PROG. START PDC END
21 MO-FR 01 20:00 ] 21:30
________________________________
REP.pSELECT STOREpOK
a The following message appears on the screen: 'SELECT PROG.
NR.'
b The programme number of the TV channel has not yet been assigned to
the PlusCode number. Using the number buttons 0-9 on the remote
control, select the corresponding programme number (programme name)
of the TV channel and confirm with OK .
a The following message appears on the screen: 'PLUSCODE NUMBER
NOT VALID'
b The entered PlusCode number is incorrect. Correct your instructions or
end with MENU .
b Check the time/date (see chapter 'Installing your video', section 'Setting the
time and date').
a The following message appears on the screen: 'MO-FR
PROGRAMMING NOT POSSIBLE FOR WEEKEND'
b A daily recording was entered for the wrong day. Daily programming can
only be used for recordings to be made from Monday to Friday.
5 The decoded data appears after confirmation. You can go back to
change the data. Select the corresponding input field using
SqP or QSr . Change the data with P ;q , P =r or
with the number buttons 0-9 .
Switching on 'VPS/PDC' in the 'START' input field
Select the 'START' input field using SqP . Using SELECT switch on
'VPS/PDC' (']' lights up). If you press SELECT again, you will switch
'VPS/PDC' off (']' goes out).
6 When all informations are correctly, confirm with OK . The
programming information is stored in a TIMER block.
7 Insert a cassette with an intact security tab (unprotected).
8 Switch off with STANDBY/ON m .
The programmed recording will only function when the video
recorder is switched off with STANDBY/ON m .
If any of the TIMER blocks are in use, ' k ' will light up on the video
recorder display.
ENGLISH
Programming a recording (TIMER)