Preparing for use
Installing the charger
1 Attachthechargertothewallasshowninthegure.(Fig.2)
If you attach the charger to the wall, the space between the screw holes
has to be 12cm.
2 Youcanalsoplacethechargeronahorizontalsurface(e.g.atable
ordesk)(Fig.3).
3Windexcessmainscordaroundthereelinthebackofthecharger
andpassthecordthroughtheslot(Fig.4).
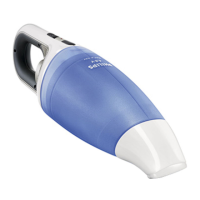
Charging the appliance
Charge the appliance for at least 16 hours before you use it for the rst
time.
1 Makesuretheapplianceisswitchedoff.
2 Puttheadapterinthewallsocket.
3Placethevacuumcleaneronthecharger(Fig.5).
- Make sure you place the opening in the back of the vacuum cleaner
on the hook of the charger (Fig. 6).
, Thecharginglightgoesontoindicatethattheappliance
ischarging(Fig.7).
Note: The charging light stays on as long as the appliance is in the plugged-in
charger.
Note: The charging light does not give any information about the battery
charge level of the vacuum cleaner.
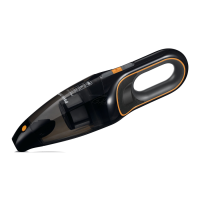
Using the appliance
1 Pushtheon/offslideforwardstoswitchontheappliance(Fig.8).
2 Pushtheon/offslidebackwardstoswitchofftheappliance(Fig.9).
ENGLISH8