20
English
3139 116 18533
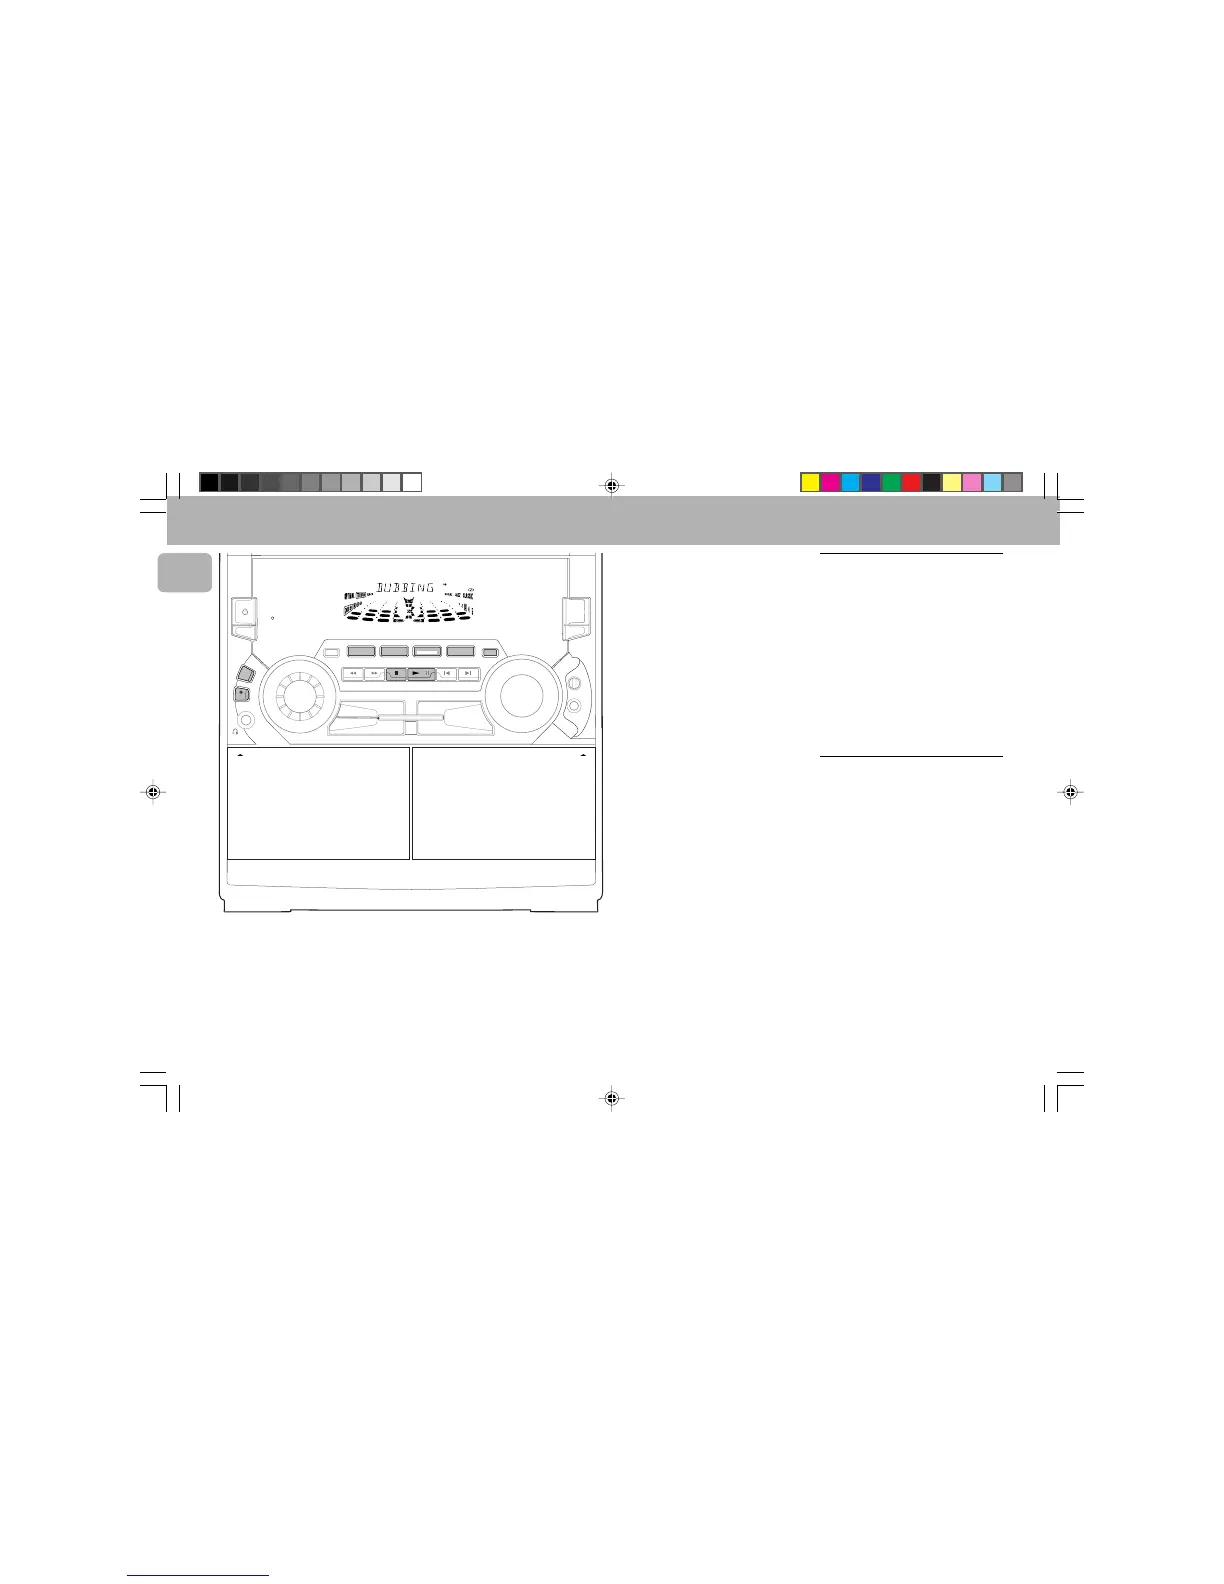
RECORDING
REPEAT
SHUFFLE
PROGRAM
TIMER
STEREO
FM
BACK
HSD
LW
MW
AM
T.A.NEWS
SOUND NAVIGATION
DUB
(HSD)
REC
TAPE 2TAPE 1
OPEN OPEN
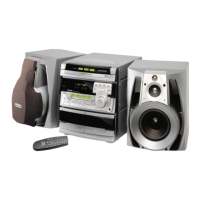
MINI HIFI SYSTEM
FRONT
60Hz
500Hz
250Hz
1KHz
2KHz
4KHz
8KHz
VOLUME
REC
INCREDIBLE
SURROUND
DYNAMIC BASS
BOOST
TAPECD
PROG
CLOCK/
TIMER
SIDE A•B
TUNER AUX
PRESET
▲
▲
STOP•CLEAR
SEARCH • TUNING
PLAY
PAUSE PREV NEXT
CD1 • 2 • 3
CDR
BAND
TAPE 1 • 2
DIGITAL
SOUND CONTROL
A. REV
STANDBY
ON
NEWS/TA
RDS
MIC
MIC
LEVEL
Notes:
– If you do not intend to record via the
microphone, unplug the microphone to
avoid accidental mixing with other
recording source.
– For recording, use only tape of IEC type I
(normal tape) or IEC type II (Cr0
2
).
– The tape is secured at both ends with
leader tape. At the beginning and end of
tape, nothing will be recorded for 6 to 7
seconds.
– The recording level is set automatically,
regardless of the position of Volume,
DBB, Incredible Surround or DSC.
– To prevent accidental recording, break
out the tab on the left shoulder of the
tape side you want to protect.
– If “
CHECK TAPE
” is displayed, the
protection tab has been broken. Put a
piece of clear adhesive tape over the
opening. Do not cover the Cr0
2
tape
detection hole when covering the tab
opening.
CD Synchro Start Recording
1 Load a blank tape into tape deck 2 and a
disc into a disc tray.
2 Press CD to select CD mode.
• You can program the tracks in the order
you want them to be recorded (see
Programming Tracks). If you do not, the
tracks are recorded according to the
order on the selected disc.
3 Press REC to start recording.
™ The REC flag starts flashing.
• CD will start playback automatically.
4 Press Ç to stop recording.
Recording from other sources
(only on tape deck 2)
1 Press TAPE ( TAPE 1•2 ) to select tape
deck 2.
2 Load a blank tape into tape deck 2 with
the open side downward.
3 Press SIDE on remote control to select
the recording side.
™ The BACK or FRONT flag will be
displayed, depending on the side
selected.
4 Press A. REV to select the playback
mode (
å å
å å
å or
∂∂
∂∂
∂ ).
5 Press CD, TUNER or AUX.
• Start playback of the selected source.
6 Press REC to start recording.
™ The REC flag starts flashing.
7 Press Ç to stop recording.
Untitled-13 6/15/00, 1:16 PM20