12
English
3139 116 18731
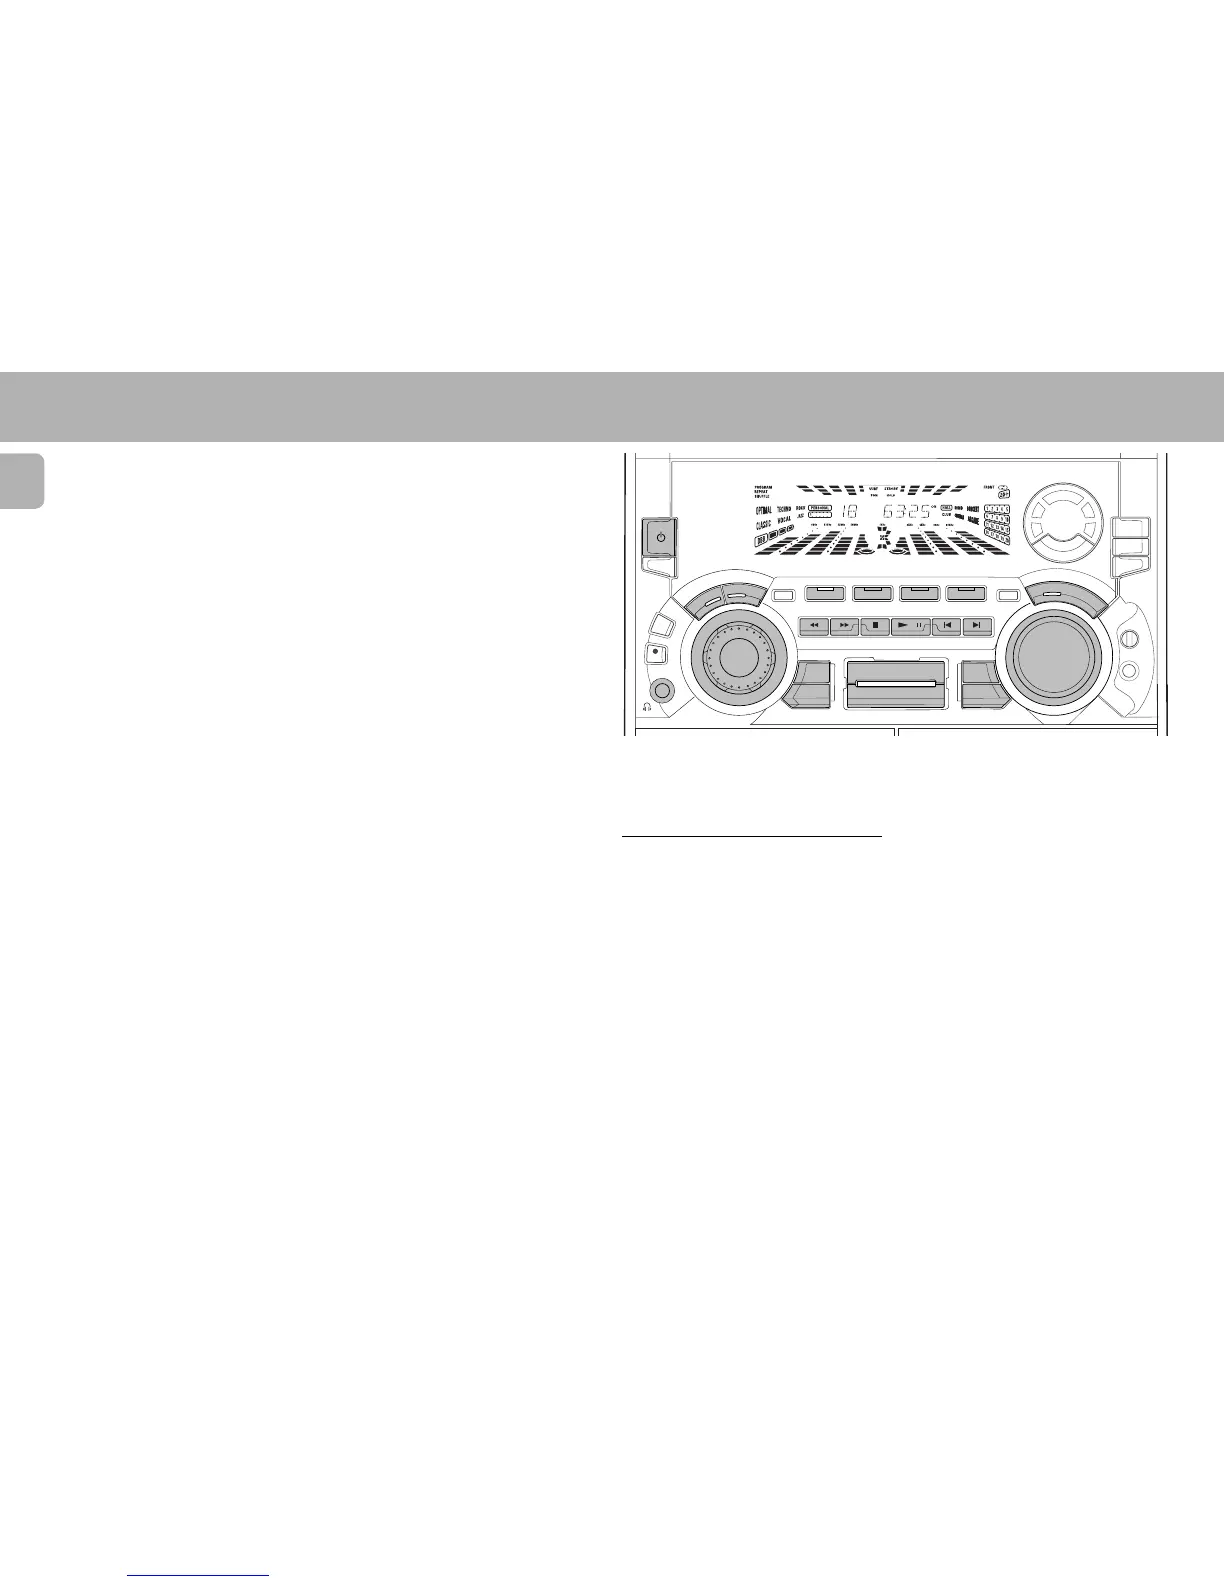
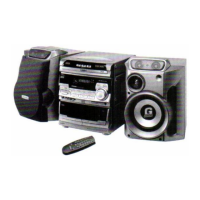
CONTROLS OPERATING THE SYSTEM
§ MIC
– to connect microphone jack.
≥ VOLUME
– to adjust the volume.
• OPEN
– to open tape deck 2.
ª TAPE DECK 2
º INTERACTIVE SOUND STUDIO
DIGITAL SOUND CONTROL (DSC)
– to select the desired sound effect :
OPTIMAL, TECHNO, ROCK, CLASSIC,
VOCAL or JAZZ.
PERSONAL
– to select or set personal equalizer
setting.
SURF
– to switch on or off the SURF feature.
STROBE
– to switch on or off the STROBE
feature.
PAN
– to switch on or off the PAN feature.
HOLD
– to switch on or off the HOLD feature
during CD playback only.
VEC
– to select the desired sound effect :
HALL, DISCO, CONCERT, CLUB,
CINEMA or ARCADE.
DYNAMIC BASS BOOST (DBB)
– to select a bass boost level or to
switch off bass boost.
⁄ TAPE DECK 1
¤ OPEN
– to open tape deck 1.
INTERACTIVE SOUND STUDIO
TAPECD
PROG
CLOCK/
TIMER
DUB
(HSD)
REC
STANDBY
ON
A.REV
TUNER AUX
PRESET
▲
▲
STOP•CLEARSEARCH • TUNING PLAY • SIDE
MINI HIFI SYSTEM
CD1 • 2 • 3
CDR
BAND
TAPE 1 • 2
J
O
G
M
A
X
S
O
U
N
D
MIC
MIC
LEVEL
V
O
L
U
M
E
SURF
DSC
PERSONAL
DBB
HOLD
STROBE VEC
PAN
M
O
R
E
E
N
T
E
R
SS
LR
C
PRO LOGIC
NEWS!
RDS
DOLBY B
NR
DOLBY B
DNR
NEWS/TA
RDS/
CD TEXT
Important:
Before you operate the system,
complete the preparation procedures.
Demonstration mode
The system has a demonstration mode that
shows the various features offered by the
system.
When the system is switched
on for the first time, the demonstration
mode will start automatically.
Notes:
– During the demonstration, if you press
any source (or standby-on) button, the
system will switch to the respective
mode (or standby).
– When the system is switched to standby
mode, the demonstration will resume 5
seconds later.
To stop the demonstration mode
• Press and hold Ç
(on the system only)
for
5 seconds
when the system is in
demonstration mode.
™ The demonstration will stop.
™ "DEMO OFF" is displayed.
™ The system will switch to standby
mode.
™ About 5 seconds later, the system
will go into an energy saving mode
( < 2 watts ). The low power
STANDBY ON LED will be lit.
Note:
– Even though the AC power cord is
removed from and reconnected to the
wall socket, the demonstration will
remain off until it is switched on again.
‹ REPEAT
– to repeat a CD track, a disc, or all the
available discs.
› BALANCE L/R
– to balance the sound level of the Front
Left and Right speakers.
fi REAR +/-
– to adjust the sound level of the
surround speakers.
fl CENTER +/-
– to adjust the sound level of the center
speaker.
‡ TEST TONE
– to check the sound level of the Front
Left, Front Right, Center and Surround
speakers.
° MUTE
– to switch off the sound temporarily.
· SLEEP TIMER
– to switch the system to standby mode
at a selected time period.
‚ SHUFFLE
– to play all the available discs and their
tracks in random order.
= B
– to switch the system to standby mode.
Notes for remote control:
– First select the source you wish to
control by pressing one of the
source select keys on the remote
control (e.g. CD, TUNER, TAPE 1/2
or AUX).
– Then select the desired function
(
É
,
í
,
ë
, etc.).






 To Next Page