GC4310
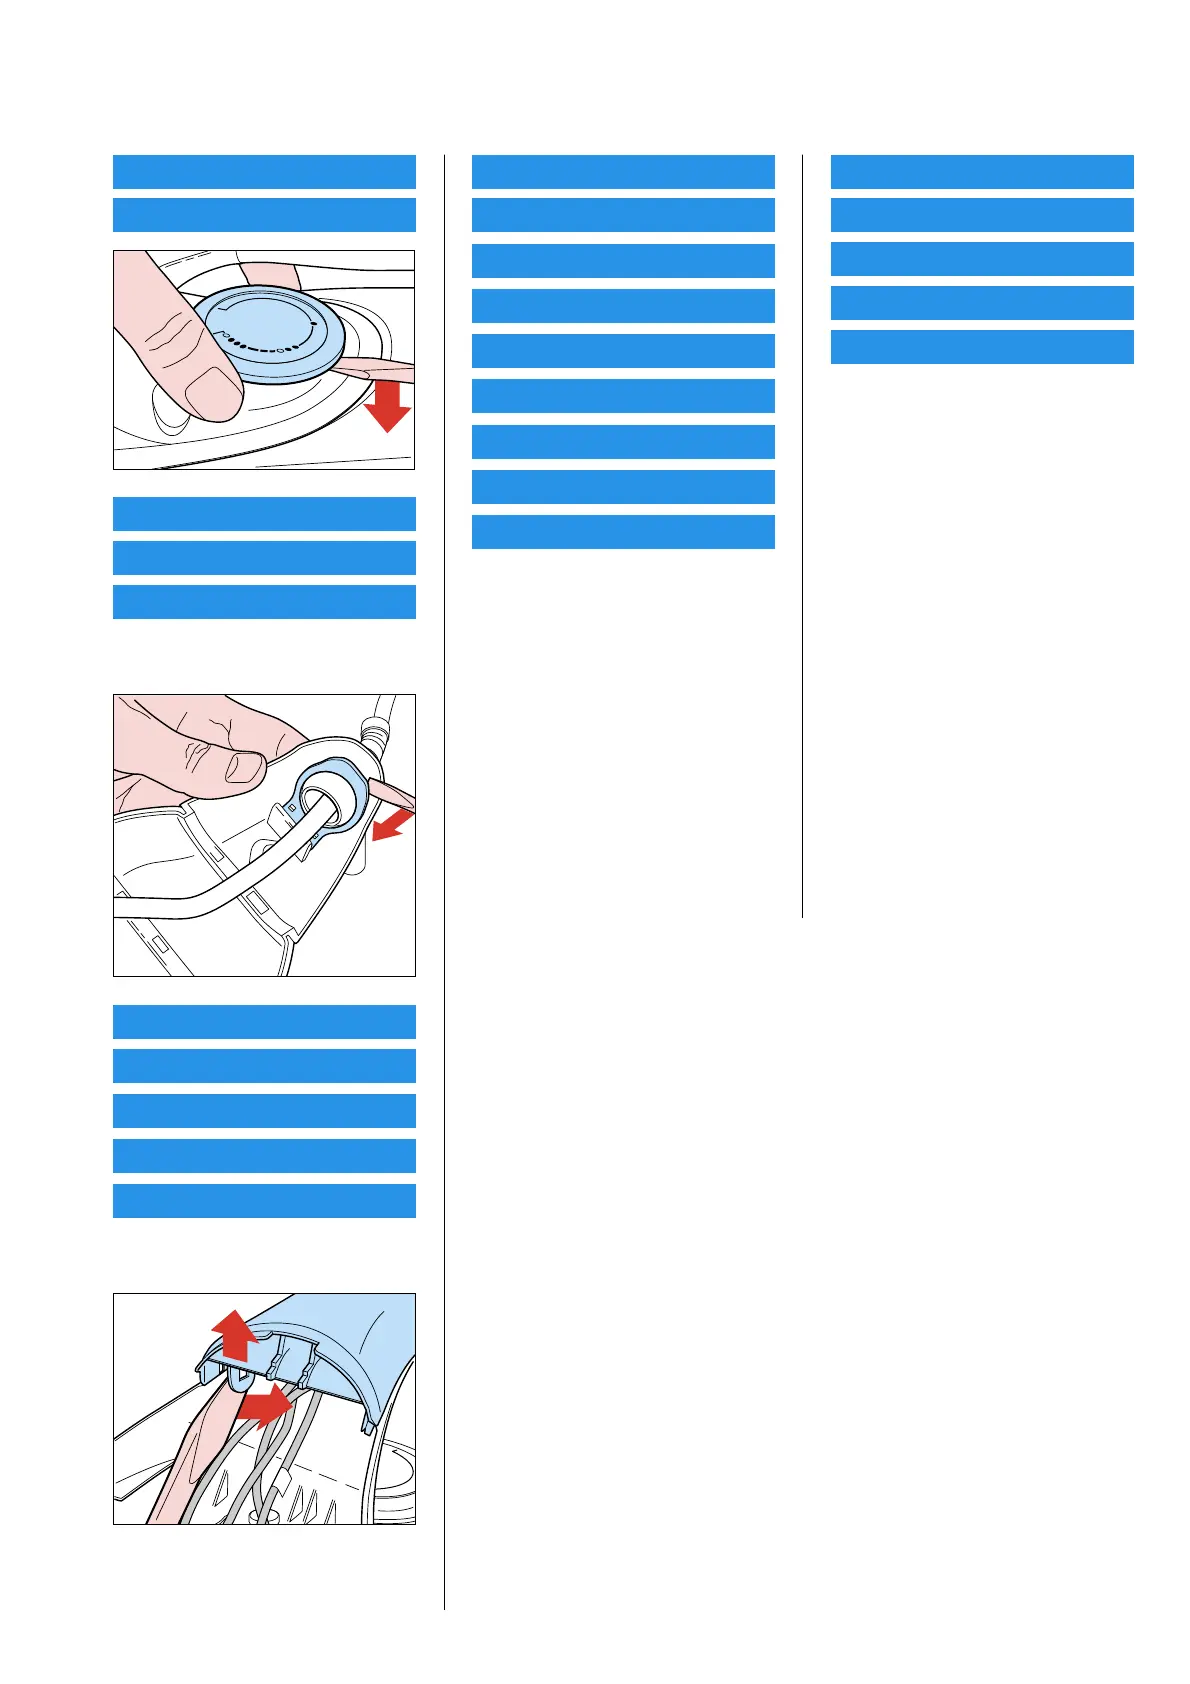
THERMOSTAT DIAL ASSY 1
RATTLE SPRING 2
LINNE
B.WOLLE
W
OLLE
NYLON
NYLON
YLLE
S
E
ID
E
S
ILK
E
BOMULE
LEINEN
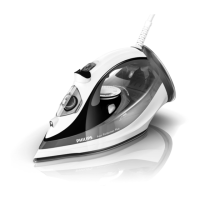
BACKPLATE ASSY 3
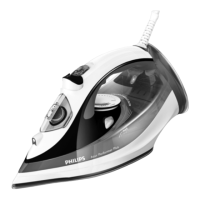
CORDSET 4
BALL SWIVEL 5
Remove Screw A
Remove Screws B1, B2
FILLING DOOR 6
INLAY 7
SOS KNOB 11
SPRAY KNOB 12
LAMP ASSY 13
Remove Screw A
Remove Backplate assy 3
DISASSEMBLY ADVICE
REPAIR INSTRUCTIONS
- Due to the high voltage of the iron, ONLY the specified cordsets must be used.
- Thermostat (Pos 101) fitted to the soleplate (Pos 26) was pre-adjusted by the
suppliers and secured by glue. To avoid mal-function of the iron, NEVER adjust
the thermostat.
- No information about the type number and voltage is stamped onto the typeplate.
When replacing the back plate (typeplate is at the bottom), engrave at least the type
number & voltage on the typeplate with a sharp object.
- Parts with numbers from 100 and higher cannot be ordered separately.
OPTIONAL (accessories)
- No specific issues
STEAM SLIDER 9
DOSING ASSY 10
TANK SEAL 14
HOUSING 15
AESTHETICS RING 16
SPRAY NOZZLE ASSY 18
PUMP ASSY 19
THERMOSTAT BUSH 20
WATER TANK ASSY 21
Remove Screw A
Remove Backplate assy 3
Remove Inlay 7
Remove SOS knob 11
Remove Spray knob 12
Remove Screws C1, C2
Remove Dosing assy 10
Remove Thermostat dial assy 1
Remove Screws D1, D2
Remove Screws E1, E2
Remove Housing 15
Remove Screws F1, F2
Remove Water tank assy 21
COVER 22
RYTON RING 23
SOS SEAL 24
DOSING SEAL 25
SOLEPLATE ASSY 26
Remove Screw A
Remove Backplate assy 3
Remove Inlay 7
Remove SOS knob 11
Remove Spray knob 12
Remove Screws E1, F1, F2
Remove Water tank assy 21
Remove Screws G1, G2, G3
Remove Heat shield
Remove Cover 22
2-4