GC9920
3-19
DISASSEMBLY ADVICE - IRONING BOARD
FAN GRILLE 3
FAN GASKET 4
FAN ASSY 5
Remove bolts A1 - A4
Disassemble FAN GRILLE 3
Disconnect 4-pole cable of FAN ASSY 5
Disassemble FAN ASSY 5
Disassemble FAN GASKET 4
Reassembly tip:
Ensure fan assy orientation - light blue colour
fan label to face board frame
BOARD HOUSING ACTIVE 7
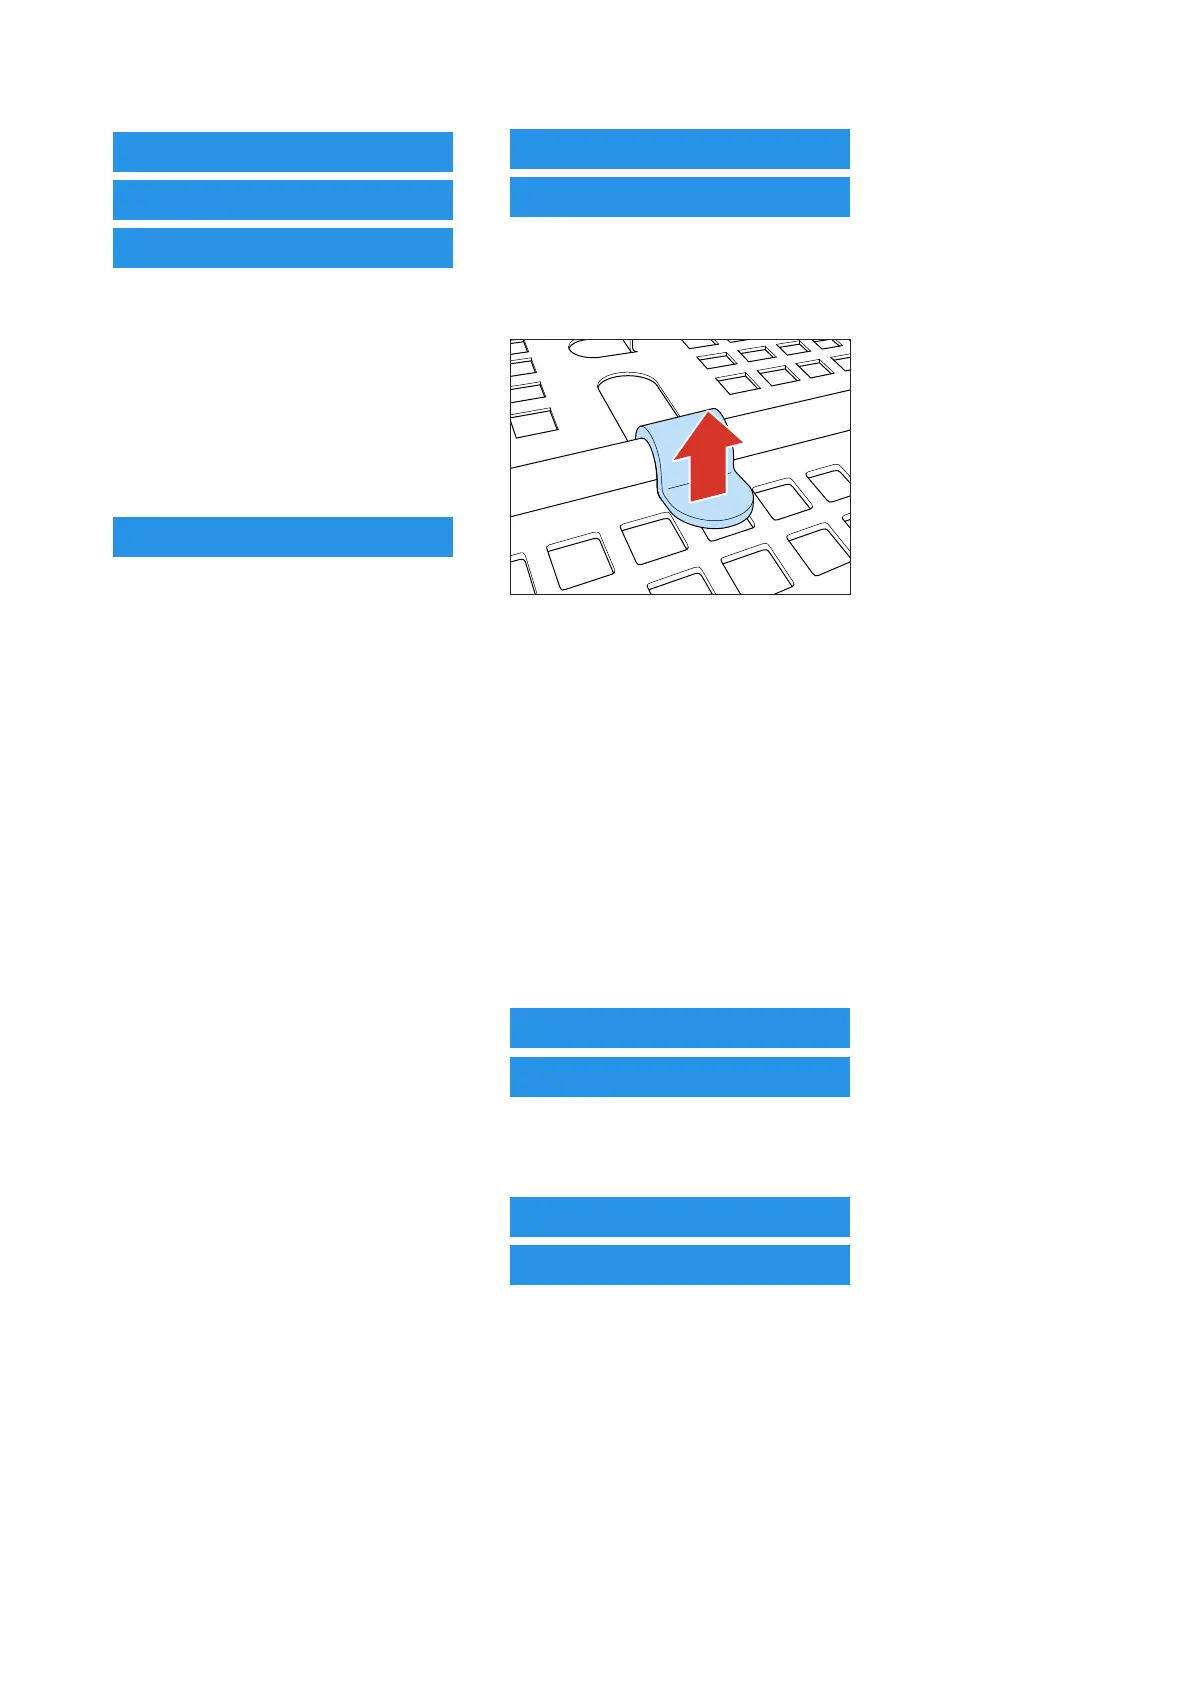
Remove BOARD STICKER 14
(on active board)
Remove screws B1 - B20
Remove board plugs C1 - C3
Disassemble BOARD HOUSING
ACTIVE 7
Reassembly tip:
Adjust board plug C1, C2, C3 clockwise &
counter-clockwise to align screw holes between
board frame & board housing before screwing.
C1: adjustment B1 - B6
C2: adjustment B7 - B12
C3: adjustment B13 - B14
Reassembly tip:
Replace with new BOARD STICKER 14
after reassembling BOARD HOUSING
ACTIVE 7
BOARD HEATER 1
BOARD TCO/FUSE 2
Remove heater terminal connections
D1, D2
Unbend heater tabs E1 - E7
Disassemble Board heater
Disassembly tip:
Do not over-bend heater tabs to prevent
breakage
Reassembly tip:
The slot holes on the heater tab & board
frame are for riveting. Use rivets SUS dia
3.2 x 6.35 & rivet gun when reassembling
BOARD HEATER 1
Remove rivets F1, F2
Disassemble BOARD TCO/FUSE 2
Reassembly tip:
Use rivets SUS dia 3.2 x 6.35 & rivet gun
when reassembling BOARD TCO/FUSE 2
KNOB FLAP 10
KNOB 11
Remove screws G1, G2
Disassemble KNOB FLAP 10
Disassemble KNOB 11
COVER BUTTON REFRESH 12
BUTTON REFRESH ASSY 13
Disassemble COVER BUTTON
REFRESH 12
(rotate anticlockwise)
Remove screws H1, H2
Remove wire stud
Disconnect 2-pole cable of BUTTON
REFRESH ASSY 13
Disassemble BUTTON REFRESH
ASSY 13