6
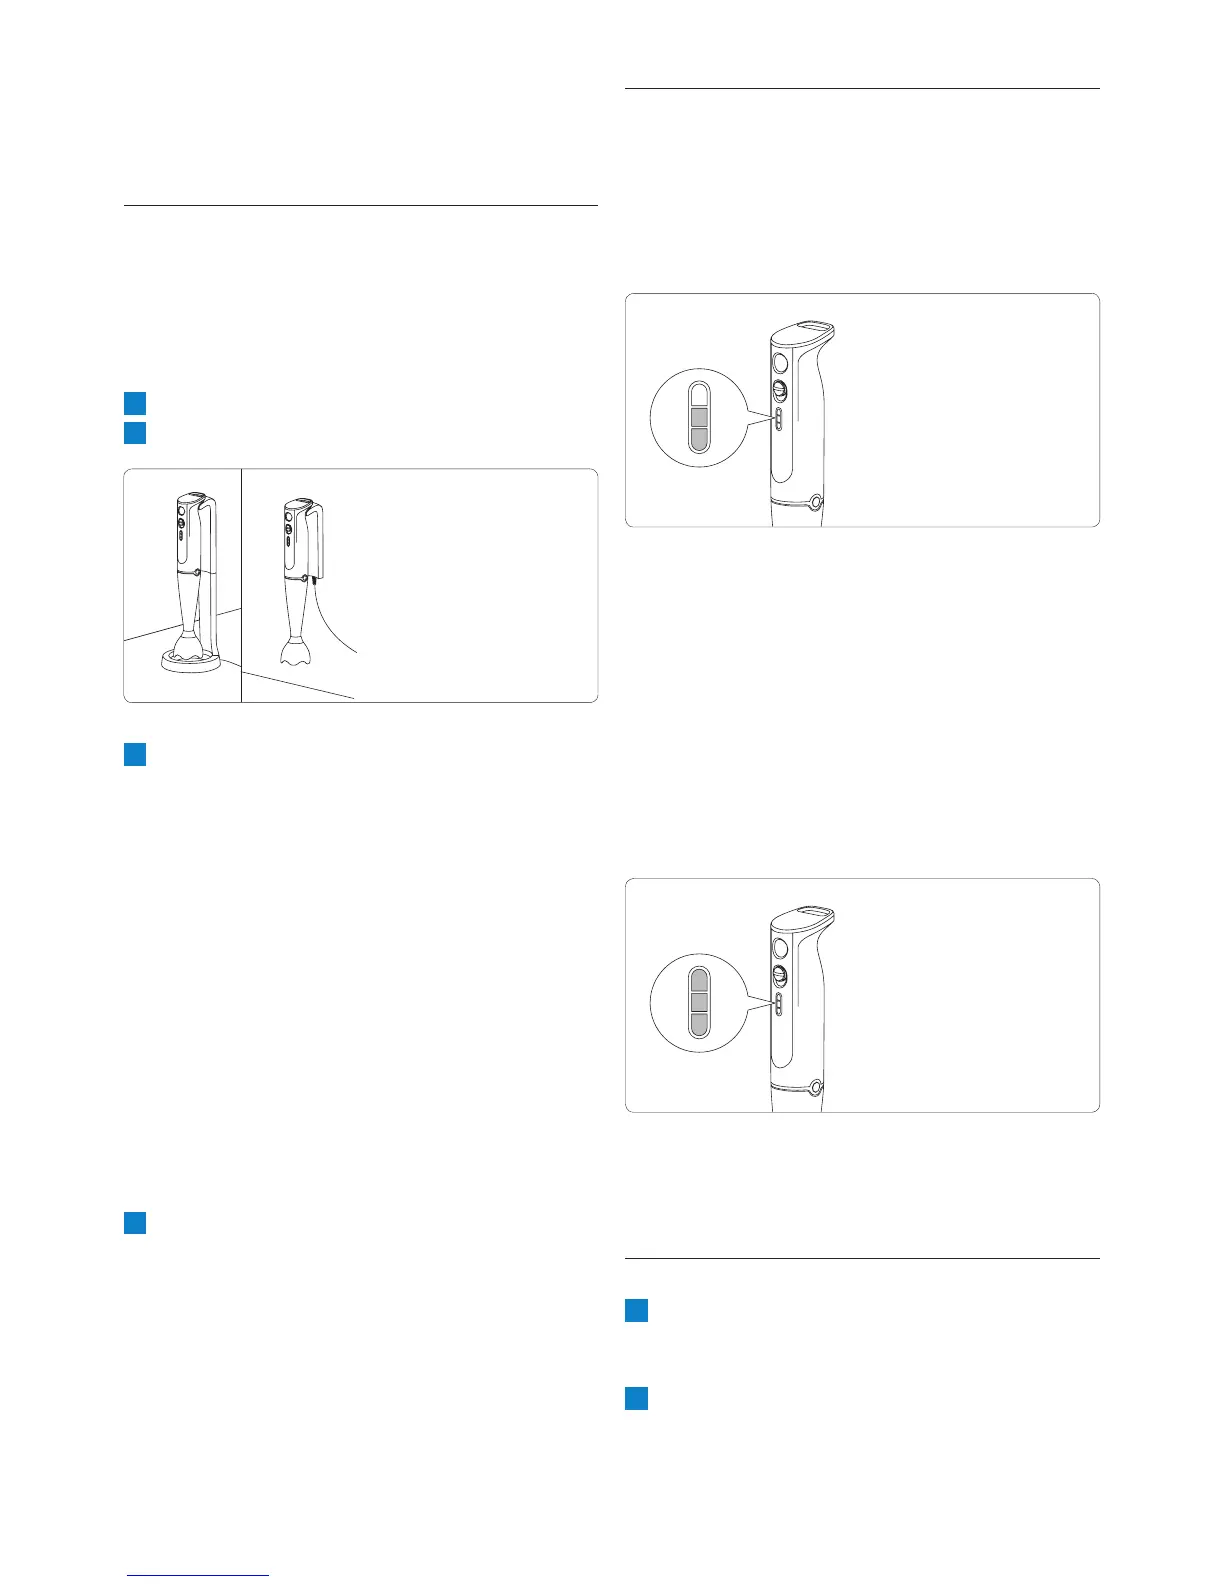
4.3 Charging lights
4.3.1 Remaining battery capacity
• The number of charging lights that light up
indicate the amount of power left in the
batteries.
• When you switch the appliance on or off,
the remaining battery capacity is shown for
approx. 8 seconds.
4.3.2 Charging
• Thecharginglightsashblueduringcharging.
4.3.3 Batteries fully charged
• When the batteries are fully charged, all
charging lights light up blue continuously.
4.3.4 Batteries low
• When the batteries are low, the bottom
charginglightashesblue.
4.4 Preparing the food
1 Let hot ingredients cool down before you
chop them or pour them into the beaker
(max. temperature 80°C).
2 Cut large ingredients into pieces of 2cm
before you process them.
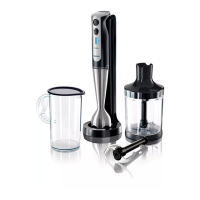
D Note:
If you mount the charger on the wall, you only
need the upper part of the charger.
4.2 Charging your hand blender
Charge the hand blender:
• beforeyouusetheappliancefortherst
time, or
• whenthebottomcharginglightashesblue
to indicate that the batteries are low.
1 Put the adapter in the wall socket.
2 Put the appliance in the charger.
3 Makesurethecharginglightsashblueto
indicate that the appliance is charging.
D
Note:
The adapter feels warm during charging. This
is normal.
• When you charge the appliance for the
rsttimeorafteralongperiodofdisuse,
let it charge until all three charging lights
light up blue continuously.
• Charge the appliance for at least 15
minutes to use it for a light blending job
(soup, puree).
• When the appliance is fully charged, it
has a cordless operating time of up to 20
minutes.
4 Keep the charger plugged in continuously
and store the appliance in the charger.