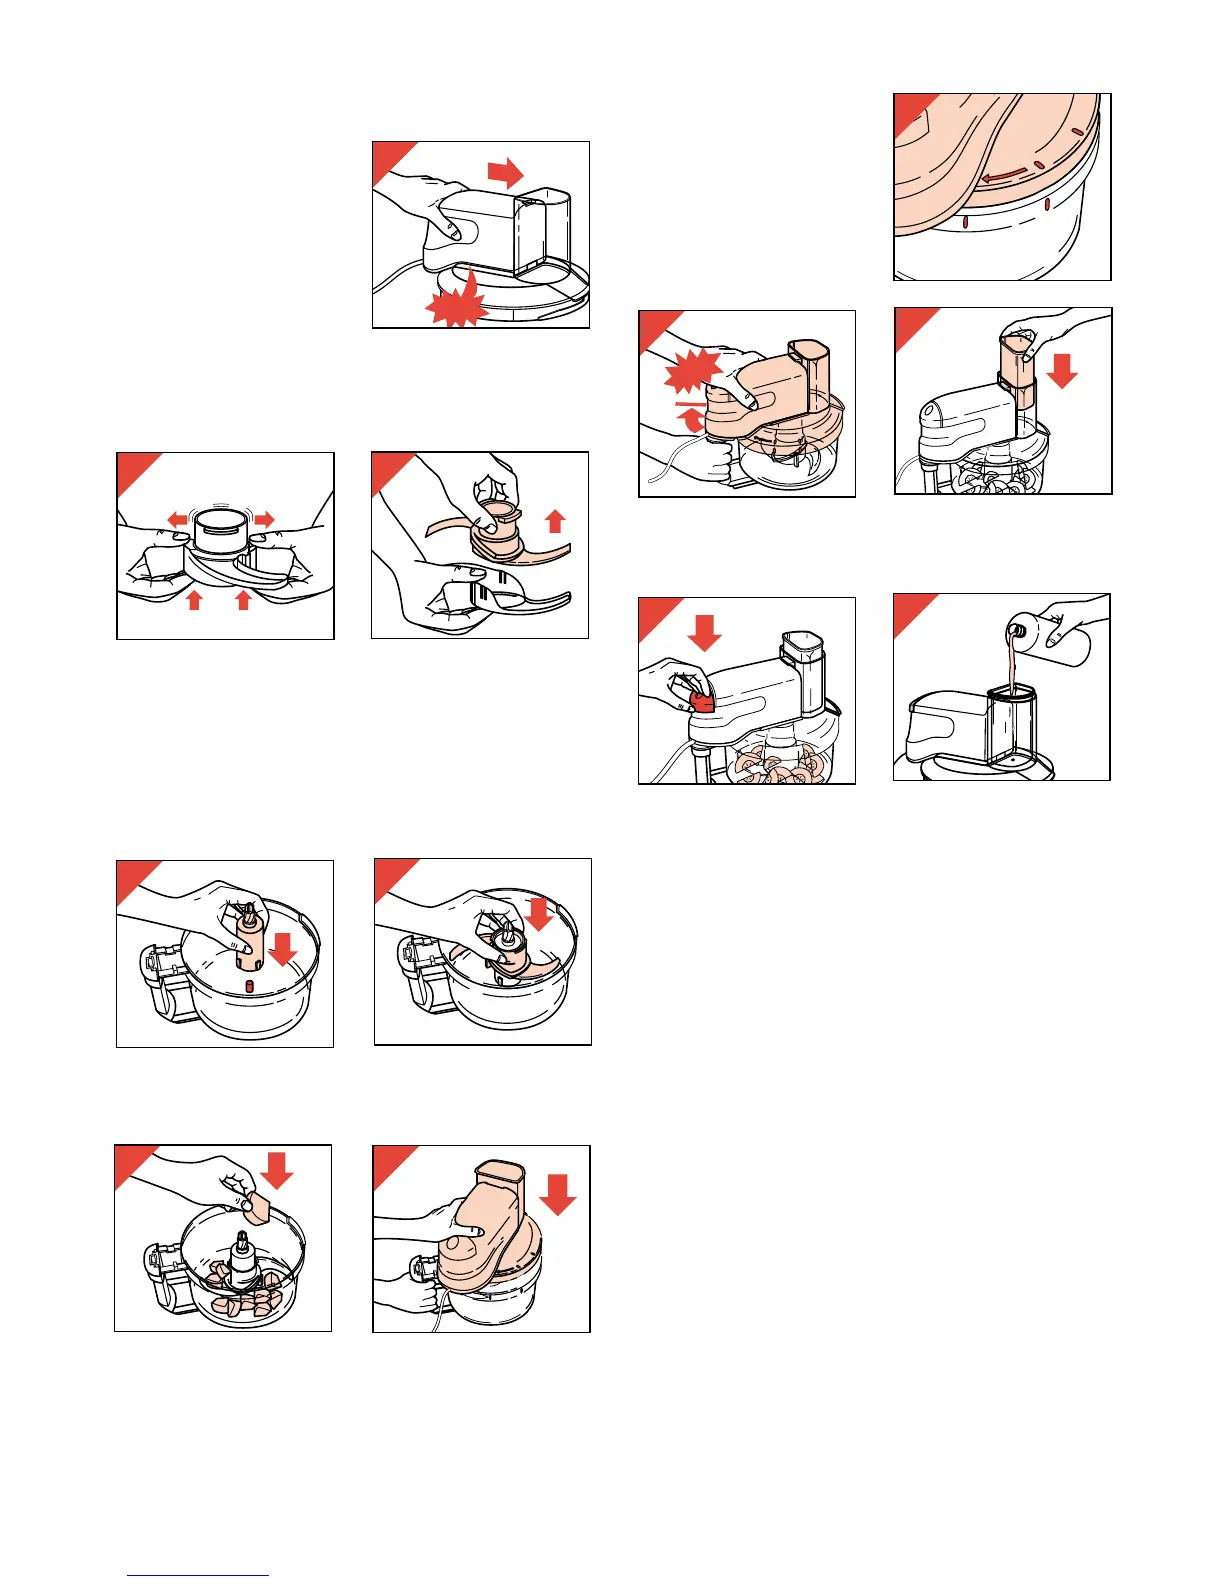
- Ensure that the marks
on the cover correspond
with the marks on the
bowl (fig. 9).
- Fix the cover (with motor unit) by rotating
clockwise until it stops (fig. 10).
- Put the pusher into the food chute (fig. 11).
- Switch on (fig. 12).
• During operation you may remove the pusher
from the filling opening to add ingredients.
• There is a small opening in the pusher through
which from time to time you can add liquid
(e.g. oil while making mayonnaise) (fig. 13).
Tips
• Pre-cut large pieces into cubes of about 3 cm
(or 1”).
• Avoid overprocessing due to excessive
operation.
• When chopping (hard) cheese, take care not to
keep the motor running too long. Then the
cheese could get warm and turn lumpy.
• If food should get caught around the metal
blade, or when particles of food should stick to
the inside of the bowl:
- first switch the appliance off,
- take the cover (with motor unit) from the bowl
- and remove the food from the metal blade or
from the bowl using the spatula.
• Do not chop very hard ingredients, such as
coffee beans, nutmeg and lumps of ice: these
would blunt the metal blade.
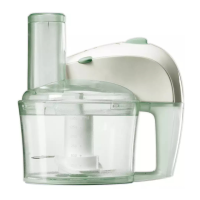
Assembling motor unit on to cover
Always fix the motor
unit on to the cover
before screwing the
cover on to the bowl.
- Place the motor unit
on the cover. Note the
correct position (fig. 2).
- Press firmly (“Click!”)
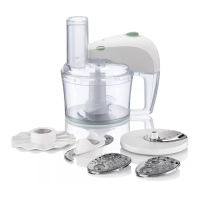
Metal blade
• Take care: the cutting edges are very sharp!
- Remove the protective cap from the metal blade
before use (fig. 3, 4).
Always hold the unprotected metal blade by
its handle.
• The metal blade is suitable for chopping, mixing,
blending and puréeing
.
- First position the coupler (fig. 5) and the metal
blade (fig. 6).
- Then put the ingredients into the bowl (fig. 7).
- Place the cover (with motor unit) on to the bowl
(fig. 8).