HX6100, HX6150, HX6902,
HX6910, HX6911, HX6912,
HX6930, HX6932, HX6933,
HX6942, HX6952, HX6982
11/08
3-4
REPAIR INSTRUCTION
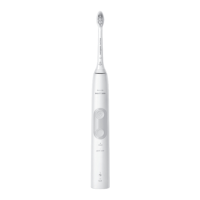
- Brush head (pos 3)
In case of a defective brush head, the complete brush head must
be replaced.
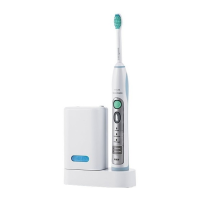
- Charging unit (pos 2)
In case of a defective charging unit or cordset, the complete
charging unit must be replaced.
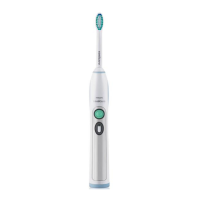
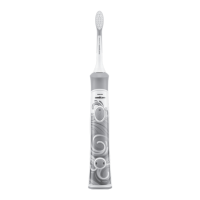
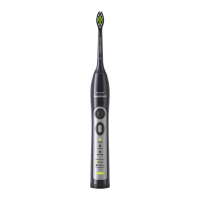
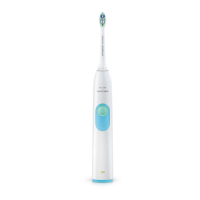
- Handle toothbrush (pos 1)
The batteries inside cannot be replaced. In case of a defect, the
complete unit must be replaced.
- Charging the handle (pos 1)
The handle should be charged for at least 24 hours during the
first few days of use.
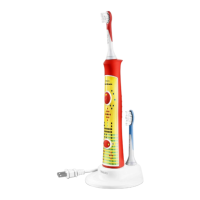
- Sanitizer(pos 4)
In case of a defective sanitizer, the complete sanitizer unit must
be replaced.
- Sanitizer UV light bulb Replacement(pos 5)
Environment
- The rechargeable battery inside your Sonicare cannot be replaced,
but is easy to remove for recycling or proper disposal. Refer to
the instructions below for battery removal.
- Do not throw away the appliance or the UV light bulb(bulb
contains mercury) with the normal household waste at the end of
it’s life, but hand it in at an official collection point for proper
disposal.
- If you have any recycling questions, contact your local waster
management office.
1. Unplug sanitizer.
2. Slightly lift the drip tray and pull it out.
4. Remove light bulb by grasping it and pulling it out
of the metal clasp.
5. Align replacement light bulb with metal clasp and
push bulb into clasp then reinsert light bulb screen.
5. The rechargeable battery can now be recycled and the rest
of the product discarded appropriately.
DISASSEMBLY- AND RE-ASSEMBLY ADVISE
- No specific issues
OPTIONAL (accessories)
- No specific issues
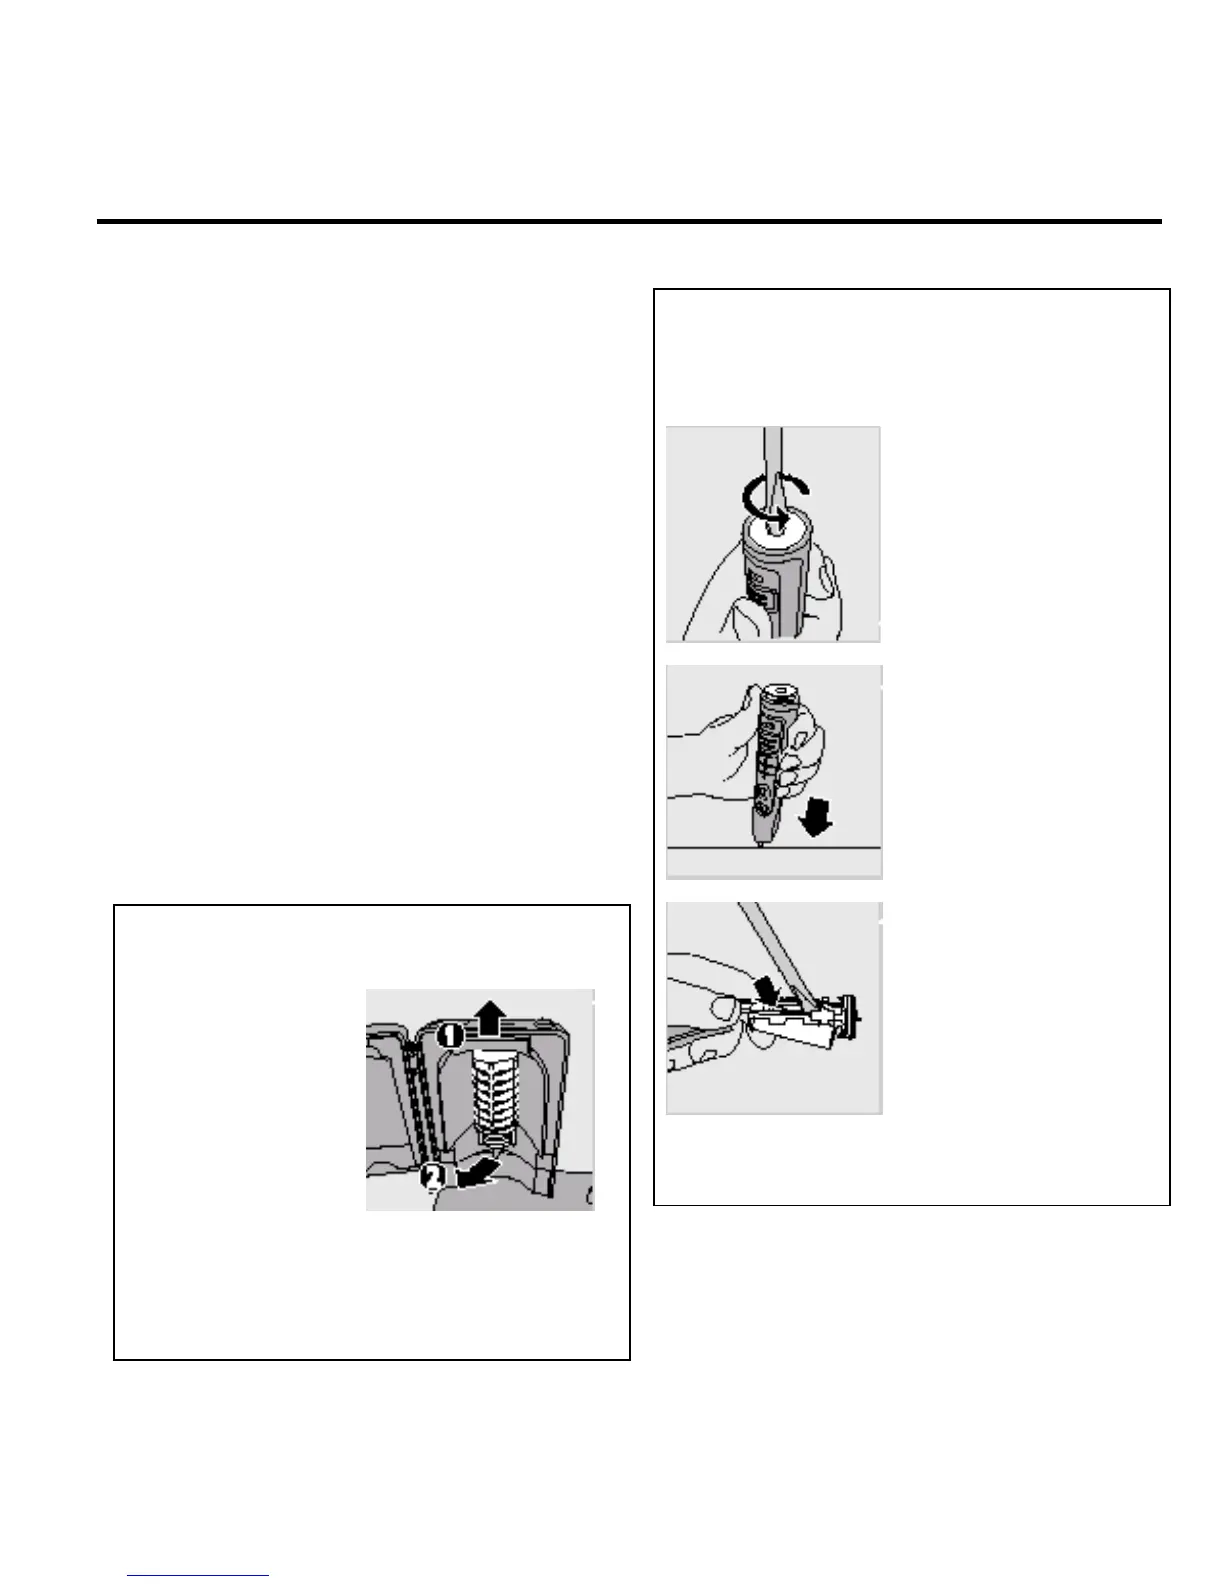
1. To deplete the rechargeable battery of any charge,
remove the handle from the charger, turn on the Sonicare
and let it run until it stops. Repeat this step until you can
no longer switch on the Sonicare.
3. Hold the handle upside down
and push down on the shaft
to release the internal
components of the handle.
2. Insert a screwdriver into the
slot located at the bottom of
the handle and turn
counterclockwise to release
the bottom ca
.
4. Insert the screwdriver under
the circuit board, next to the
battery connections, and
twist to break the
connections. Remove the
circuit board and pry the
battery from the plastic
carrier.
3. Remove the
protective screen by
gently lifting it up(1)
and pull it out(2).
 Loading...