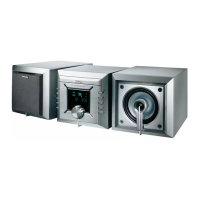
DISMANTLING INSTRUCTIONS (CENTRE UNIT)
Dismantling of the Cladding
1) Remove 8 Plug Rubbers (pos 123, 124, 125) from both
side of the Centre Unit (for MZ-1100 only) with a flat head
screw driver (see Figure 1).
Figure 1
Dismantling of the Cover Orn Rear and Cladding Internal
1) Remove 5 screws D and 2 screws E (see Figure 5) to
loosen the Cover Orn Rear (pos 119).
2) Remove 4 screws F (see Figure 6) to loosen the Cladding
Internal Left (pos 117) and Cladding Internal Right (pos
118).
2-1 2-1
Dismantling of the Control Board
DISMANTLING INSTRUCTIONS (CENTRE UNIT)
Dismantling of the Front Cover Assembly
1) Remove 2 screws B (see Figure 3 and Figure 6) and
uncatch C1 (see Figure 3) with a small size screw driver by
givivg a push in the direction as shown in Figure 4 to
separate the Front Cover Assembly from the Centre Unit
(see Service Position A for Centre Unit).
1) Remove 7 screws G (see Figure 7) to loosen the Control
Board (pos 1003-A).
2) Remove 2 screws H (see Figure 7) to loosen the IR Eye
Board (pos 1003-B).
Figure 2
Figure 3 Figure 4
Figure 5
Figure 6
Figure 7
2) Remove 8 screws A (see Figure 2) from both side of the
Centre Unit to loosen the Cladding (pos 120).

 Loading...