Do you have a question about the Philips Norelco Multigroom 3000 and is the answer not in the manual?
Indicates the groomer is not washable and requires dry cleaning.
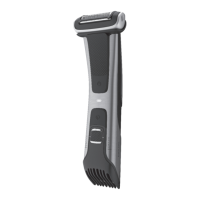
Indicates the groomer is washable, but not for use in shower.
Signifies a waterproof device usable in shower, but only cordless.
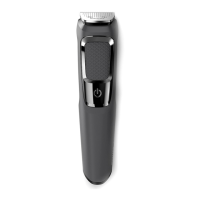
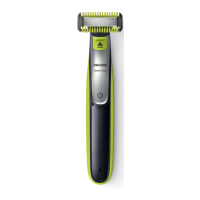
Model and serial numbers are often found on the back of the handle, e.g., QP2540.
Model number below cutting teeth, serial number under cutting unit (e.g., 1823).
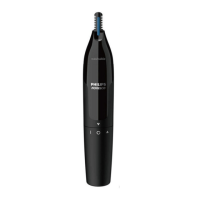
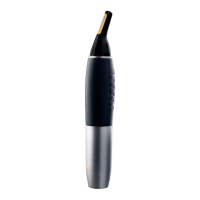
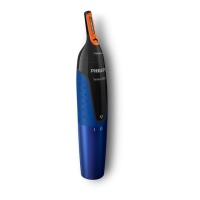
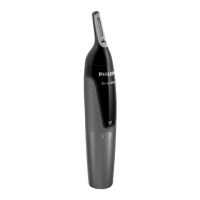
Found inside the battery compartment for nose trimmers.
Lights or indicators show charging status; check charger light if no device indicator.
Prevents accidental activation during travel; activated/deactivated by holding power button.
'T' symbol indicates extra power for thick hair, activated by pressing the button.
Baby symbol indicates reduced noise for children's hair, promoting calm.
Flashing oil drop signals need for cleaning and oiling the groomer.
Waterproof devices won't work when plugged in for safety. Look for shower symbol.
For dry use only; can be used plugged in. Look for crossed-out tap symbol.
Can be cleaned with water and used while connected to power, but unplug first for cleaning.
Charge when low battery indicated or performance slows; 1-8 hours charge time.
Place groomer in stand connected to power; light indicates charging.
Devices using AA batteries require replacement when performance degrades.
Use combs with numbers indicating hair length after trimming; click onto appliance.
Slide button to select desired hair length setting on the comb.
Rotate button to match length setting indicated on the handle.
Use a sliding button on the handle or comb to adjust length settings.
Remove/reattach cutting unit using release button or by pulling upwards.
Hold from sides and pull off; push back in slot to reattach until click.
Pull off body; slide down onto cutting element to attach, fitting legs into slots.
Push comb backward to remove; align and press to attach.
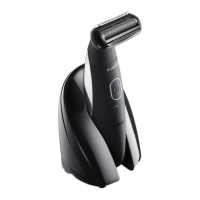
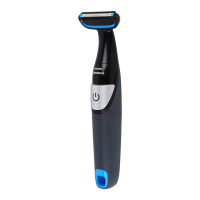
Pull off shaver head by edges; snap back on until click.
Pull back part off appliance to remove; snap onto shaving foil to attach.
Turn clockwise to remove, align arrows to attach.