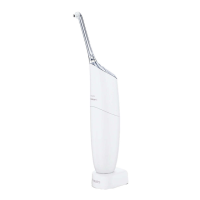
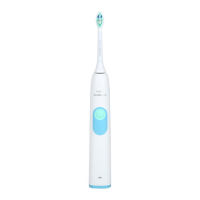
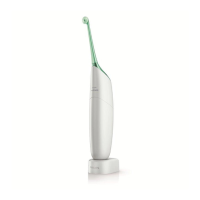
AirFloss
HX8111, AirFloss Retail
HX8181, AirFloss Dental Prof
HX8141, AirFloss Pro Disp
HX8140, AirFloss Handle
AirFloss 1.5
HX8211, AirFloss Retail
HX8241, AirFloss Dental Prof
HX8281, AirFloss Pro Disp
HX8240, AirFloss 1.5 Handle
Published by Philips Consumer Lifestyle Printed in the Netherlands © Copyright Reserved Subject to modification
4235-006-32611-671_13-07-10
(YY_MM_DD)
SERVICE POLICY
Warranty for this product is 2 years after purchase. The product
will be serviced for 3 years after End of Life.
PRODUCT INFORMATION
Using
AirFloss is designed to be used on the outside of the teeth. Place
the tip between teeth and apply gentle pressure. Press activation
button to deliver a burst of air and water. Glide the guidance tip
along the gum line until you feel it settle between the next two
teeth. Press the activation button again and repeat for all spaces
including behind your back teeth. Press power on/off button to
turn power off after use.
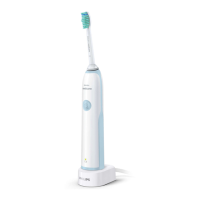
Charging
Charge for 24 hours before first use. Charge indicator fl ashes
green until fully charged. Rapid yellow flashing indicates charge
is extremely low (fewer than 3 uses left). AirFloss is designed to
last 2 weeks (or 14 uses) on a single charge. The charger that
comes in the finished good configuration is not compatible with
previous Sonicare toothbrush models. The service charger is
compatible with both previous Sonicare toothbrush models as
well as the AirFloss handle. The AirFloss handle is compatible
with previous FlexCare chargers but not DiamondClean or e-
series.
Low Battery Warning - Yellow Indicator Flashes when
Approximately 90 Activations Remain (90 Activations = 3
Uses)
Full Battery Indication - Solid Green light appears after
appliance is fully charged.
Note: After 4 minutes the green light will turn off to conserve
battery life.
Attaching the Nozzle and filing the reservoir
attach nozzle and fill reservoir with water or mouthwash as
shown below.
Priming the device
After filling the reservoir, press the power on/off button to turn
on, then press the activation button approximately 6 times or
until spray is produced.
Cleaning - Remove the nozzle and rinse with water. Use a
cotton-tipped swab to wipe down the reservoir, if desired. Avoid
getting foreign objects inside. The use of cleaning agents inside
the device is not recommended. Do not clean in the dishwasher
or any other sanitizing devices.
Storing
If AirFloss will not be used for an extended period of time,
empty water from reservoir, press activation button until no
spray is produced, unplug the charger, clean the product, and
store it in a cool, dry place away from direct sunlight.
Servicing
Replace the nozzle every 6 months for optimal results.
Philips Consumer Lifestyle