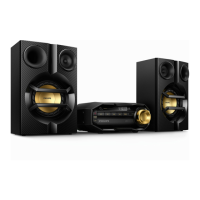
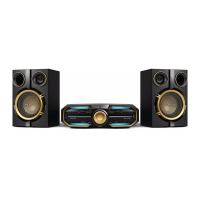
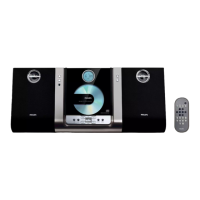
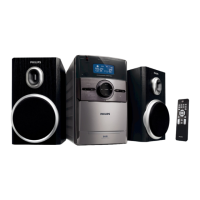
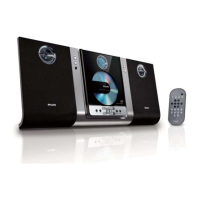
Prepare the remote
control
Caution
Risk of product damage! When the remote
control is not used for long periods, remove
the batteries.
• Batteries contain chemical substances, so
they should be disposed of properly.
To insert the remote control battery:
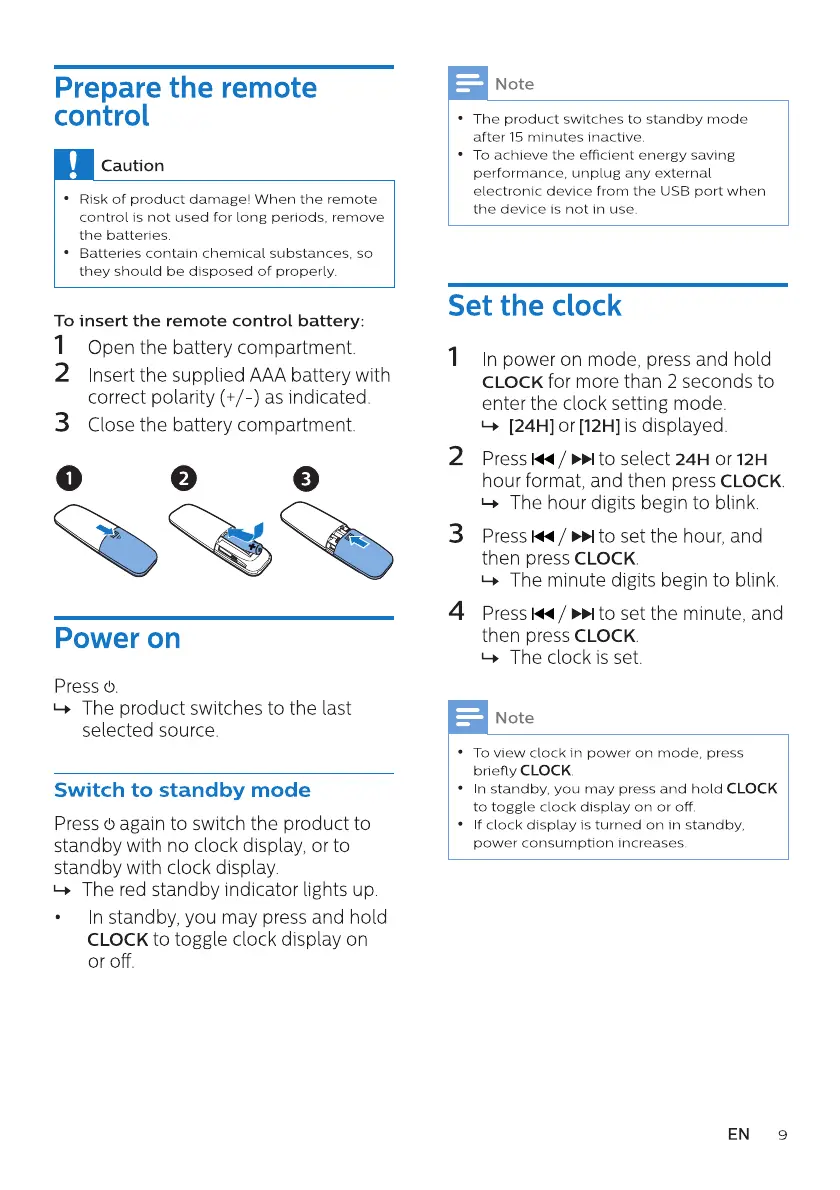
I Openthe batterycompartment.
2 Insertthe suppliedAAAbatterywith
correct polarity (+/-) as indicated
3 Closethe batterycompartment.
Power on
Press (b.
The product switches to the last
selected source.
Switch to standby mode
Press (5again to switch the product to
standby with no clock display, or to
standby with clock display.
1-+ The red standby indicator lights up.
n standby, you may press and hold
CLOCK to toggle clock display on
or off.
Note
The product switches to standby mode
after 15 minutes inactive.
To achieve the efficient energy saving
performance, unplug any external
electronic device from the IJSB port when
the device is not in use.
Set the clock
2
3
4
n power on mode, press and hold
CLOCK for more than 2 seconds to
enter the clock setting mode.
1-+ [241-4]or [121-4]is displayed.
Press 1<4 to select 24H or 12H
hour format, and then press CLOCK
1-+ The hour digits begin to blink.
Press / to set the hour, and
then press CLOCK
The minute digits begin to blink.
»l to set the minute, and
then press CLOCK
The clock is set.
Note
To view clock in power on mode, press
briefly CLOCK
n standby, you may press and hold CLOCK
to toggle clock display on or off,
f clock display is turned on in standby,
power consumption Increases.
EN
9