User Guide
44
6 Label the timer as described in ‘Labeling Elements’ on page 25.
7 In the ‘Labeling’ screen, tap .
The ‘Timer’ screen appears again and the timer is relabeled.
8 In the ‘Timer’ screen, tap .
The Tools Menu appears again.
Editing a Timer
1Tap and hold the ProntoPro NG icon in the upper left corner of the
touch screen for 3 seconds. The Tools Menu appears.
2Tap in the Tools Menu.
The ‘Timer Tool’ information screen appears.
3Tap .
The ‘Timer’ screen appears.
4Tap the label of the timer you want to edit.
The timer is highlighted.
5 In the ‘Timer’ screen, tap .
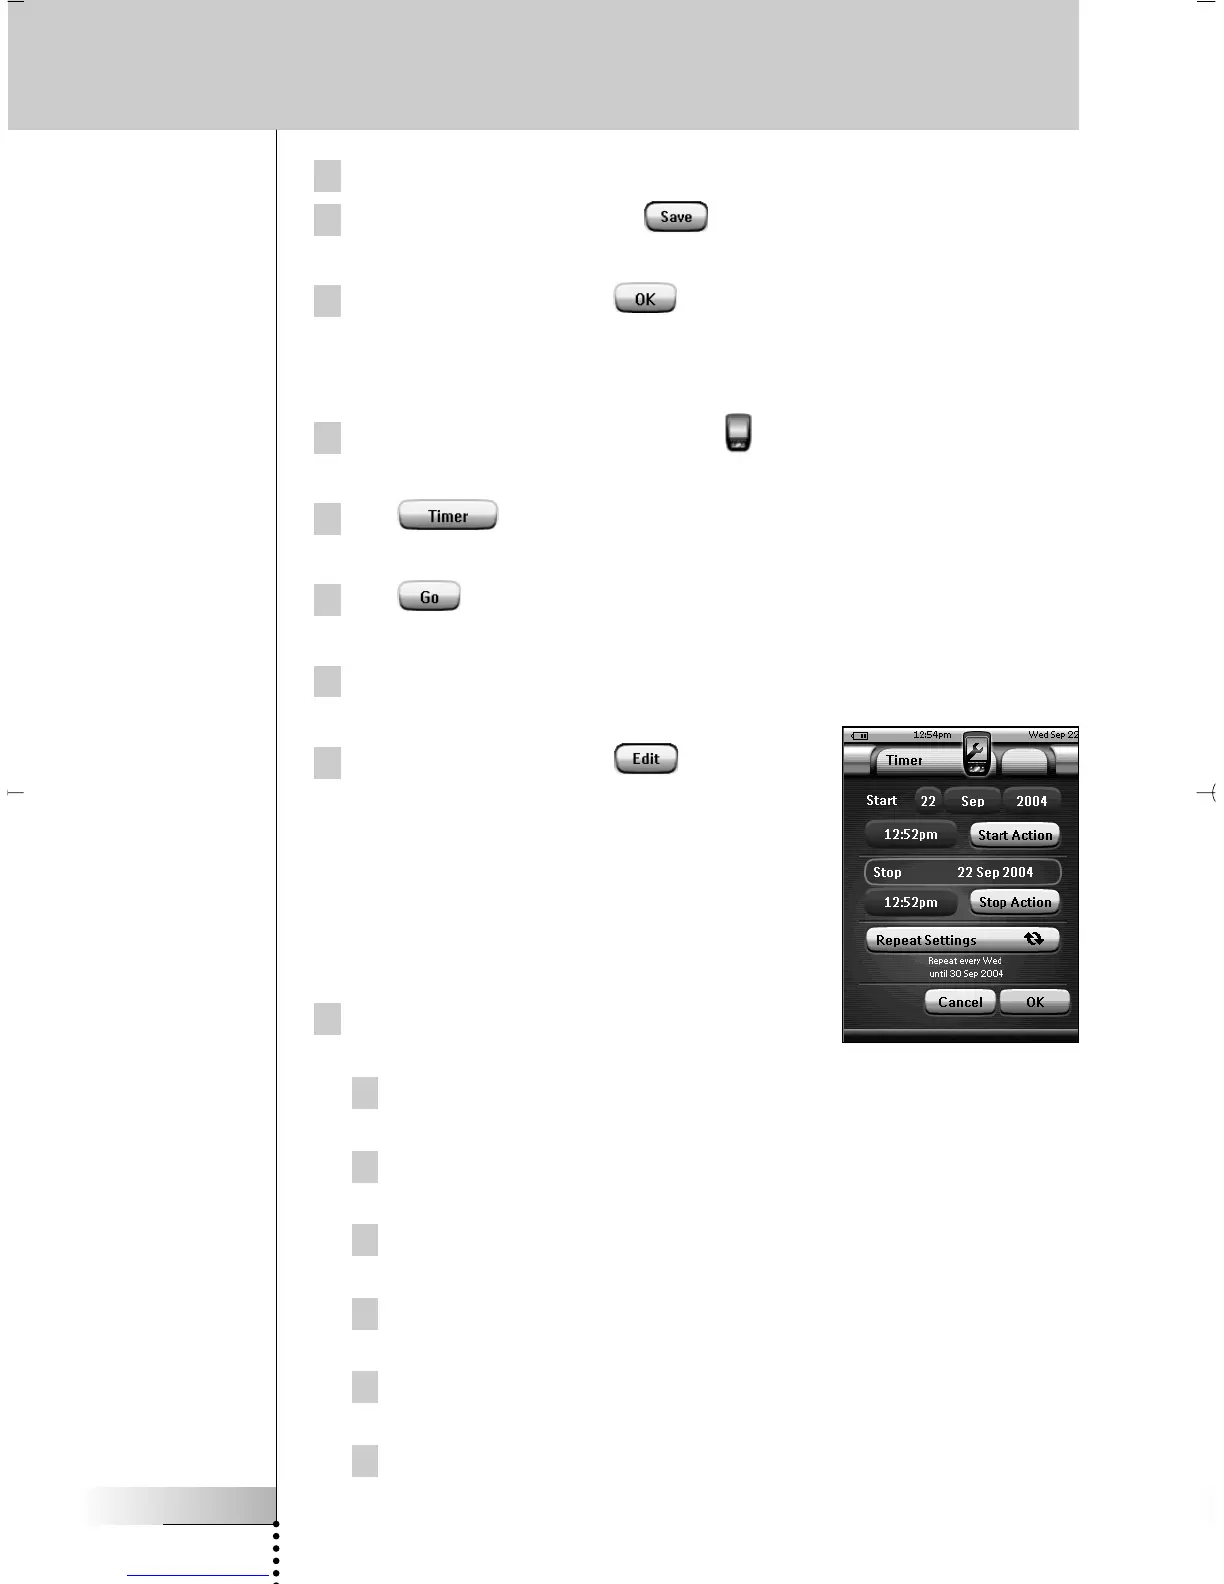
The ‘Editing Timer’ screen appears.
6To edit the timer, execute the following
steps:
1 Set the Start Date. See ‘Setting the
Start Date’ on page 45 for more information.
2 Set the Start Time. See ‘Setting the Start Time or Stop Time’ on
page 45 for more information.
3 Define the Start Action. See ‘Defining the Start Action or Stop
Action’ on page 46 for more details.
4 Set the Stop Time. See ‘Setting the Start Time or Stop Time’ on page
45 for more information.
5 Define the Stop Action. See ‘Defining the Start Action or Stop
Action’ on page 46 for more details.
6 Define the Repeat Settings. See ‘Defining the Repeat Settings’ on
page 46 for more information.
Using the Power Features